Creating The Armatures
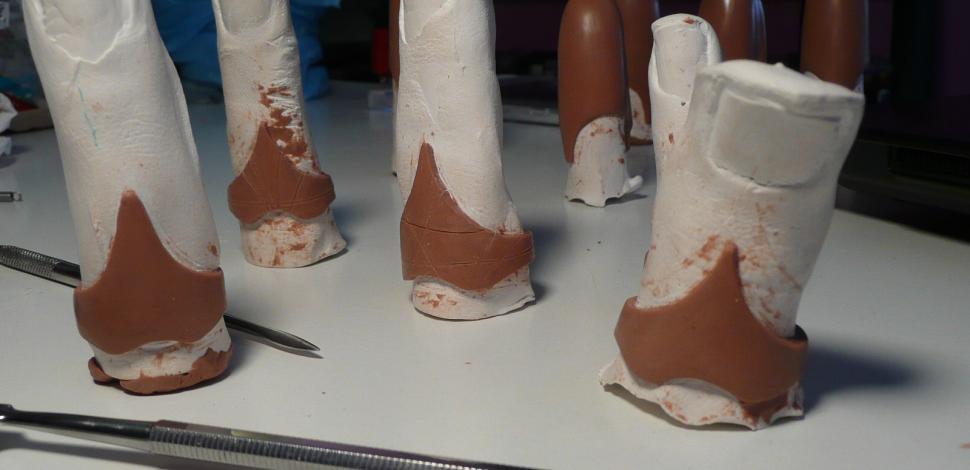
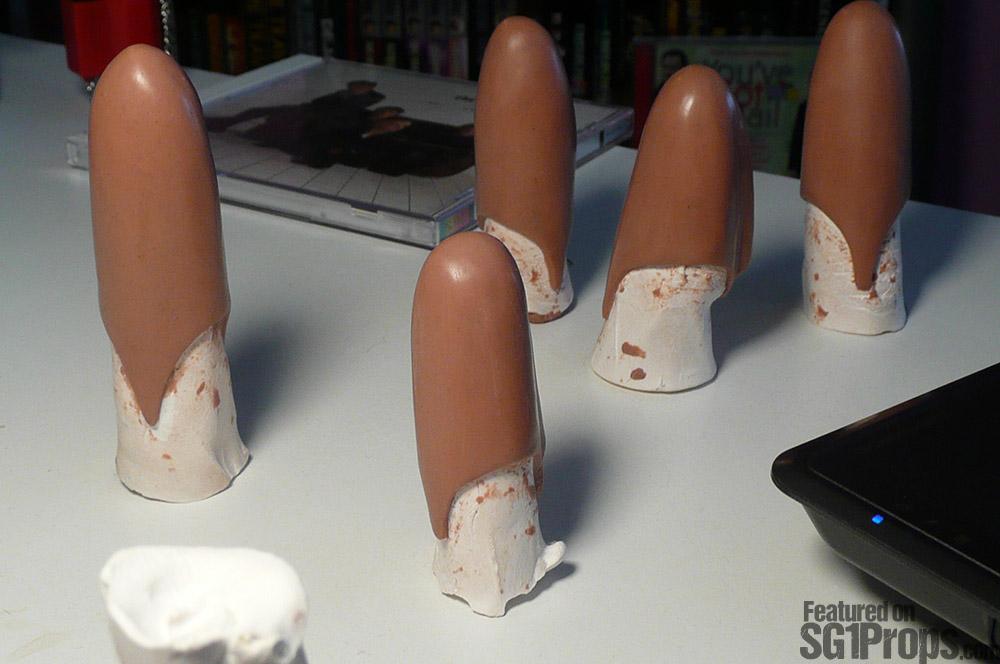
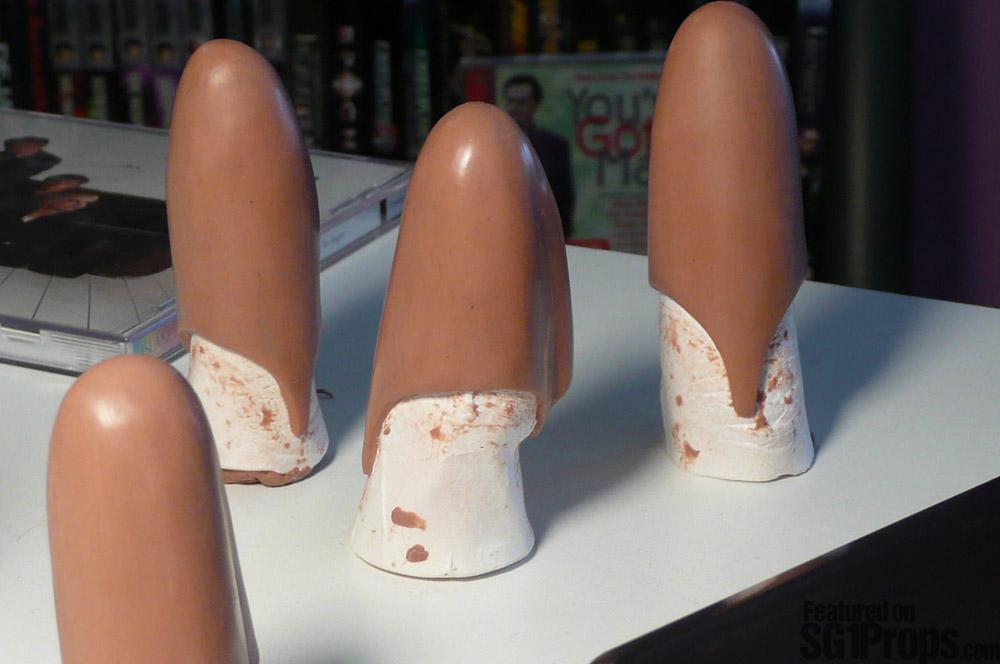
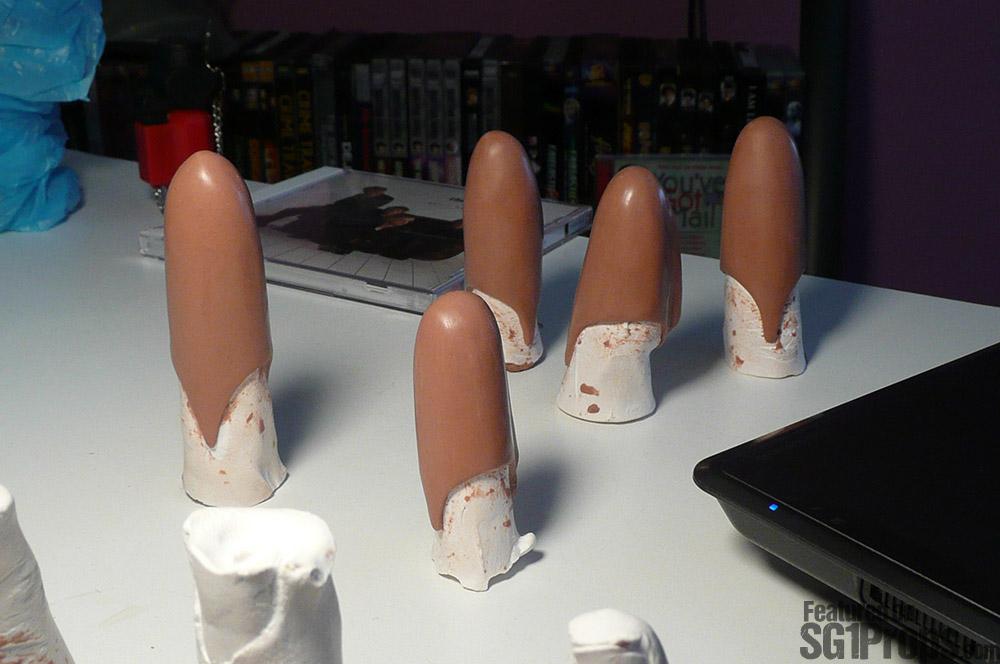
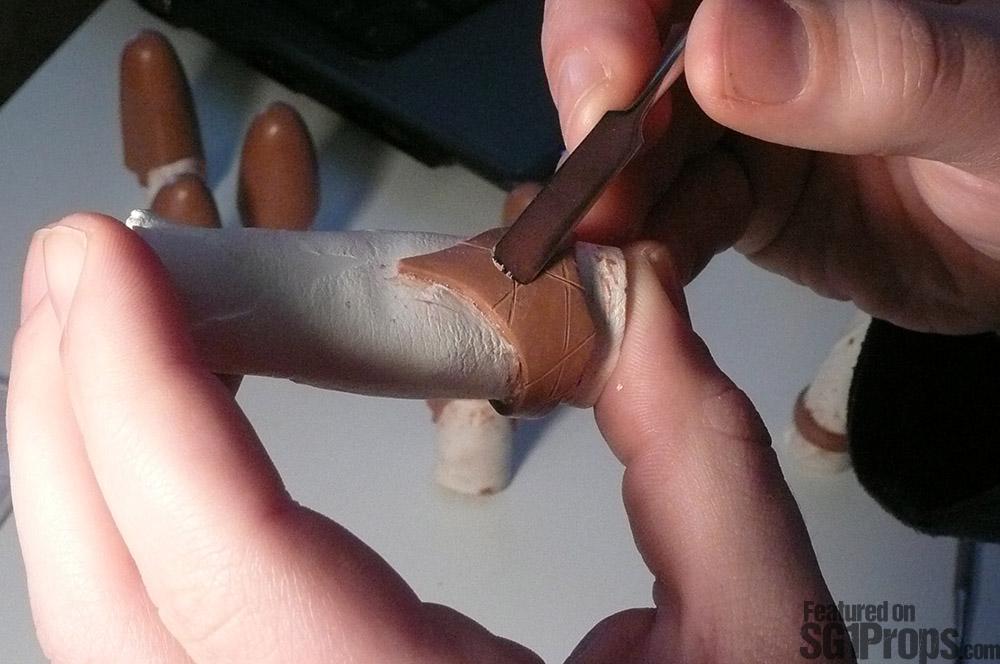
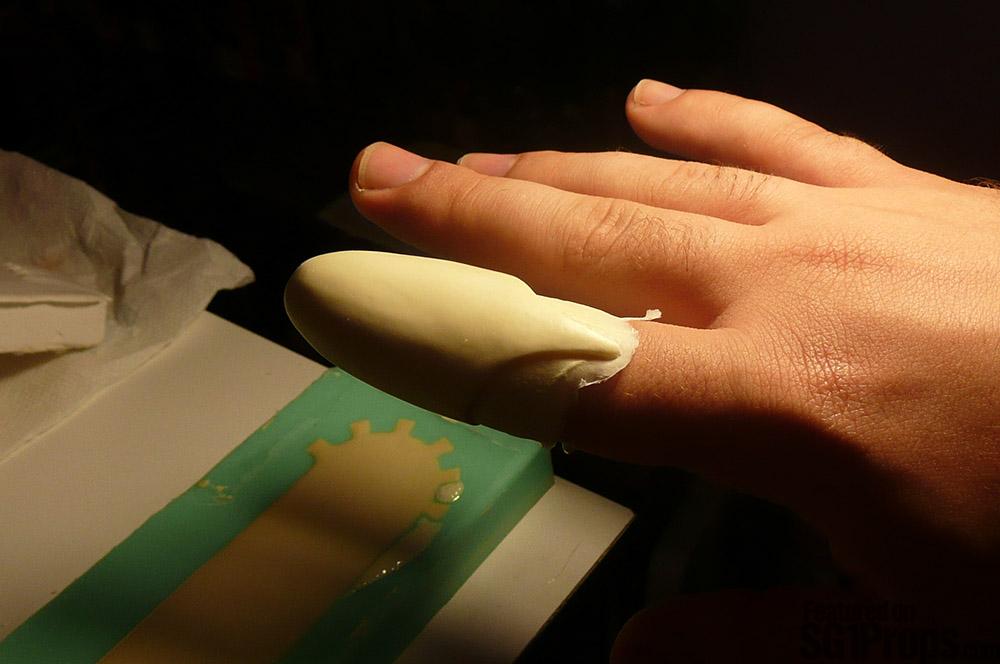
When sculpting a wearable prop it can be helpful to sculpt on an armature which simulates the final wearer. In this case I began by creating a series of crude plaster casts from my fingers. These proved to be the ideal way to sculpt the finger caps and the rings for each finger.
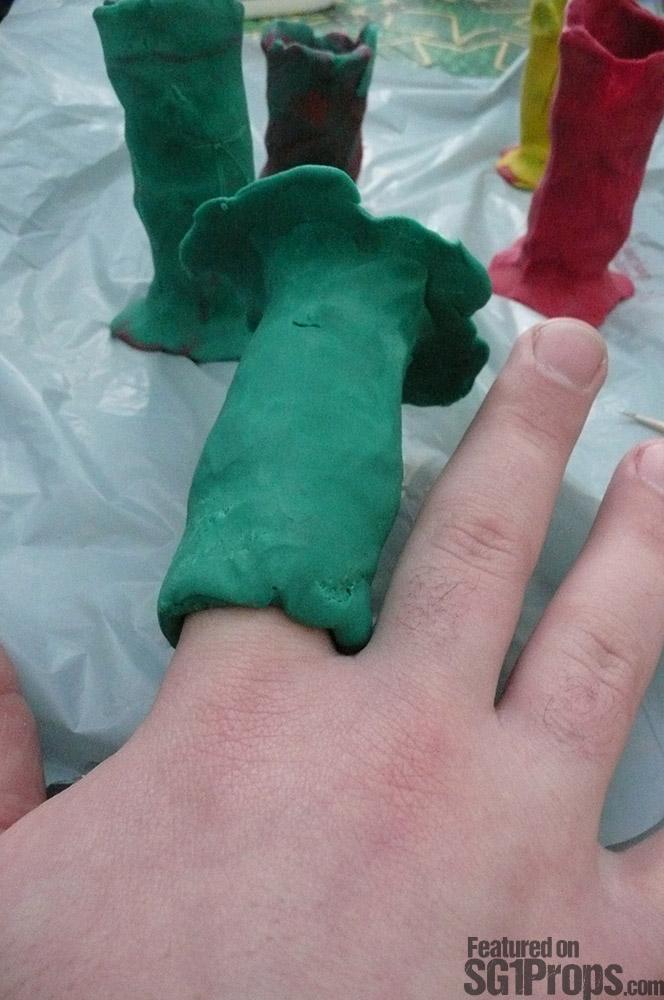
For a medium I sculpted these with an oil based, sulfur free clay from Monster Makers. Working with this type of clay can be a challenge as it is not easily softened like water based clays. Monster Makers Clay is especially hard, and requires heating to make it pliable. I found a heat gun to be useful for softening the clay as I worked. Some modelers will soften clay over a stove top, microwave or other heat source.
Each finger cap and ring have their own unique characteristics which become clear only after hours of studying reference photos. For example the Jaffa lines on each of the rings is unique to that finger. Capturing these details was important to me to make the final prop as authentic as possible. For this reason each of the rings is matched to a specific finger (although on the final prop rings are sometimes exchanged to better fit the cosplayer's hand).
Making The Molds
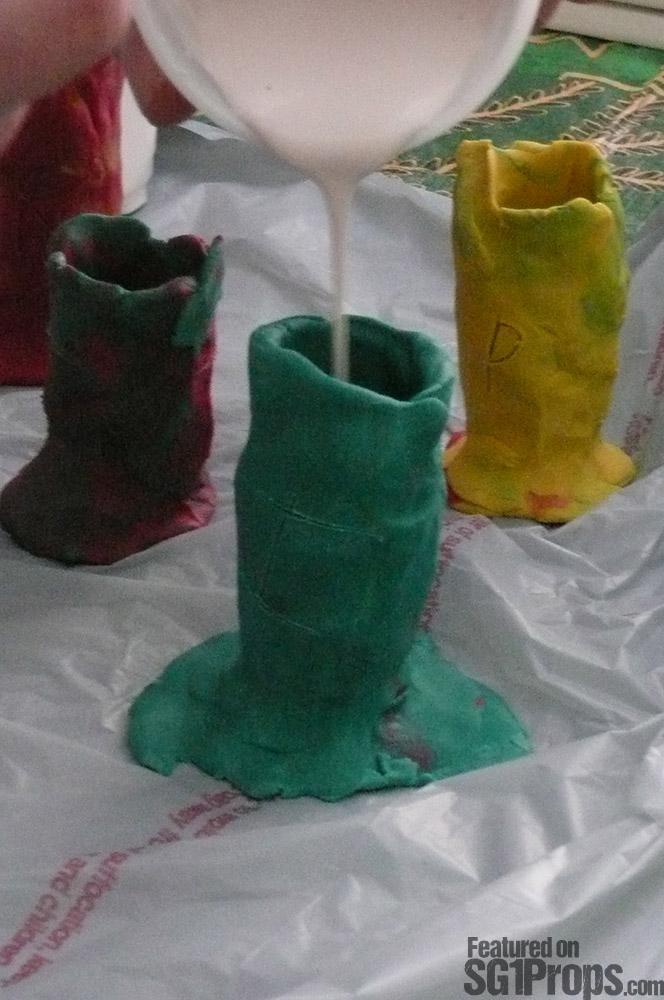
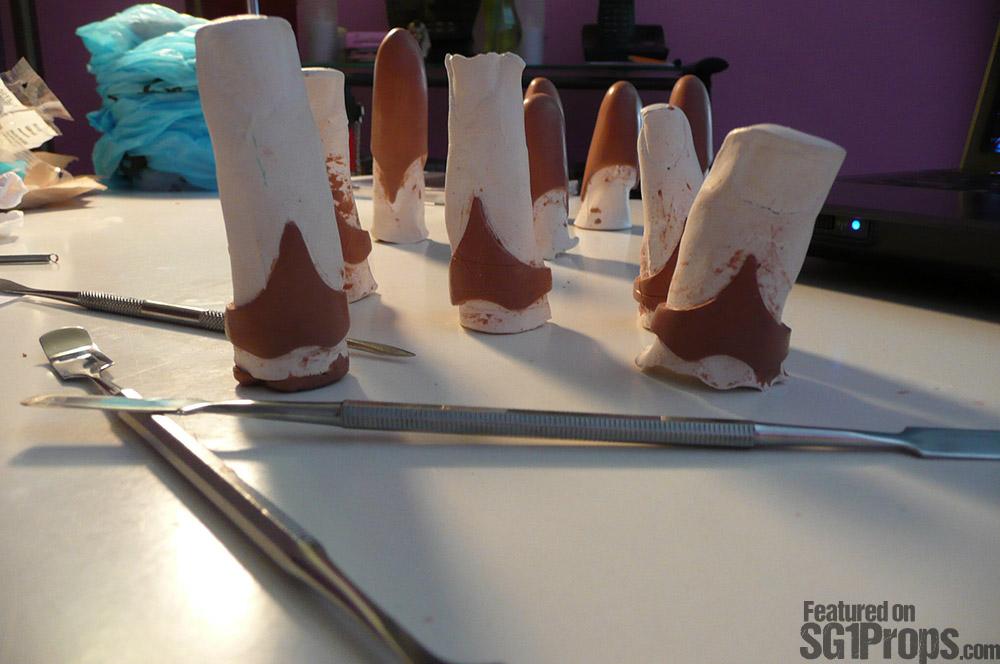
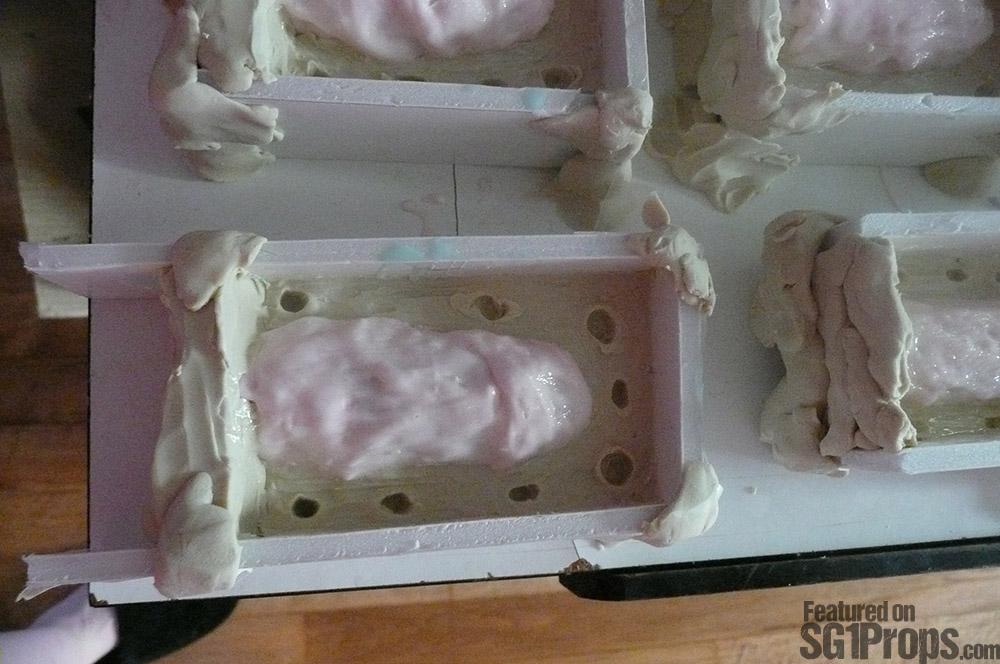
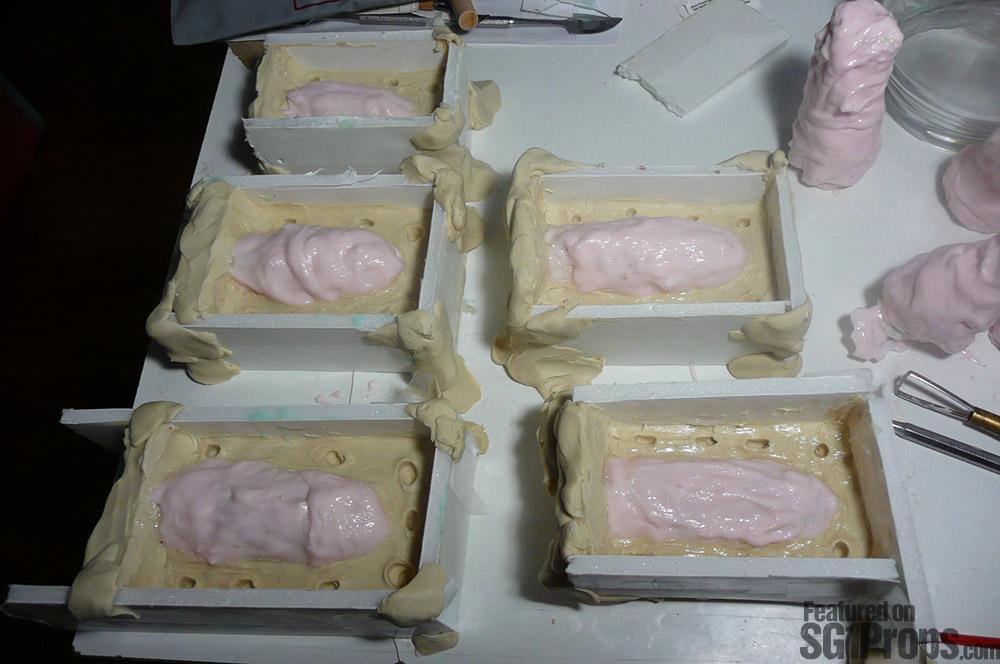
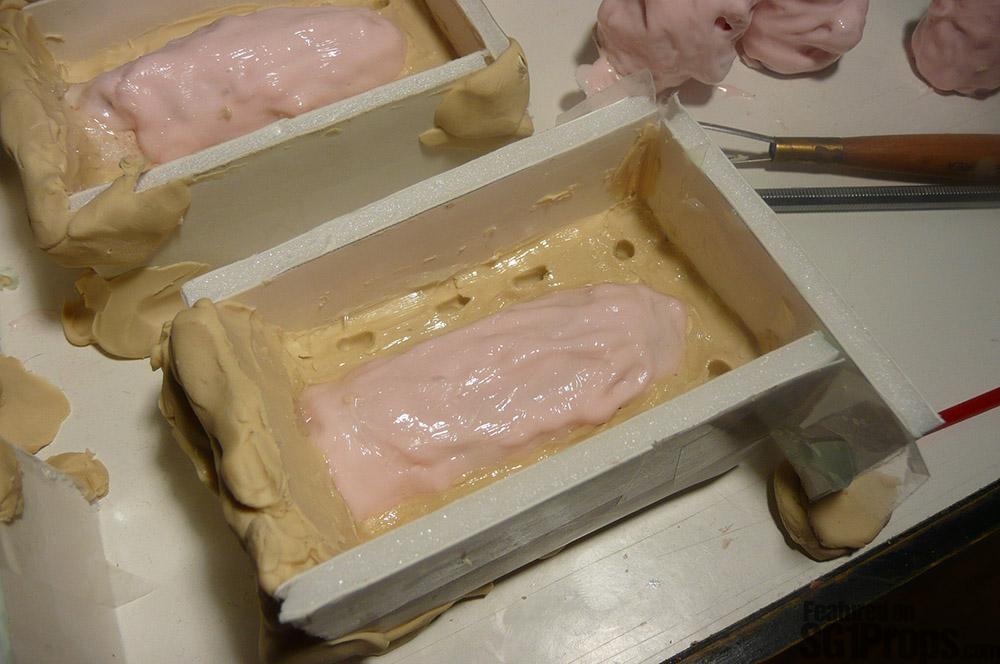
Molding the finger caps and rings without a seam line required me to use a brush on silicone which could be applied thin enough to create a glove mold (no pun intended since we are molding finger accessories!). When creating this type of mold it is critical to make a mold jacket (or mother mold) which will maintain the shape of the thin silicone glove inside. I chose to create 2 part plaster shells for my mold jacket. It is also popular to use plaster bandages or even fiberglass for large molds.
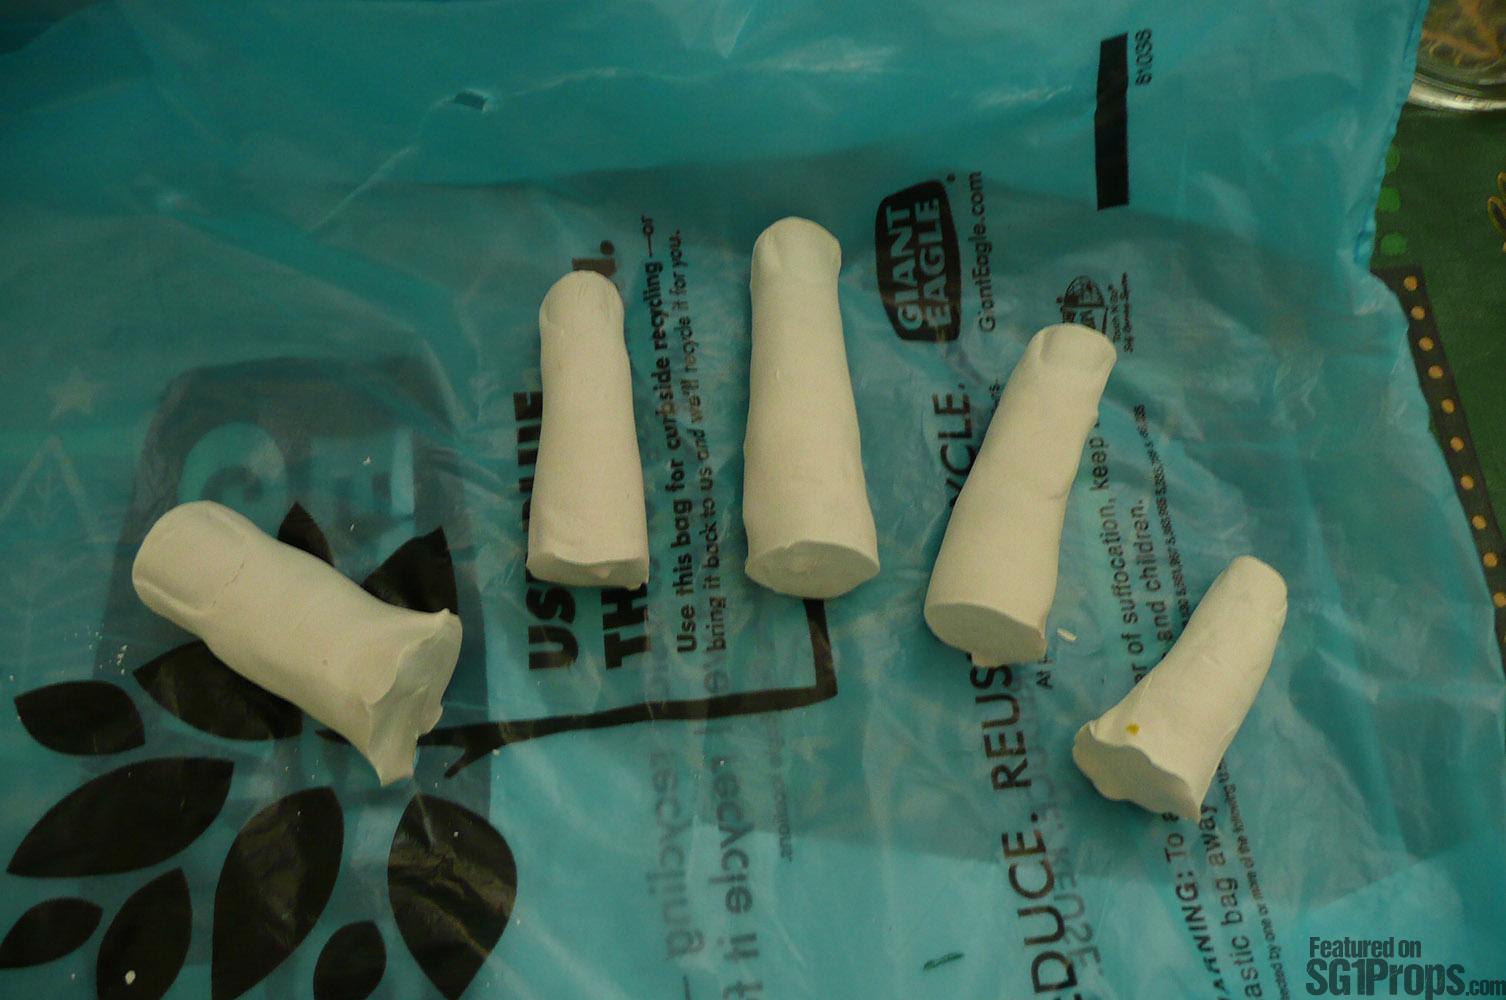
Ultimately I ended up with a glove mold for each finger cap and ring, which could be rotationally cast while held inside the plaster jacket mold. This process is labor intensive as each part needs to be continuously turned while the resin gels. However the final result is a casting which can be slid over the finger.
Photos
Print | Share | Comment