Getting Started
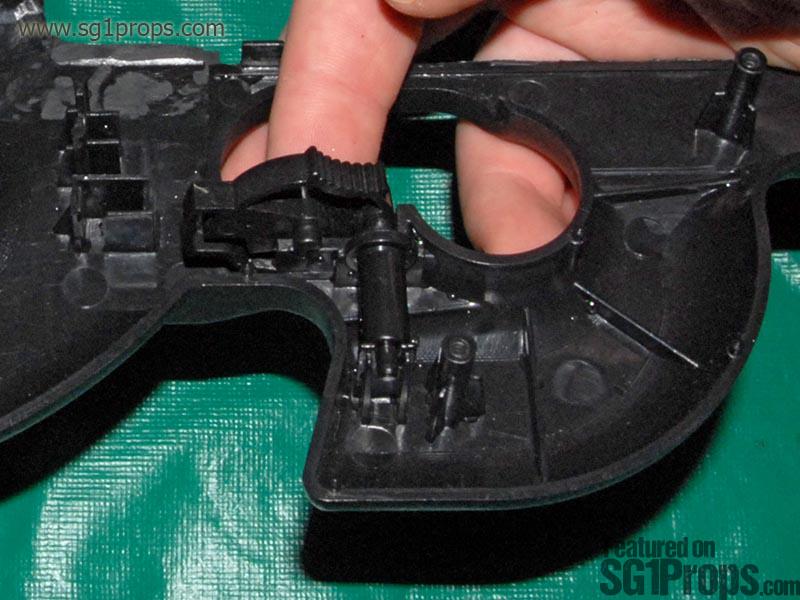
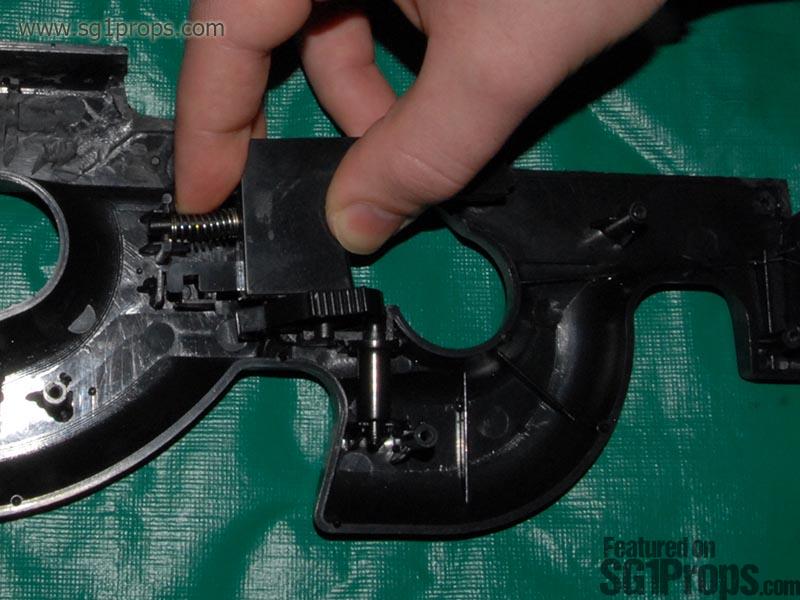
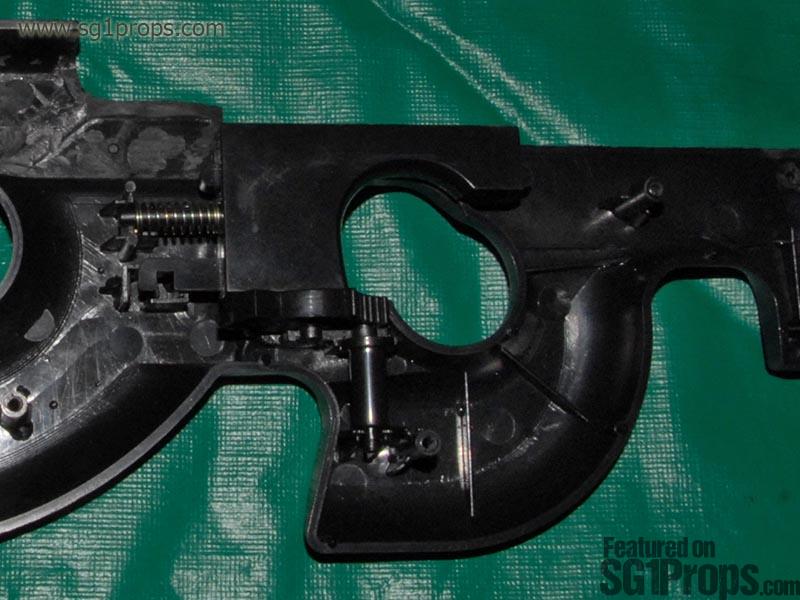
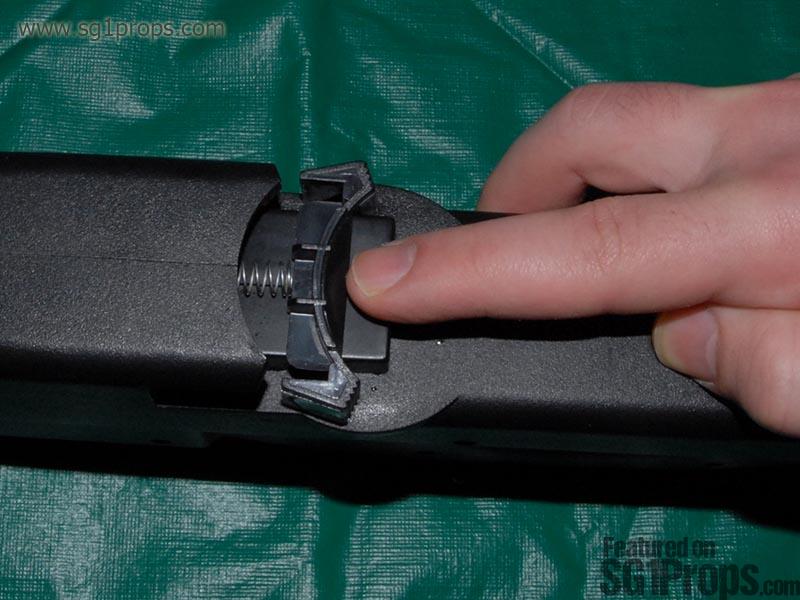
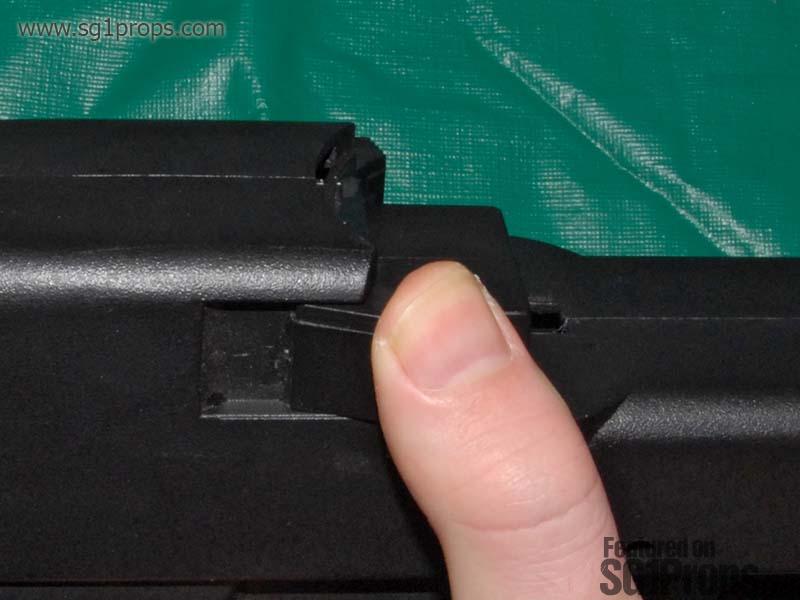
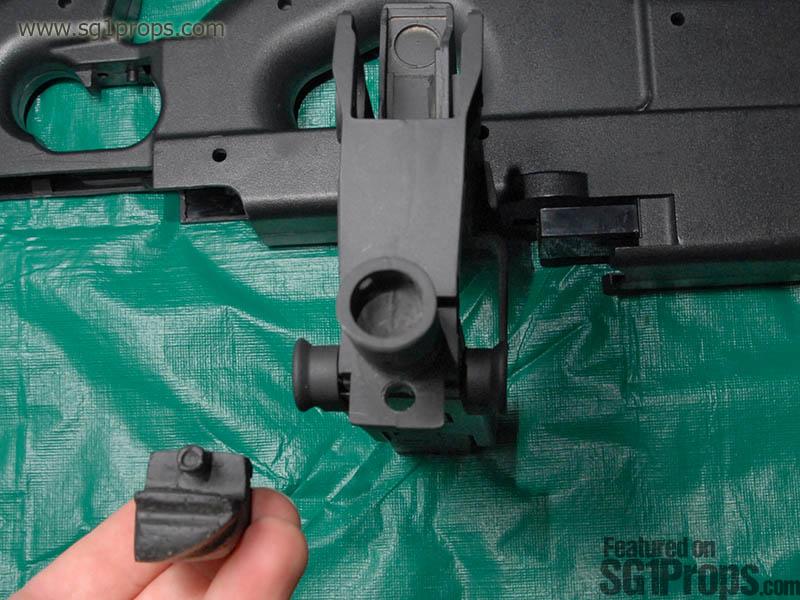
The first thing that you will have to do is lay the left hand side of the gun down on your work surface. With the gun in this position you will be able to reinstall the fire selector switch and trigger. This is the most delicate part of the process because of the small springs that will easily be lost if they pop off of their mountings.
It's a fairly simple process to put these parts back into the gun. Start by placing the fire selector switch into place, and inserting the pin/spring below it. While holding these parts in place, put the trigger in it's place and connect the trigger spring to the post behind it.
Assemble The P90 Shell
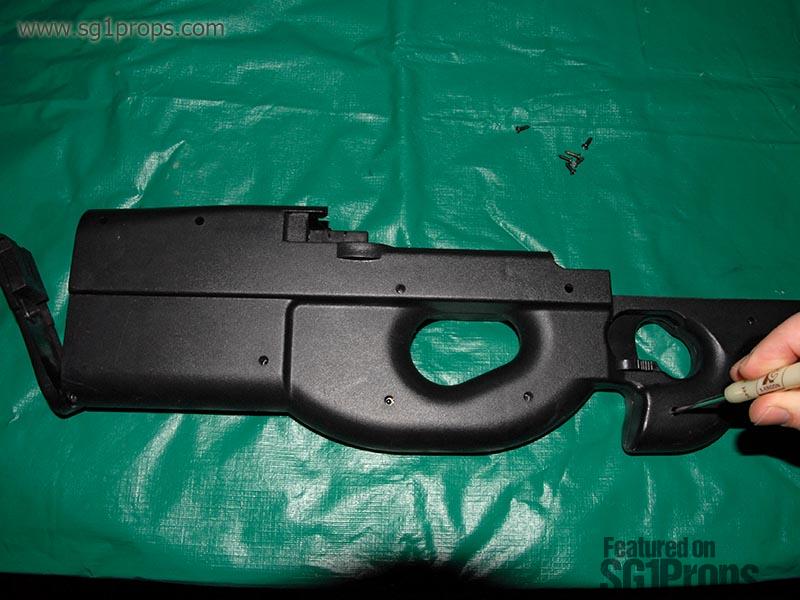
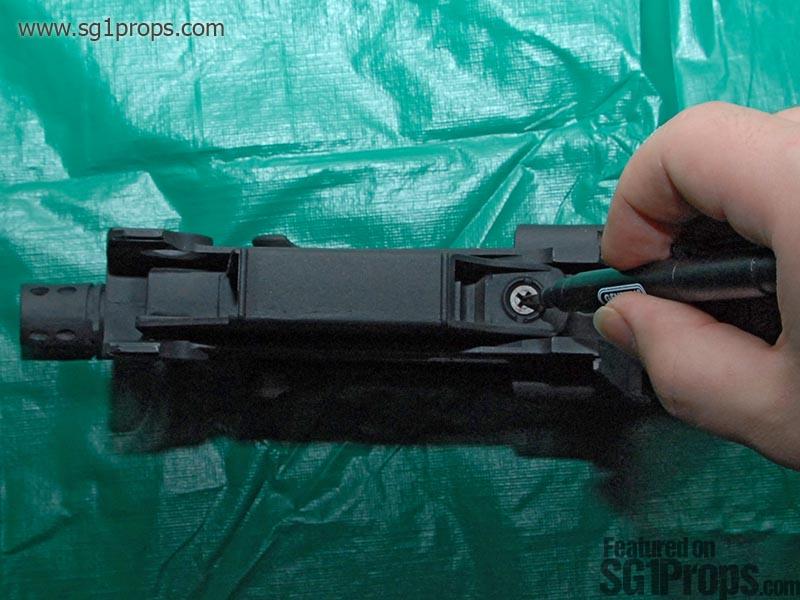
Now you are ready to take the other half of the gun and re-screw it down. While being careful not to disrupt the trigger system, carefully place the battery compartment door on the hinge at the rear of the gun, insert the metal weights, and then place the right half of the gun body back in place. If everything fits together comfortably then you can put all of the screws back in (except for the one behind the receiver, and one at the very front of the gun, where we cut the post out from the inside!).
Take a break after ...
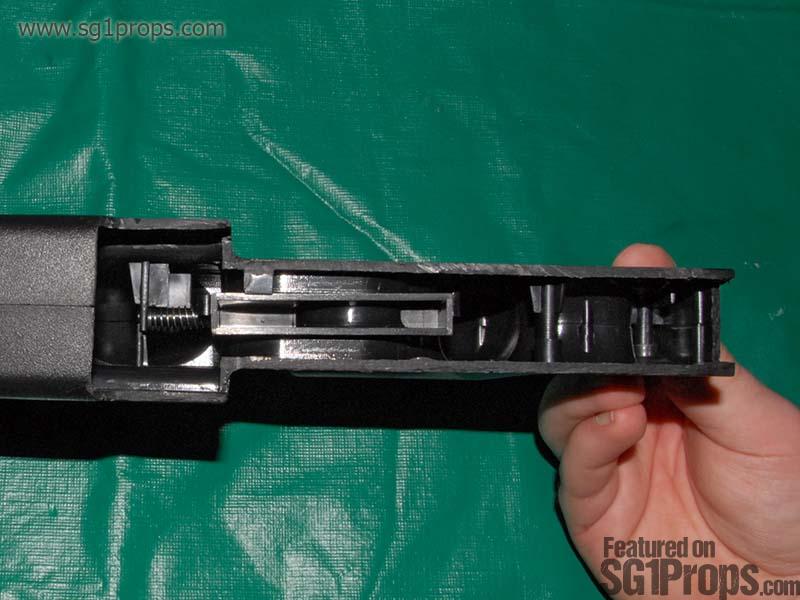
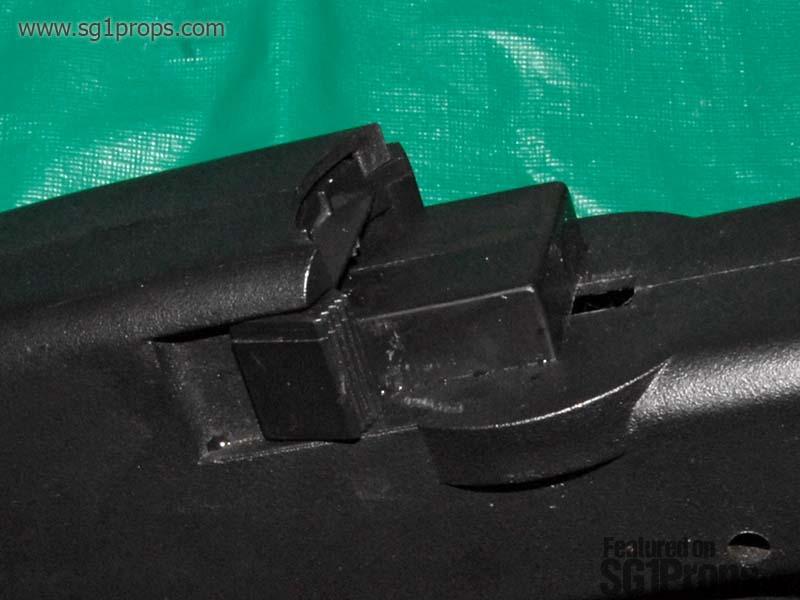
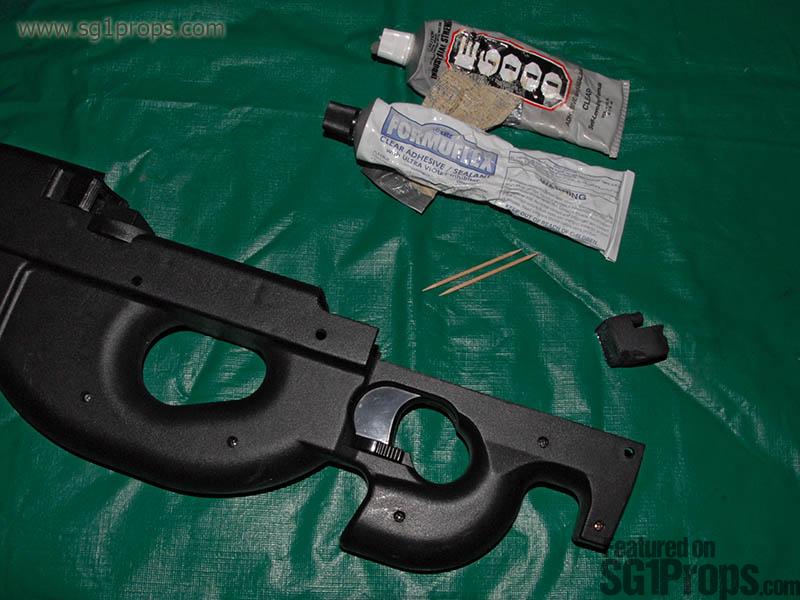
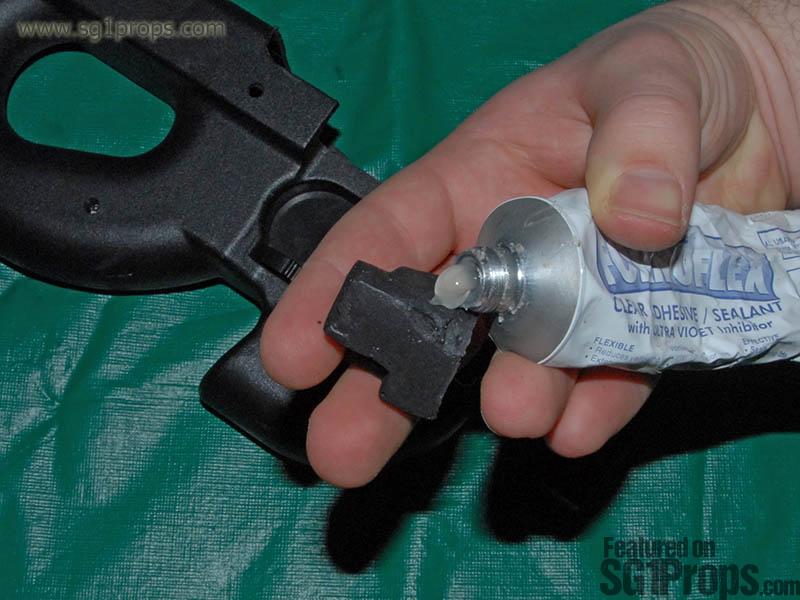
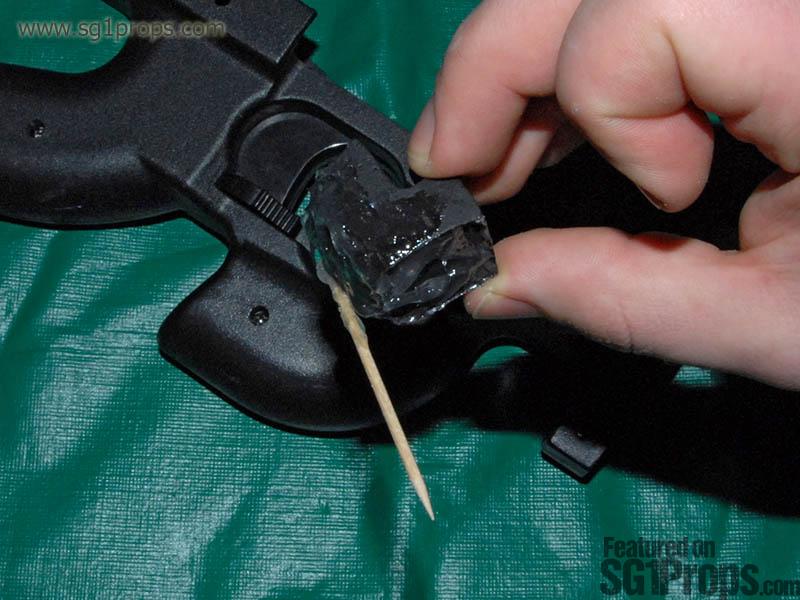
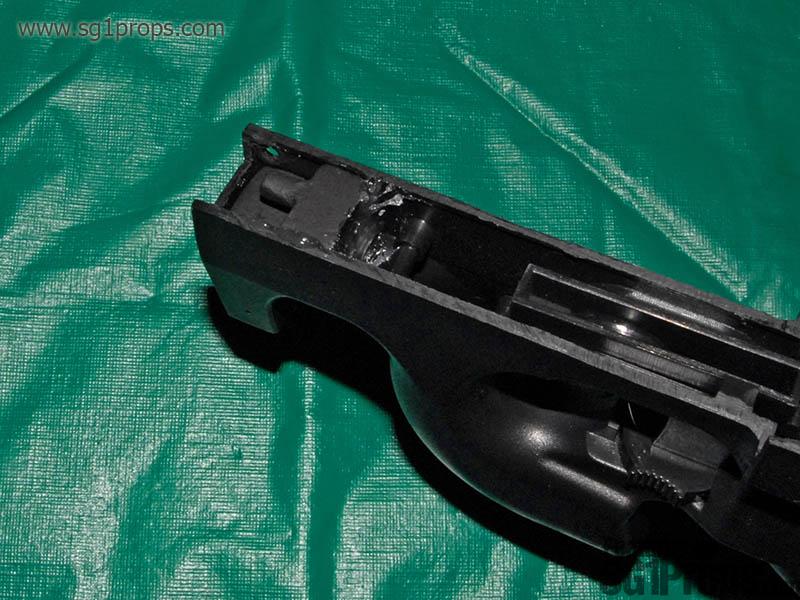
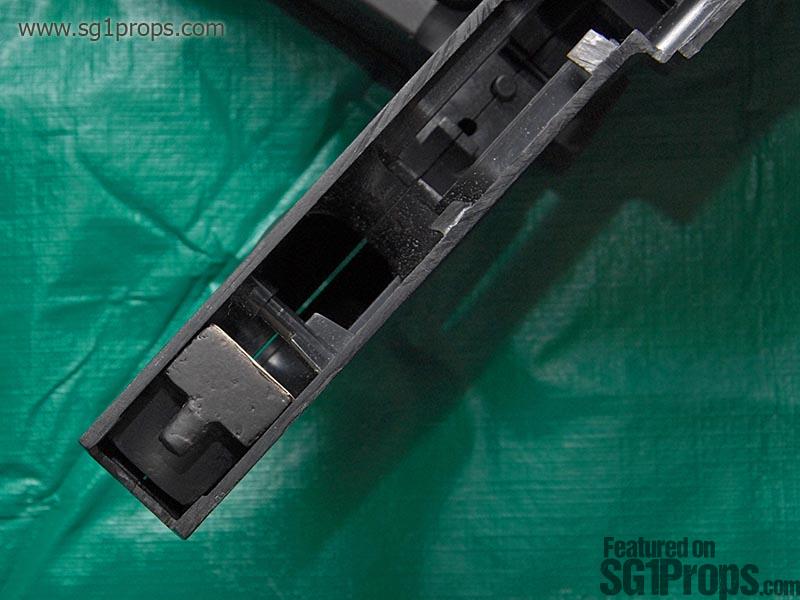
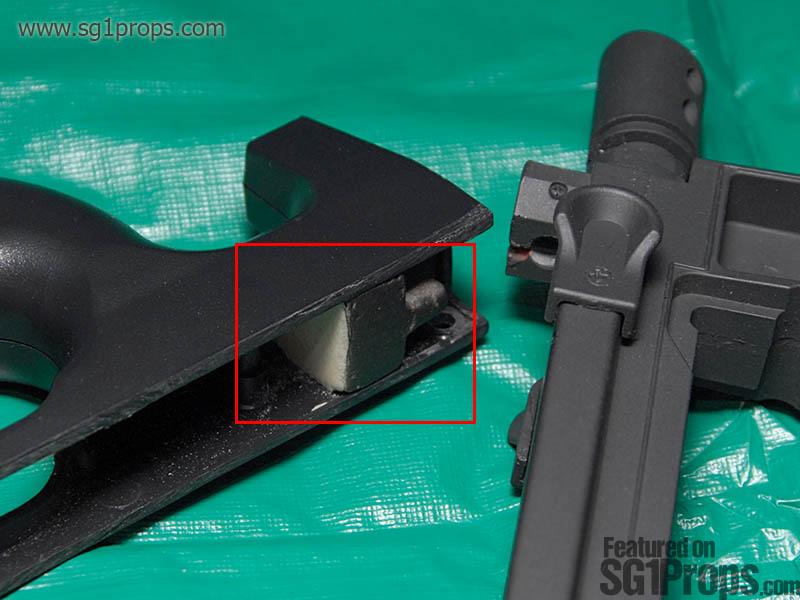
Before you can put the new receiver on you will need to take the gas block from your SG1Props P90 kit, and glue it down inside the gun frame. Before gluing it in, test fit by placing the gas block into place inside the very first cavity at the front of the gun. (You may have to lightly sand the gas block to insure if fits snugly). Now you can slide the new upper receiver into place. If everything seems to fit nicely, then you can place the upper receiver to the side and glue in the gas block.
I recommend using a thick adhesive that will maintain some flexibility after it cures. A product called E6000 Craft Adhesive works very well for this, but any silicon based adhesive will do the trick. If you insist on super glue then use something like Gorilla Glue that has a fairly jell like texture (if you use Gorilla Glue then try not to put any too close to the top or it will foam up over the part and will have to be filed down afterwards). Also, avoid using highly viscous (watery) super glues that will run too much; otherwise you may have glue coming out from the bottom of the gun. Whatever adhesive you use though, follow the instructions it came with, and allow it to dry for the recommended time (this may be up to 48 hours depending on the product you use).
It'll work when we build it
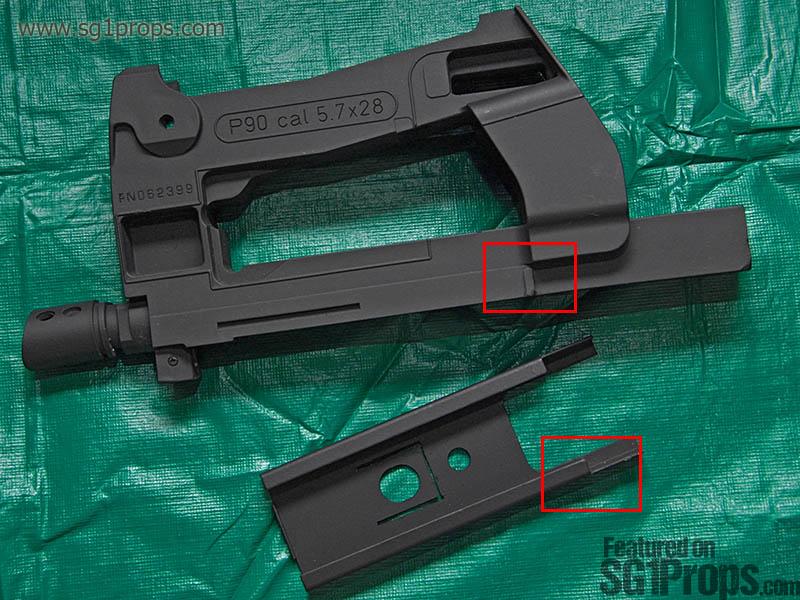
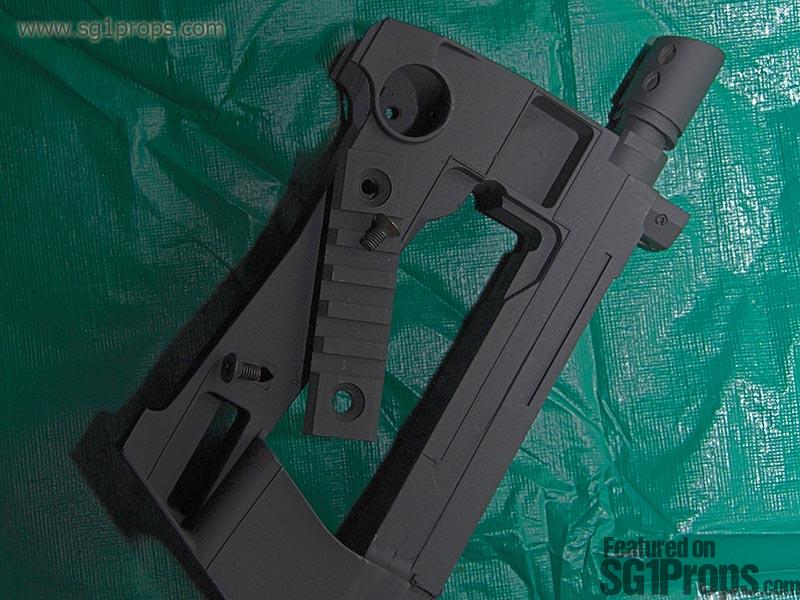
Before mounting the SG1Props upper receiver, you will need to make sure it is fully assembled. Began this process by installing the charging rails. They slide on from the front of the receiver. If you hold them at about a 90 degree angle they will slide right onto the pegs towards the rear. Once the rails are in place, add the charging handles on the front, and use the provided screws to secure them. Once they are screwed on tightly they should hold the rails in place so that it can slide back and forth, but not come off.
Next you should install the side accessory rails. Included in your kit are two rails with screws. You can install just one rail on the right hand side of the receiver, or you may install both that and the second rail on the left side as well. On the show they have rails on both sides, but some people prefer not to cover up the P90 trademarks, and to use just one rail. Whichever way you choose, it's a simple process once the holes are drilled to mount them—don't over tighten the screws though or you may crack the plastic receiver! Only tighten the screws until they are snug and don't move.
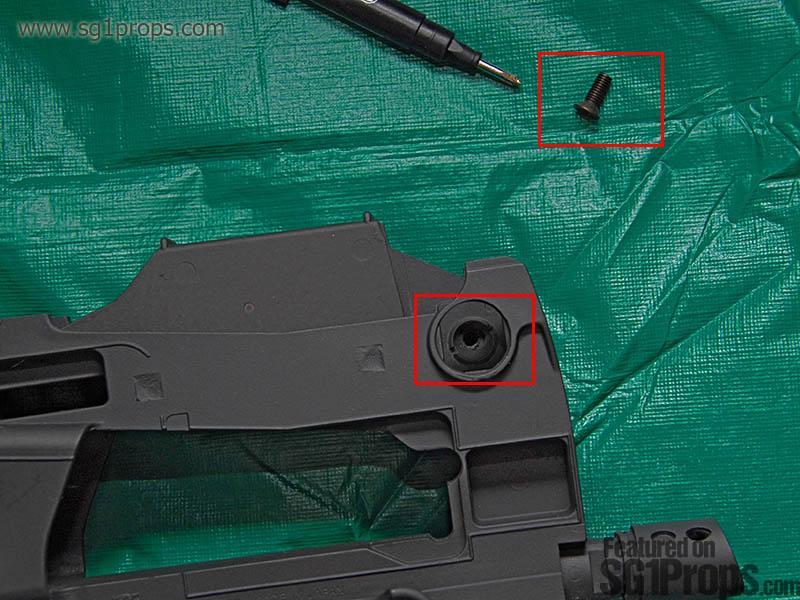
Your kit might include two different length screws which look very similar. If this is the case then be sure that you use the correct length for the rails and for the red dot sight. Use the shorter length screws for the rails, and the longer ones for the red dot. Your kit might come with only one length of screw, in which case it doesn't matter which you use for the rails and which you use for the red dot sight.
Once the rail(s) are installed you can mount the red dot sight. Just fit it onto the top of the receiver, and insert one of the longer screws at the front (through the hole on the right side), and one on the rear-top.
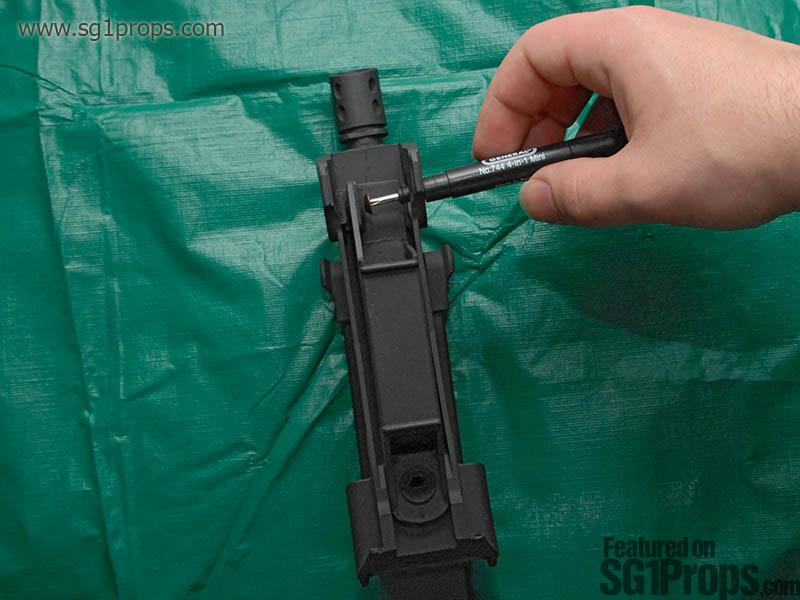
Once the glue on the gas block has dried you will be able to slide the upper receiver onto the gun body. The rails should fit snugly into the frame, and the hole under the flash hider will fit on the gas block. You may, at you discretion, permanently attach the upper receiver using the same adhesive you used on the gas block, or you can leave it as is. If you choose to glue it in, make sure not to put glue anywhere that will block the rails from sliding back (unless you don't care if they move).
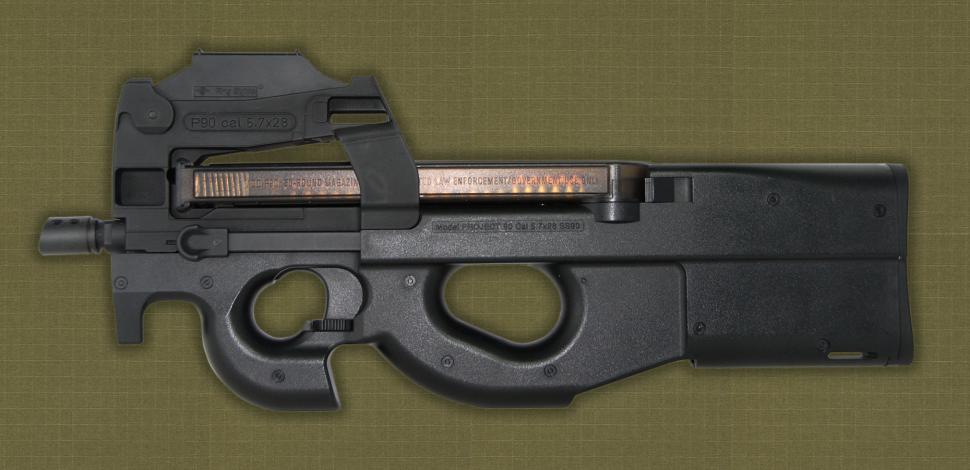
Congratulations on building your Stargate SG-1/Atlantis P90 prop. You're now ready to go offworld!
What you'll need
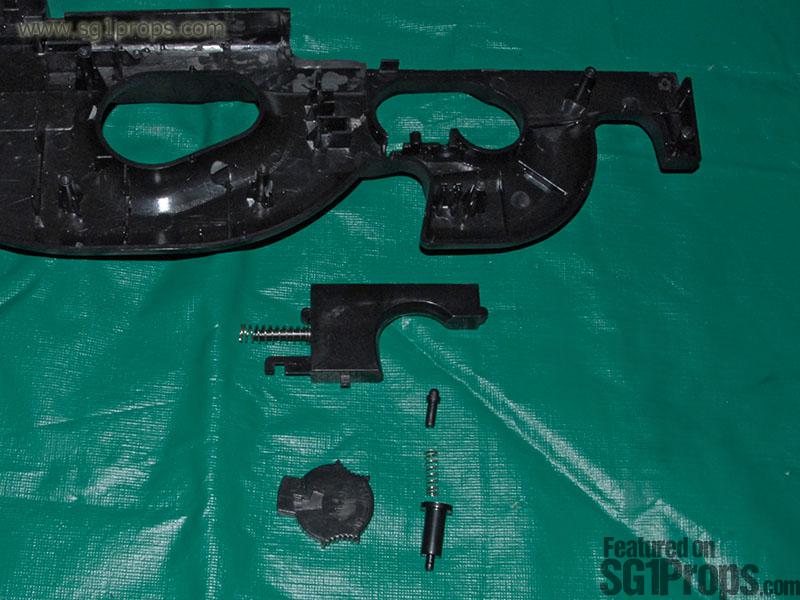
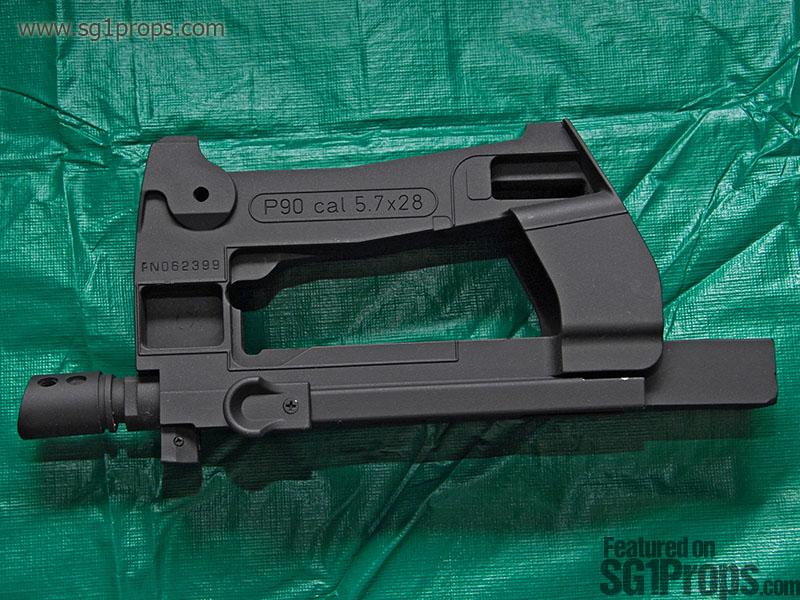
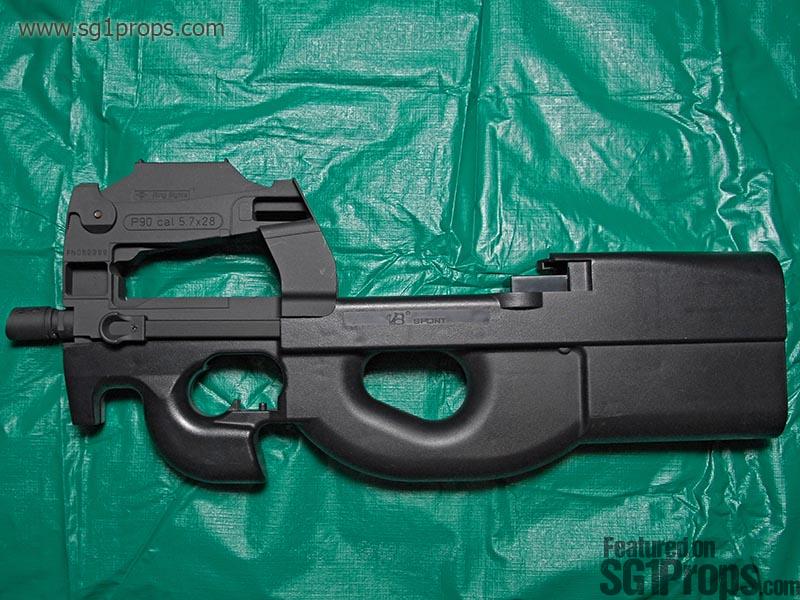
To begin the assembly process you will need to put both halves of the P90 shell back together. The parts that you will be using are:
Both halves of the P90 shell
Battery door from rear of gun
Trigger and its spring
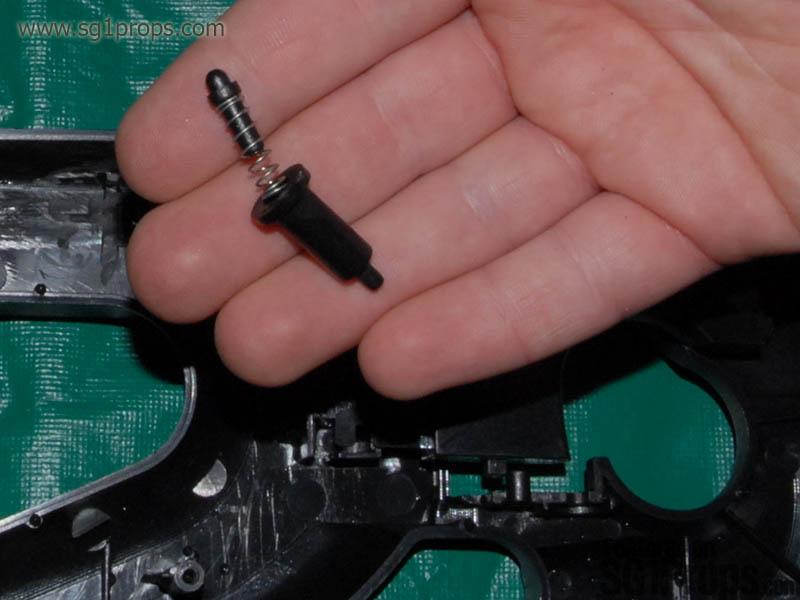
Fire selector (safety) switch assembly (small pin, spring, selector)
Magazine release and its spring
Screws that hold the body together
SG1Props.com recommends the use of proper eye protection and respirator/dust mask equipment whenever working on props.
Photos

Print | Share | Comment