
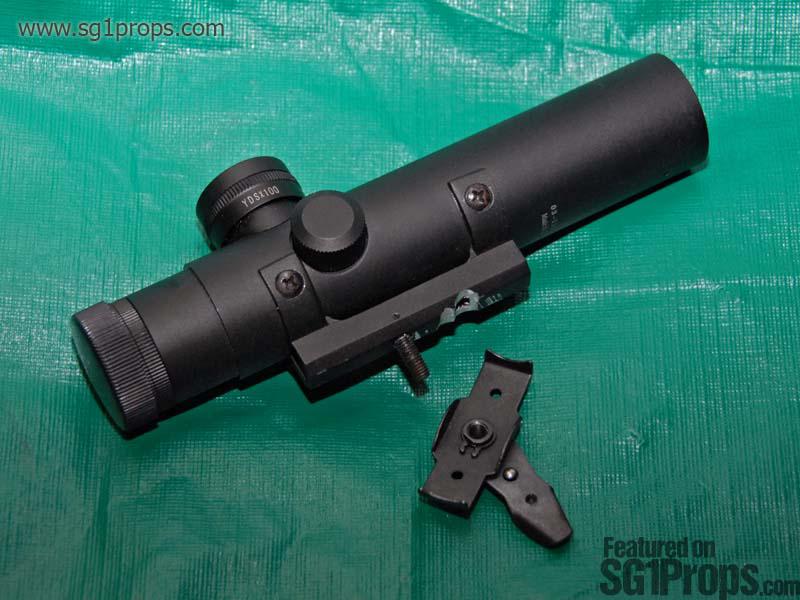
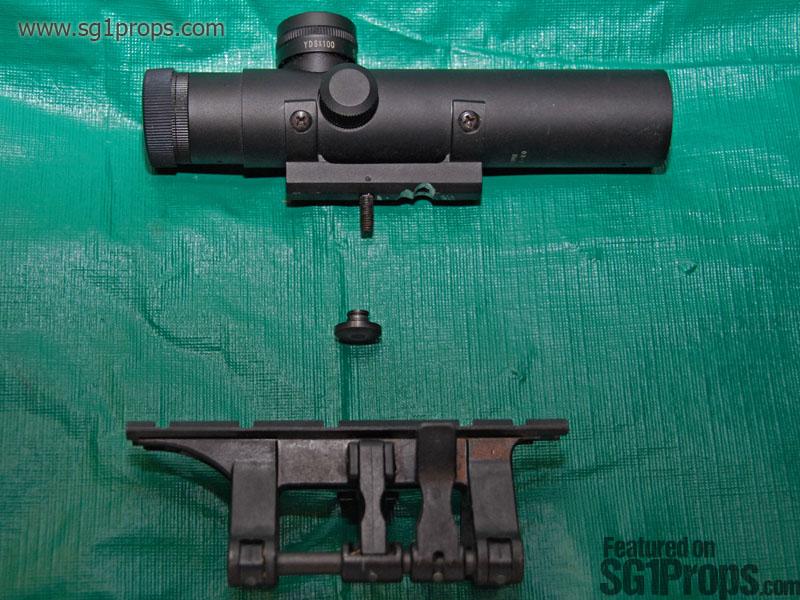
Scope it out
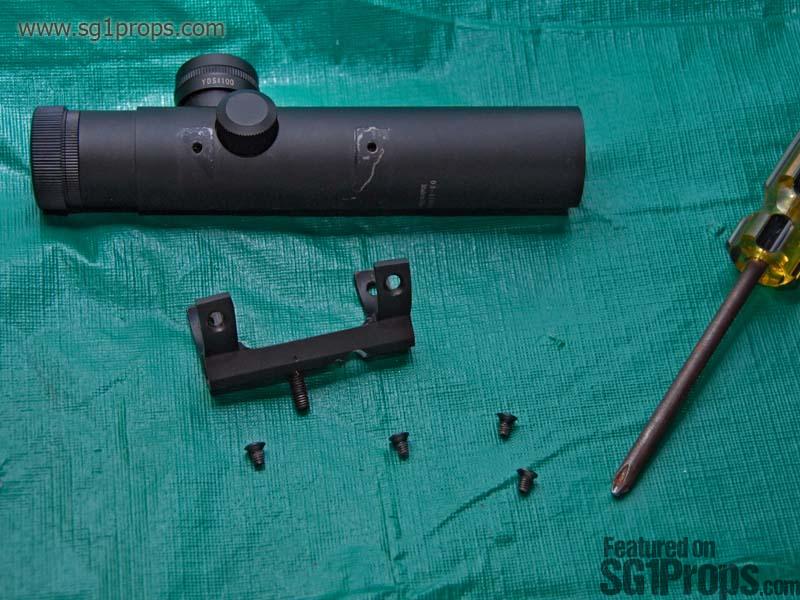
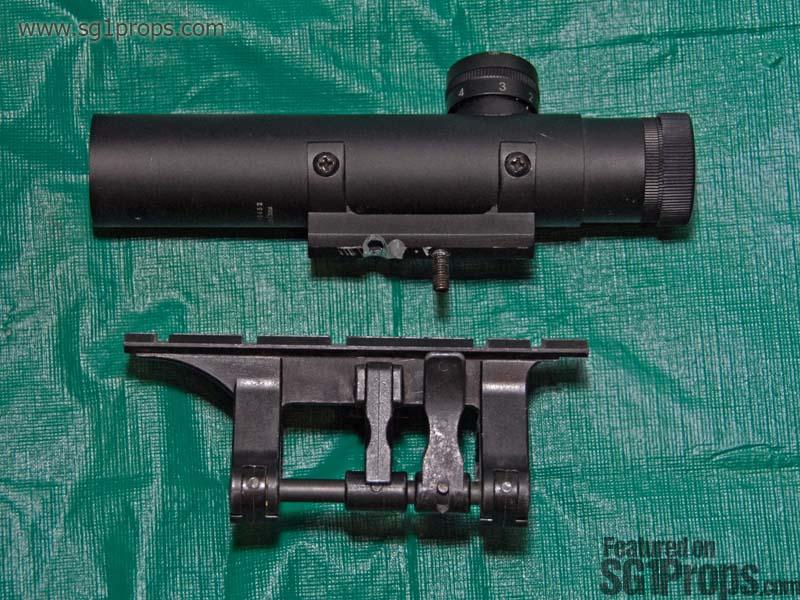
With the scope in hand, remove the wing nut on the bottom that secures the scope to an AR series carry handle. With this removed you will have a bare screw protruding from the bottom of the scope's base—the basis for how we will be attaching it to the claw mount. Take the part you've just removed and set it aside because you will be making use of some of the parts from it. Next though, using your phillips head screwdriver, you'll want to remove the 4 screws on the sides of the the scope (two per side), and put them someplace safe. With those removed you will be able to remove the base from the scope, leaving you with two parts: the scope tube, and it's base.
The grind
At this point you can either buy a new bolt/nut that's relatively the size of the one on the scope base, or you can make use of the one that comes with the scope. For our purposes here I'll be showing you how to use the one that came with it. In general though, if you opt to buy a new bolt, you will need to get a nut that will fit in the channel on the claw mount (below the rail). You'll have to experiment with what works if you want to use a new bolt and or nut.
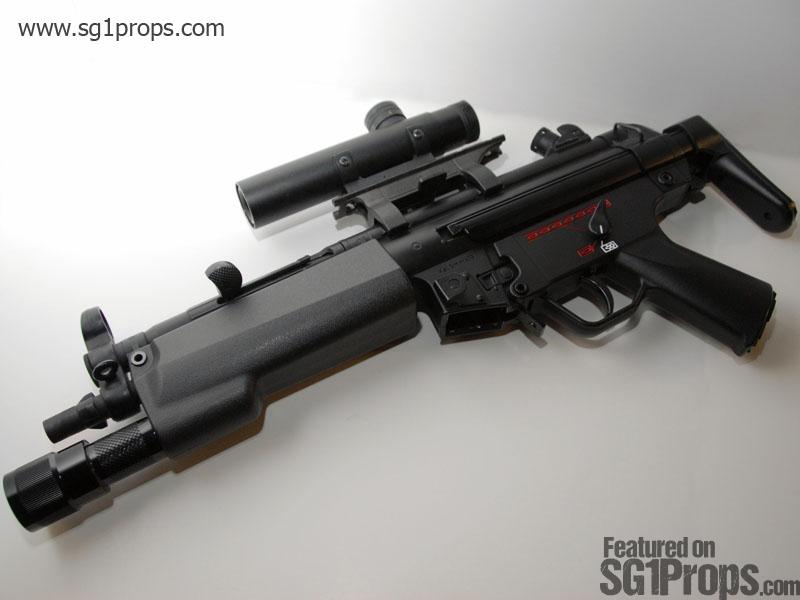
Putting an AR15 scope on the Stargate SG-1 MP5-A5
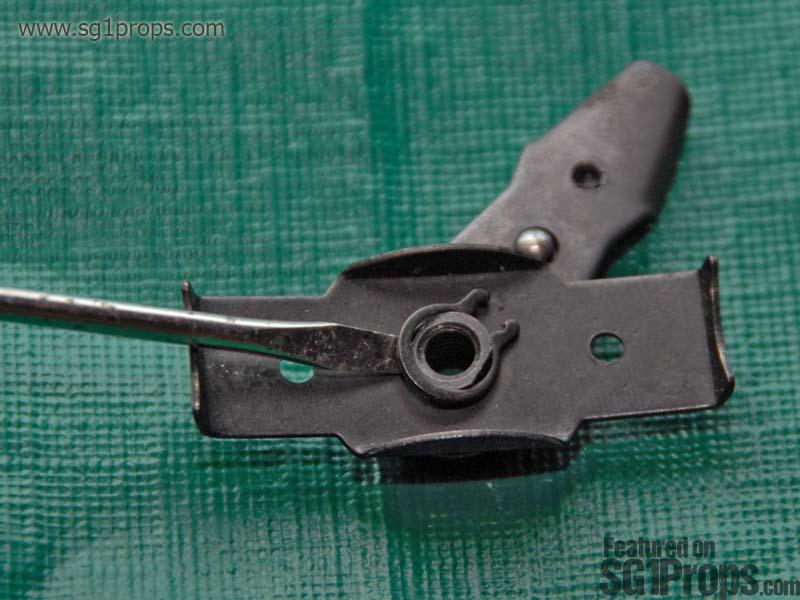
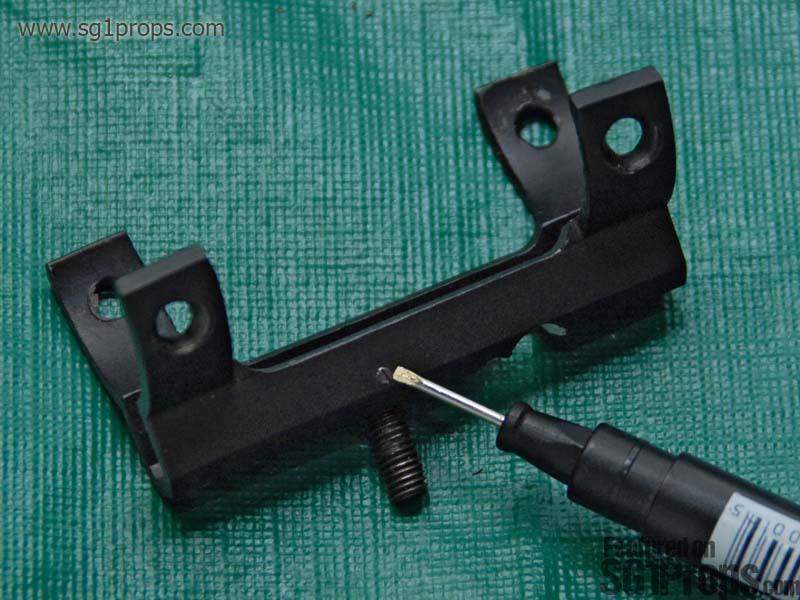
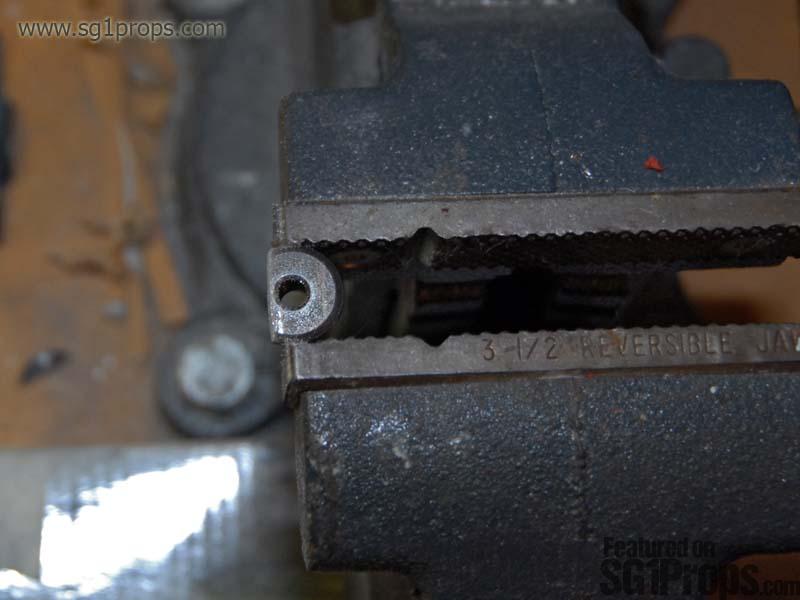
To remove the bolt from the scope's base, you will need to untighten the tiny flat head screw from the side (see photo). After that is loosened you will be able to remove the bolt by pushing it up from the bottom, and out of the base. The head of this bolt is square shaped to prevent it from turning; but, we want to file it down to a semi circular shape so that it can turn in the channel. Also, you will have to cut a notch into the top of it so that you can turn it with a flat head screw driver. A bench grinder works best for reshaping the screw head into a circle, however you could also use a metal file.
Wormhole
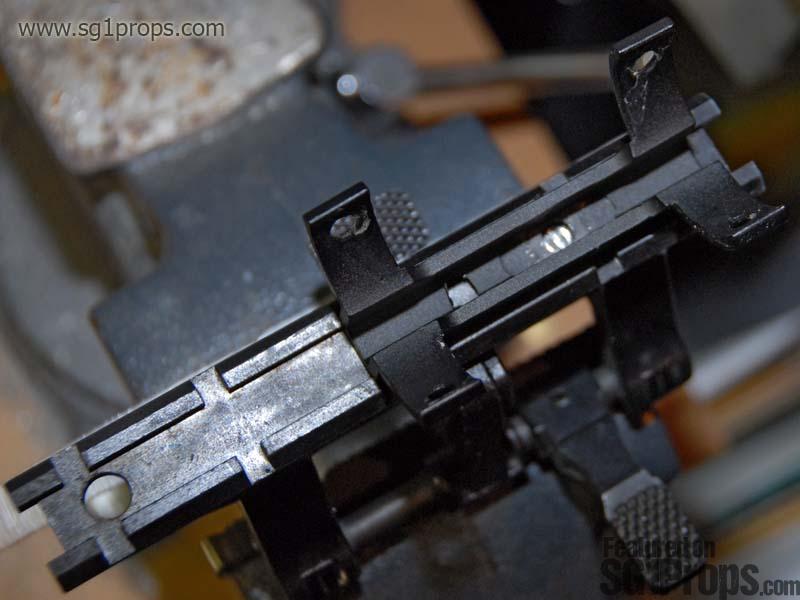
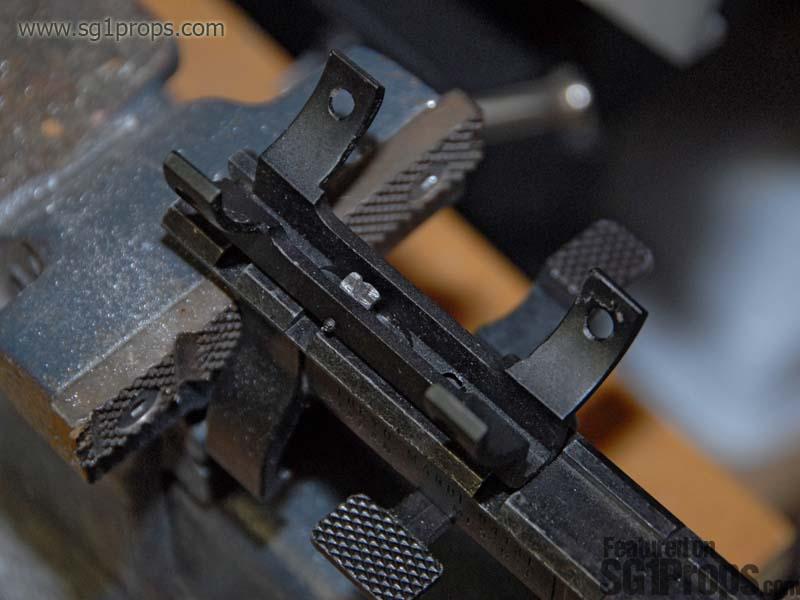
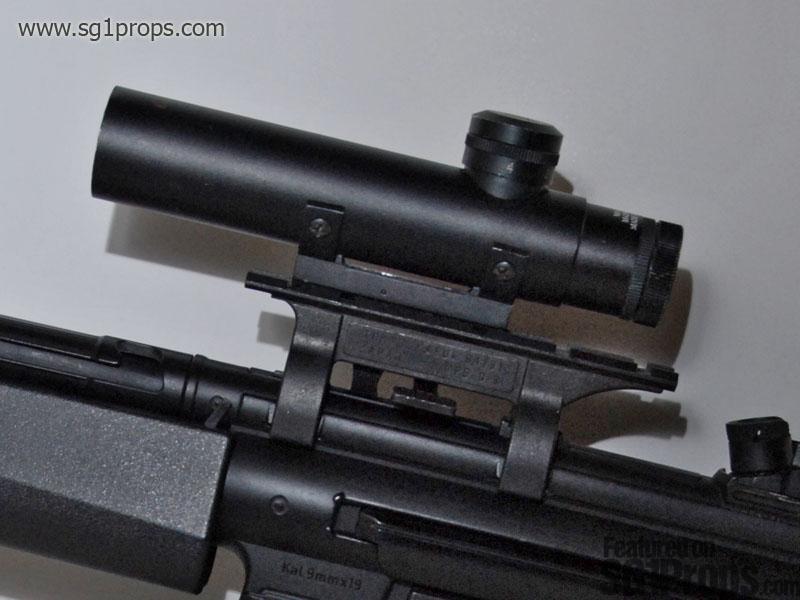
The next step in this modification is to determine where you want the scope placed on the mount. What I did was look at some reference photos with the scope and mount in front of me. If you move the scope (and it's base!) along the claw mount you can either pick what looks closest to what was done on screen, or what you like best. At this point, mark the top of the claw mount exactly where the screw from the scope touches it. This is where you will be drilling a hole.
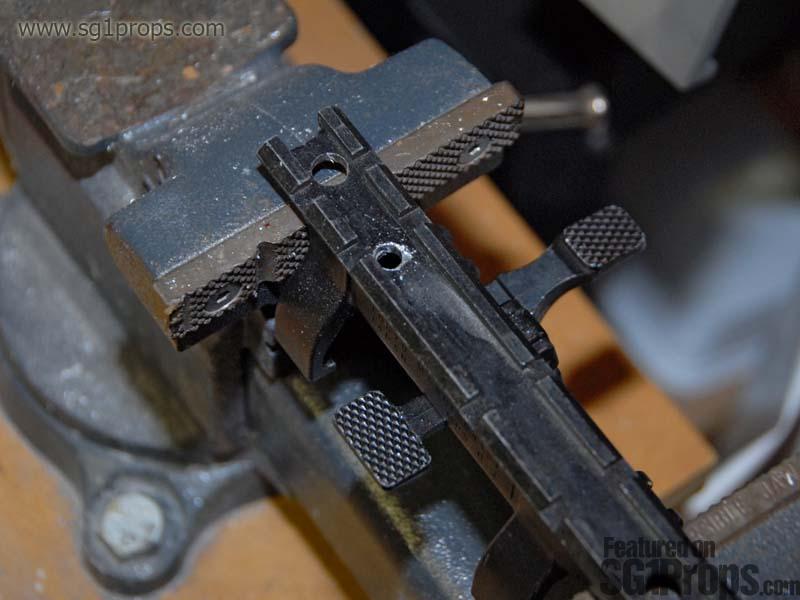
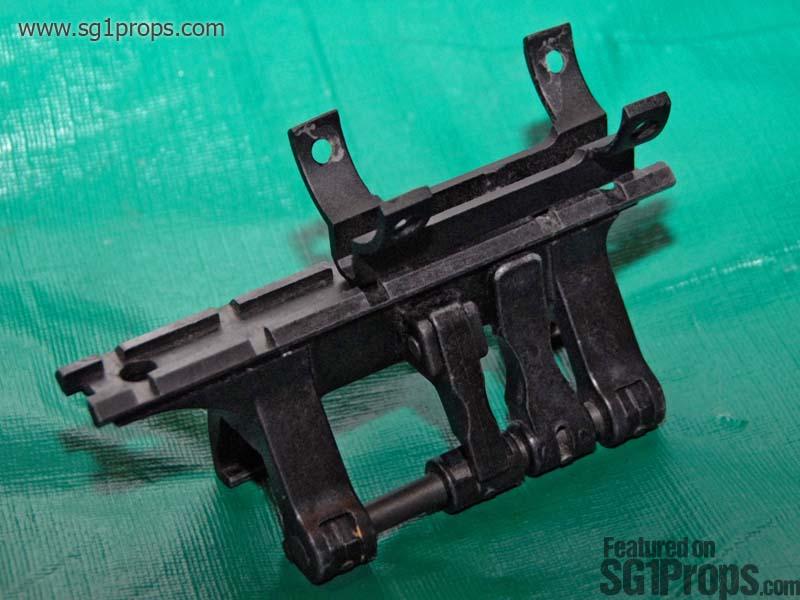
Once you decide if you want to use the bolt you have or to buy a new one, it will be time to drill a hole into the claw mount. It's very important to drill your hole in the center of the channel so that the scope stands up straight. If you drill closer to one side then the scope will not sit evenly, and will lean to one side. With this in mind it's a good idea to drill a smaller pilot hole before using the larger drill bit (can ya tell I made this mistake!?).
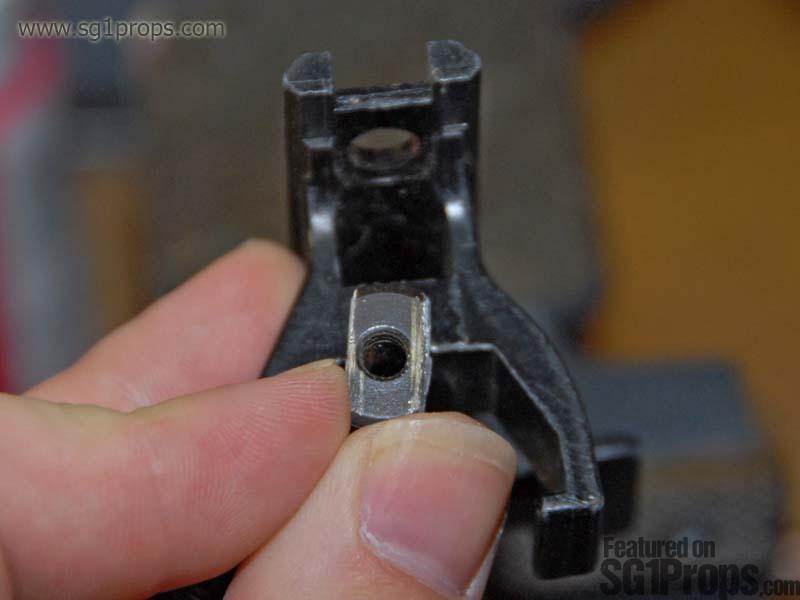
Next you need to make sure that the nut you're going to use will fit into the channel inside of the claw mount. If you're using the circular nut that came with the scope then you will need to either saw off or grind down two sides of it so that it can slide into the channel. The threaded hole needs to line up with the hole you drilled though, so make sure you cut/grind both sides of the nut equally. The nut should fit into the channel but not turn.
Line them up
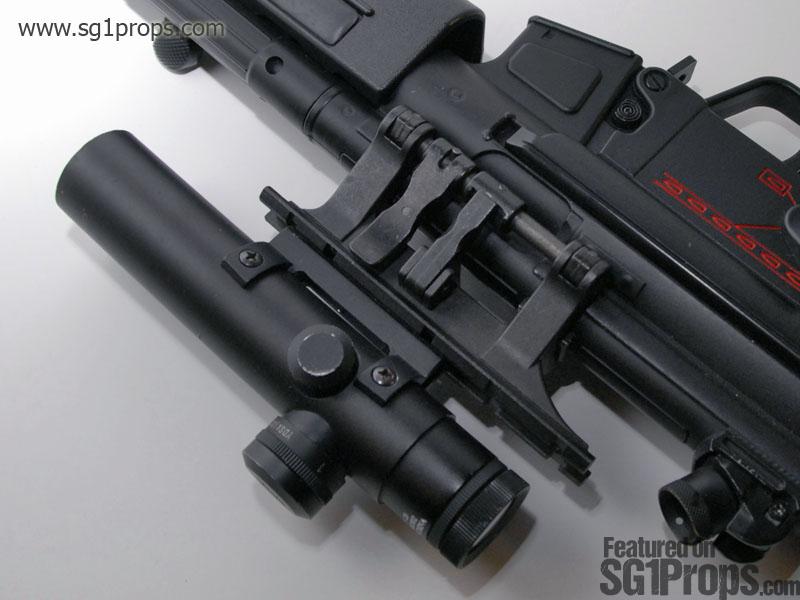
Once the nut is fitted securely inside of the claw mount it's time to secure the base of the scope. With the base of the scope sitting ontop of the claw mount, line up the hole of the scope housing with the hole that you drilled on the claw mount. Once it's lined up, screw the bolt into the scope housing, through the hole you drilled in the claw mount, and into the nut. Since the nut cannot turn inside of the claw mount, you will be able to screw the bolt in tightly. If you used the original bolt that came with the scope then you will be able to put back the tiny screw that you took out of the side of the scope housing. This will make sure the bolt doesn't come loose.
You can now place the scope tube ontop of its housing, and screw it down with the four screws you removed earlier. If everything went right then congratulations; you're done! If the scope isn't straight, or seems to wobble a bit, then you might have to go back and rework the hole you drilled in the claw mount. Otherwise, your Stargate SG-1 issue MP5-A5 is ready for you to take aim with on your next offworld mission!
What you'll need
1x Claw Mount (Tokyo Marui, hurricane, H&K...)
1x 4x20 AR-15 Scope (Colt, Hakko, Leapers, Osprey, Eurolux, Cybergun, LS, or Ultralux)
Regular phillips head screwdriver and a small jewelers flat head driver
Hand drill or drill press
Hacksaw or bench grinder
Optional: Replacement nut and bolt
SG1Props.com recommends the use of proper eye protection and respirator/dust mask equipment whenever working on props.
Eye protection
Lenses should be made from polycarbonate to protect from flying debris.
Respirator
Completely cover mouth and nose, and fit the form of your face. A mask with interchangeable P100 particulate filters is recommended for this project.
Photos


Print | Share | Comment