Stargate SG-1 Energy Weapon Prop
This prop came to life on the small screen as a result of effort between the Stargate Command and the Tok'ra to combat the new Goa'uld Super Soldiers. With a little ingenuity from Samantha Carter, the SGC adopted it to military use by mounting it on P90s and M249s.
This weapon makes such a good pair with the SG1Props P90 project that it would have been a crime not to make one! And so that's just what I did, and now can proudly present on SG1Props.
Note: This sculpt was done way back in 2006, and is being released here only for references to the process of scratch-building a prop.
This project began with just a small handfull of screen grabs from Death Knell, and some prototype tech-references from the production. Since the prop is not seen clearly in the episode, I had no references to show exactly what it looked like. Thus begun the prop-reproducing process of pouring over screencaps, making sketches, and just generally trying to fill in the blanks of what the prop should look like.
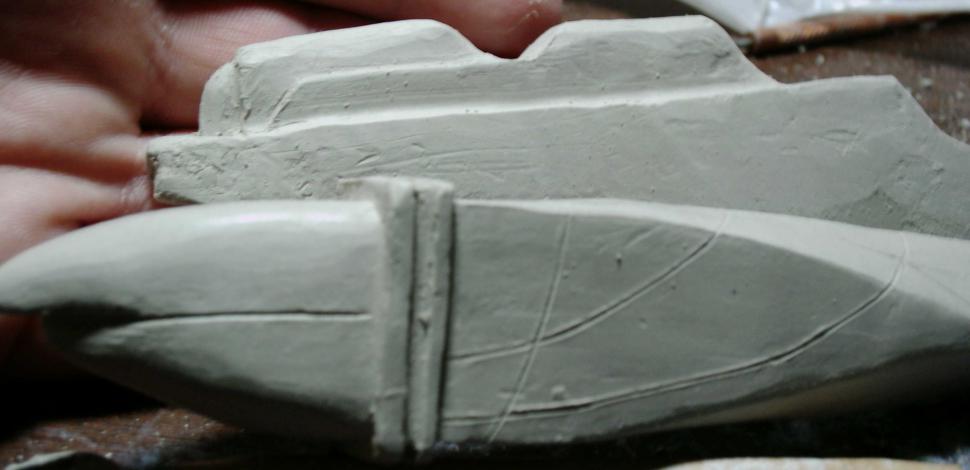
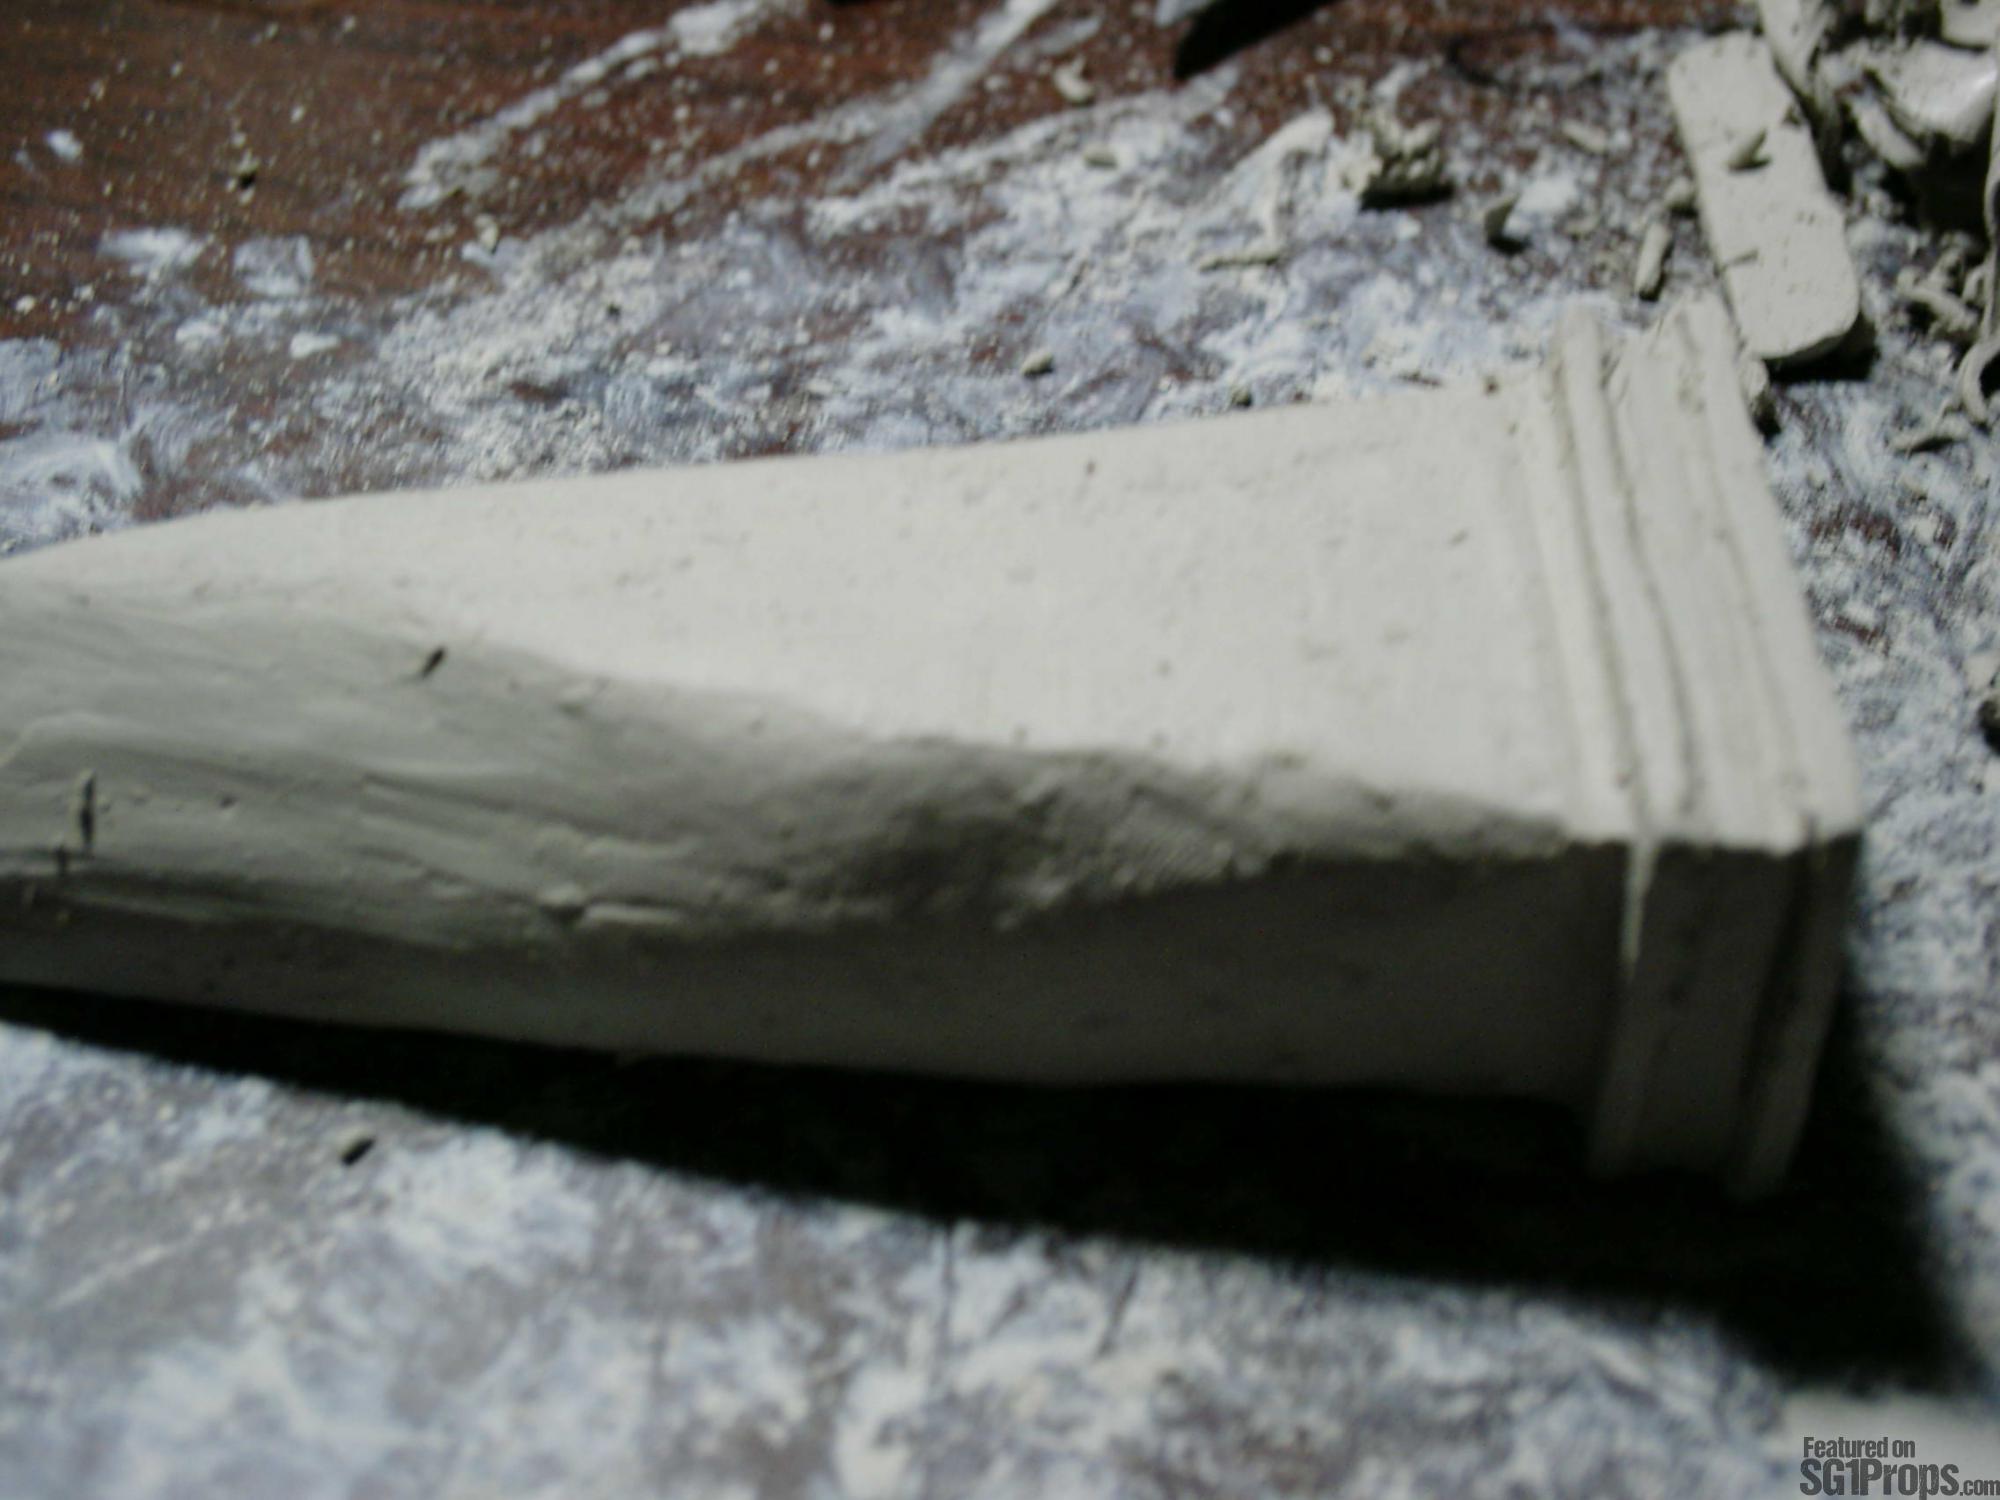
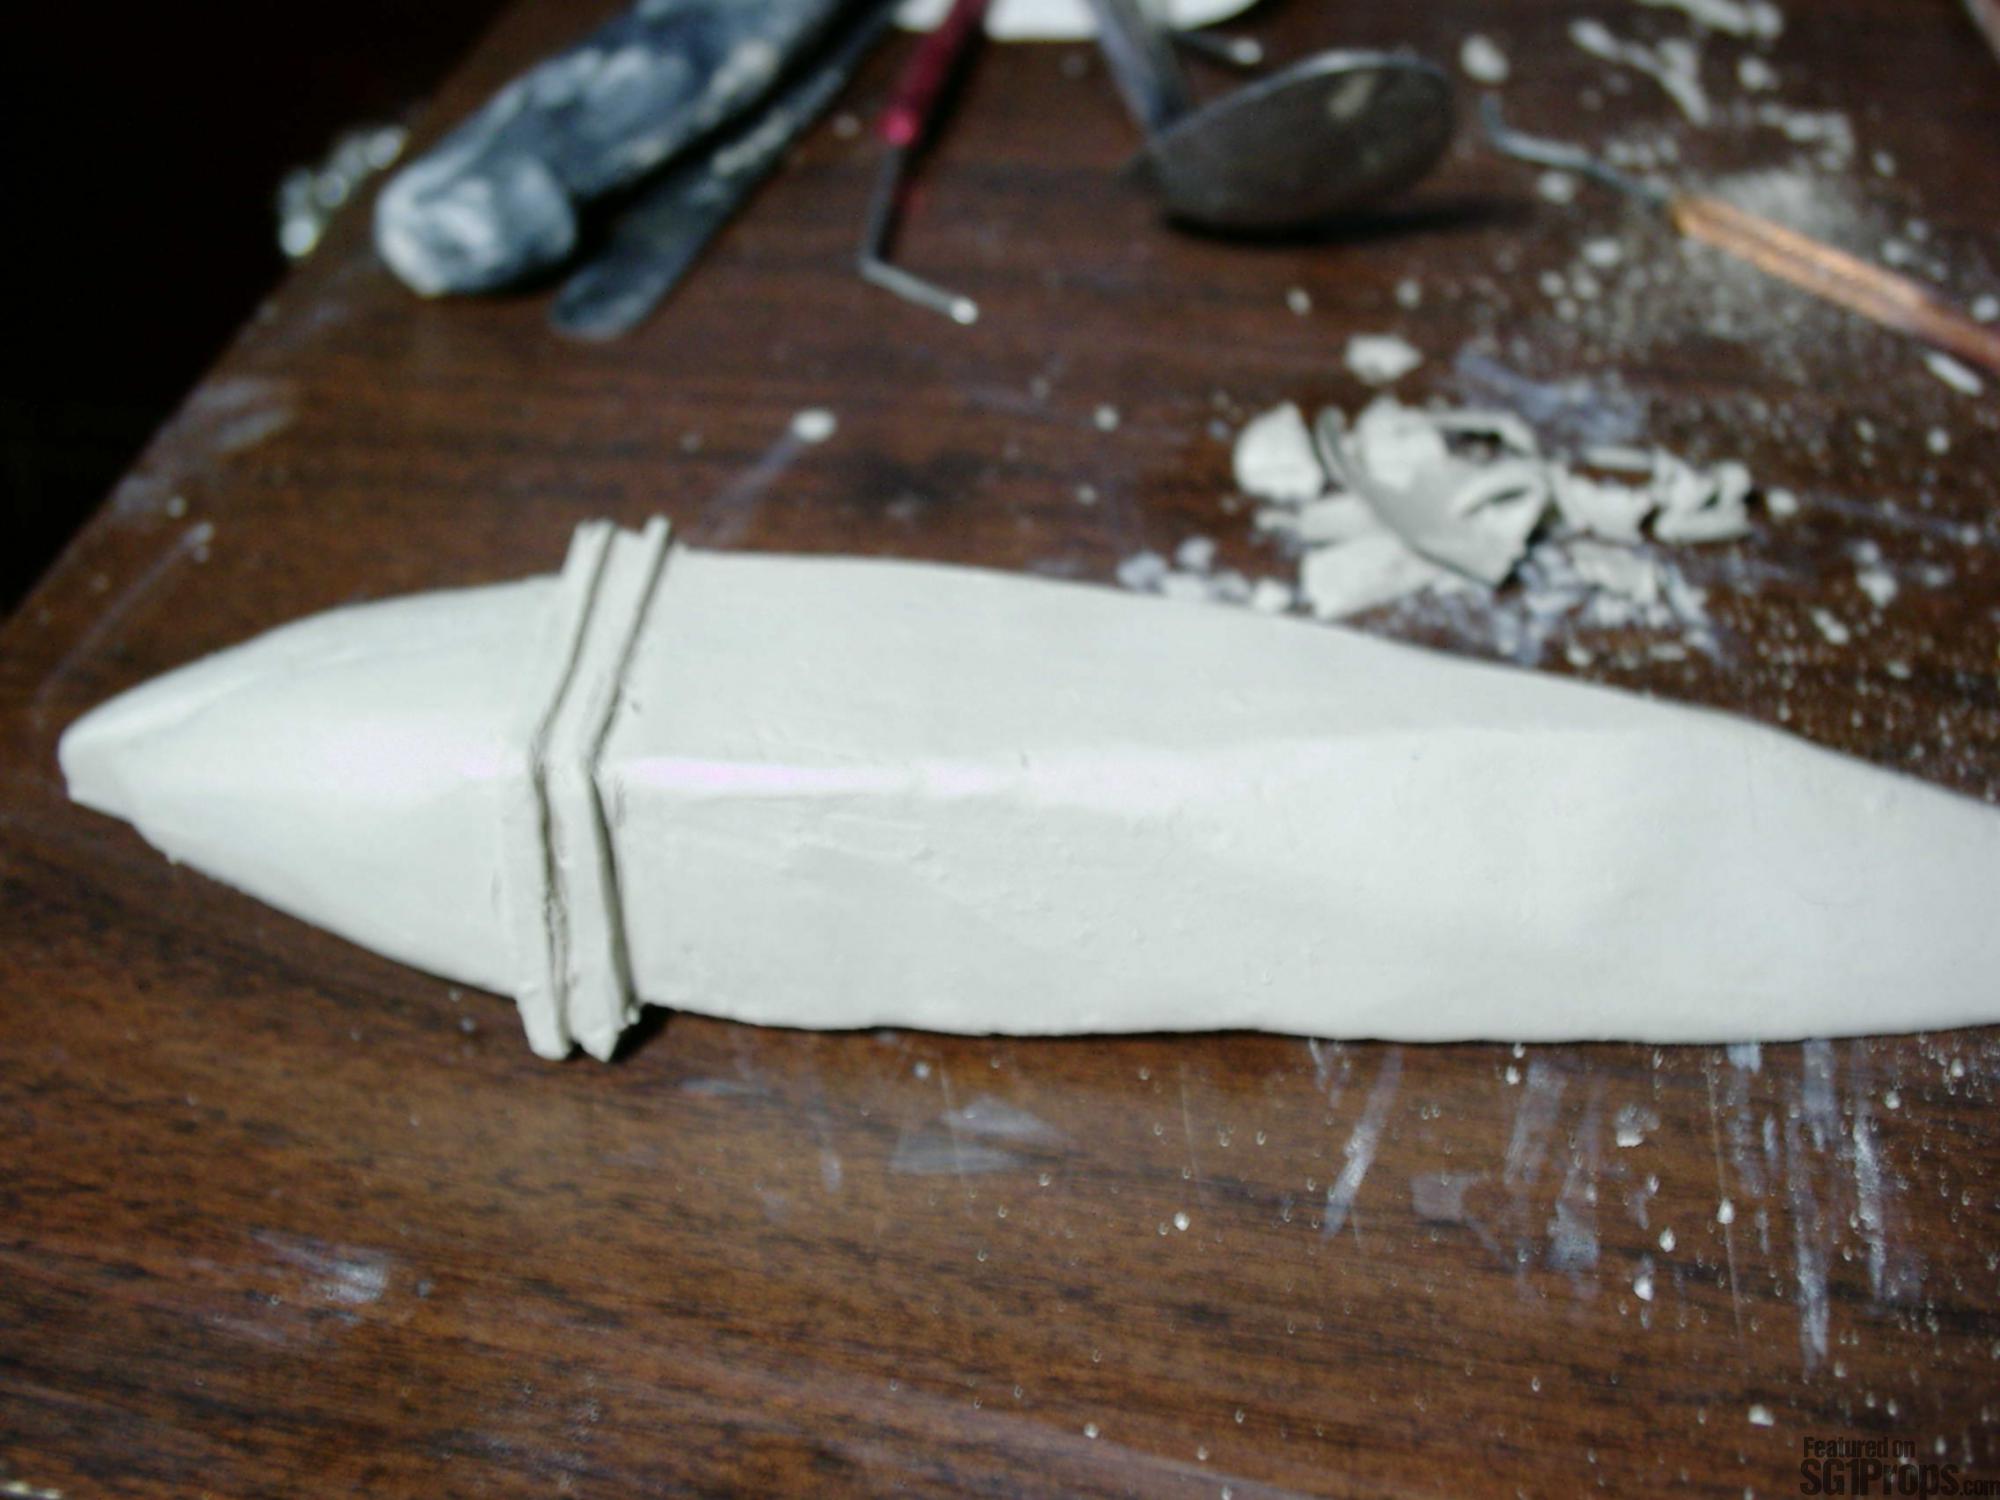
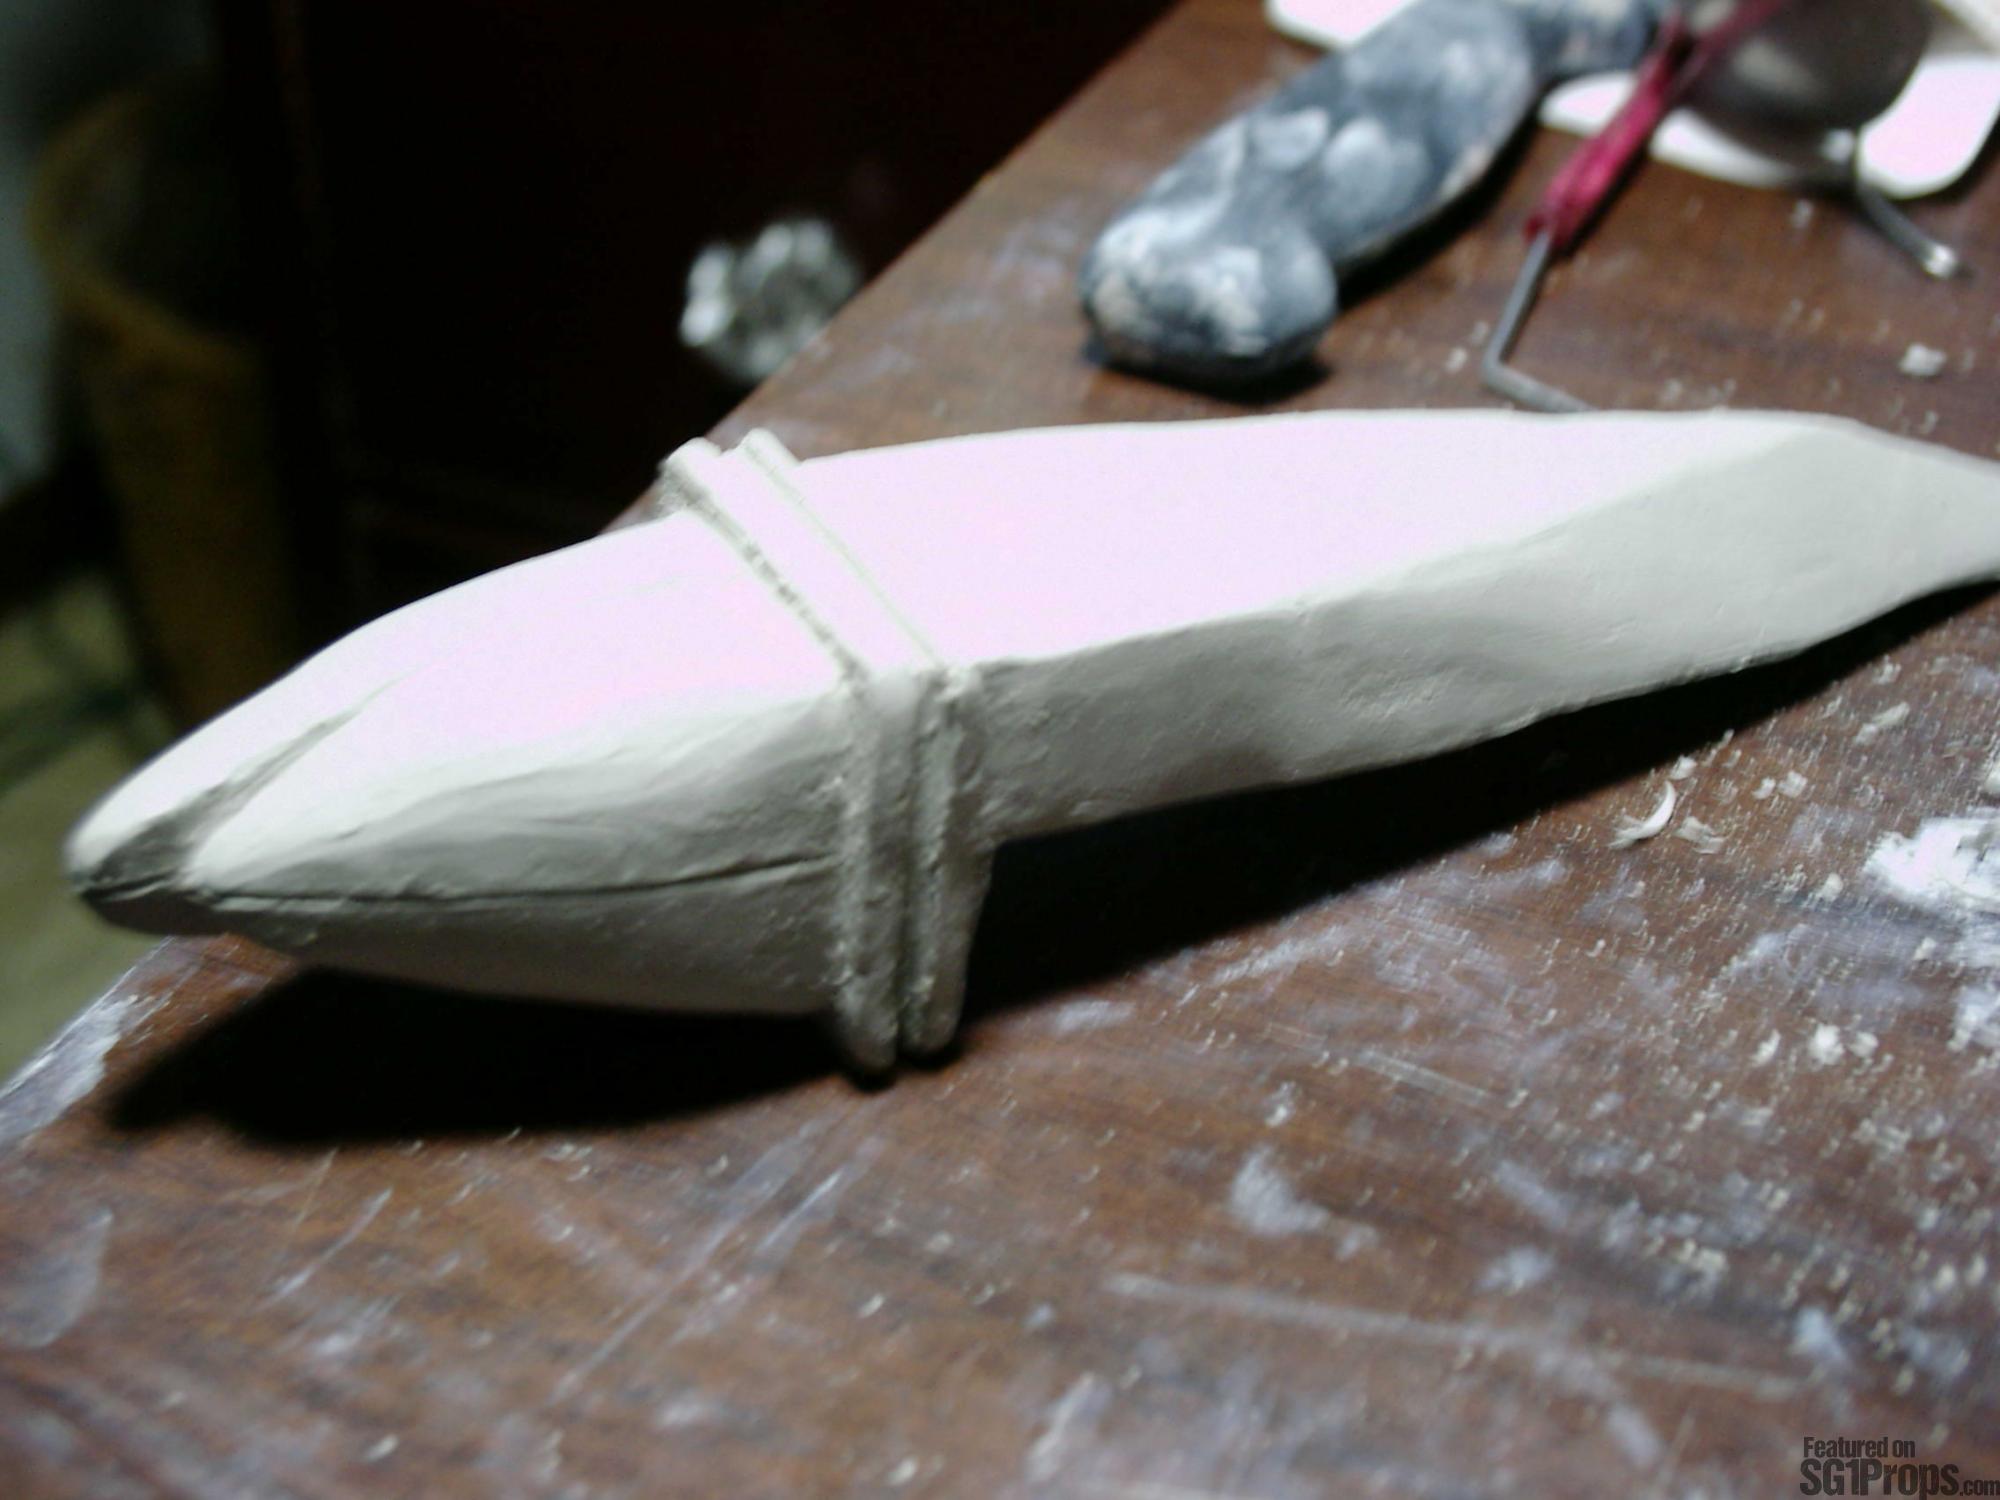
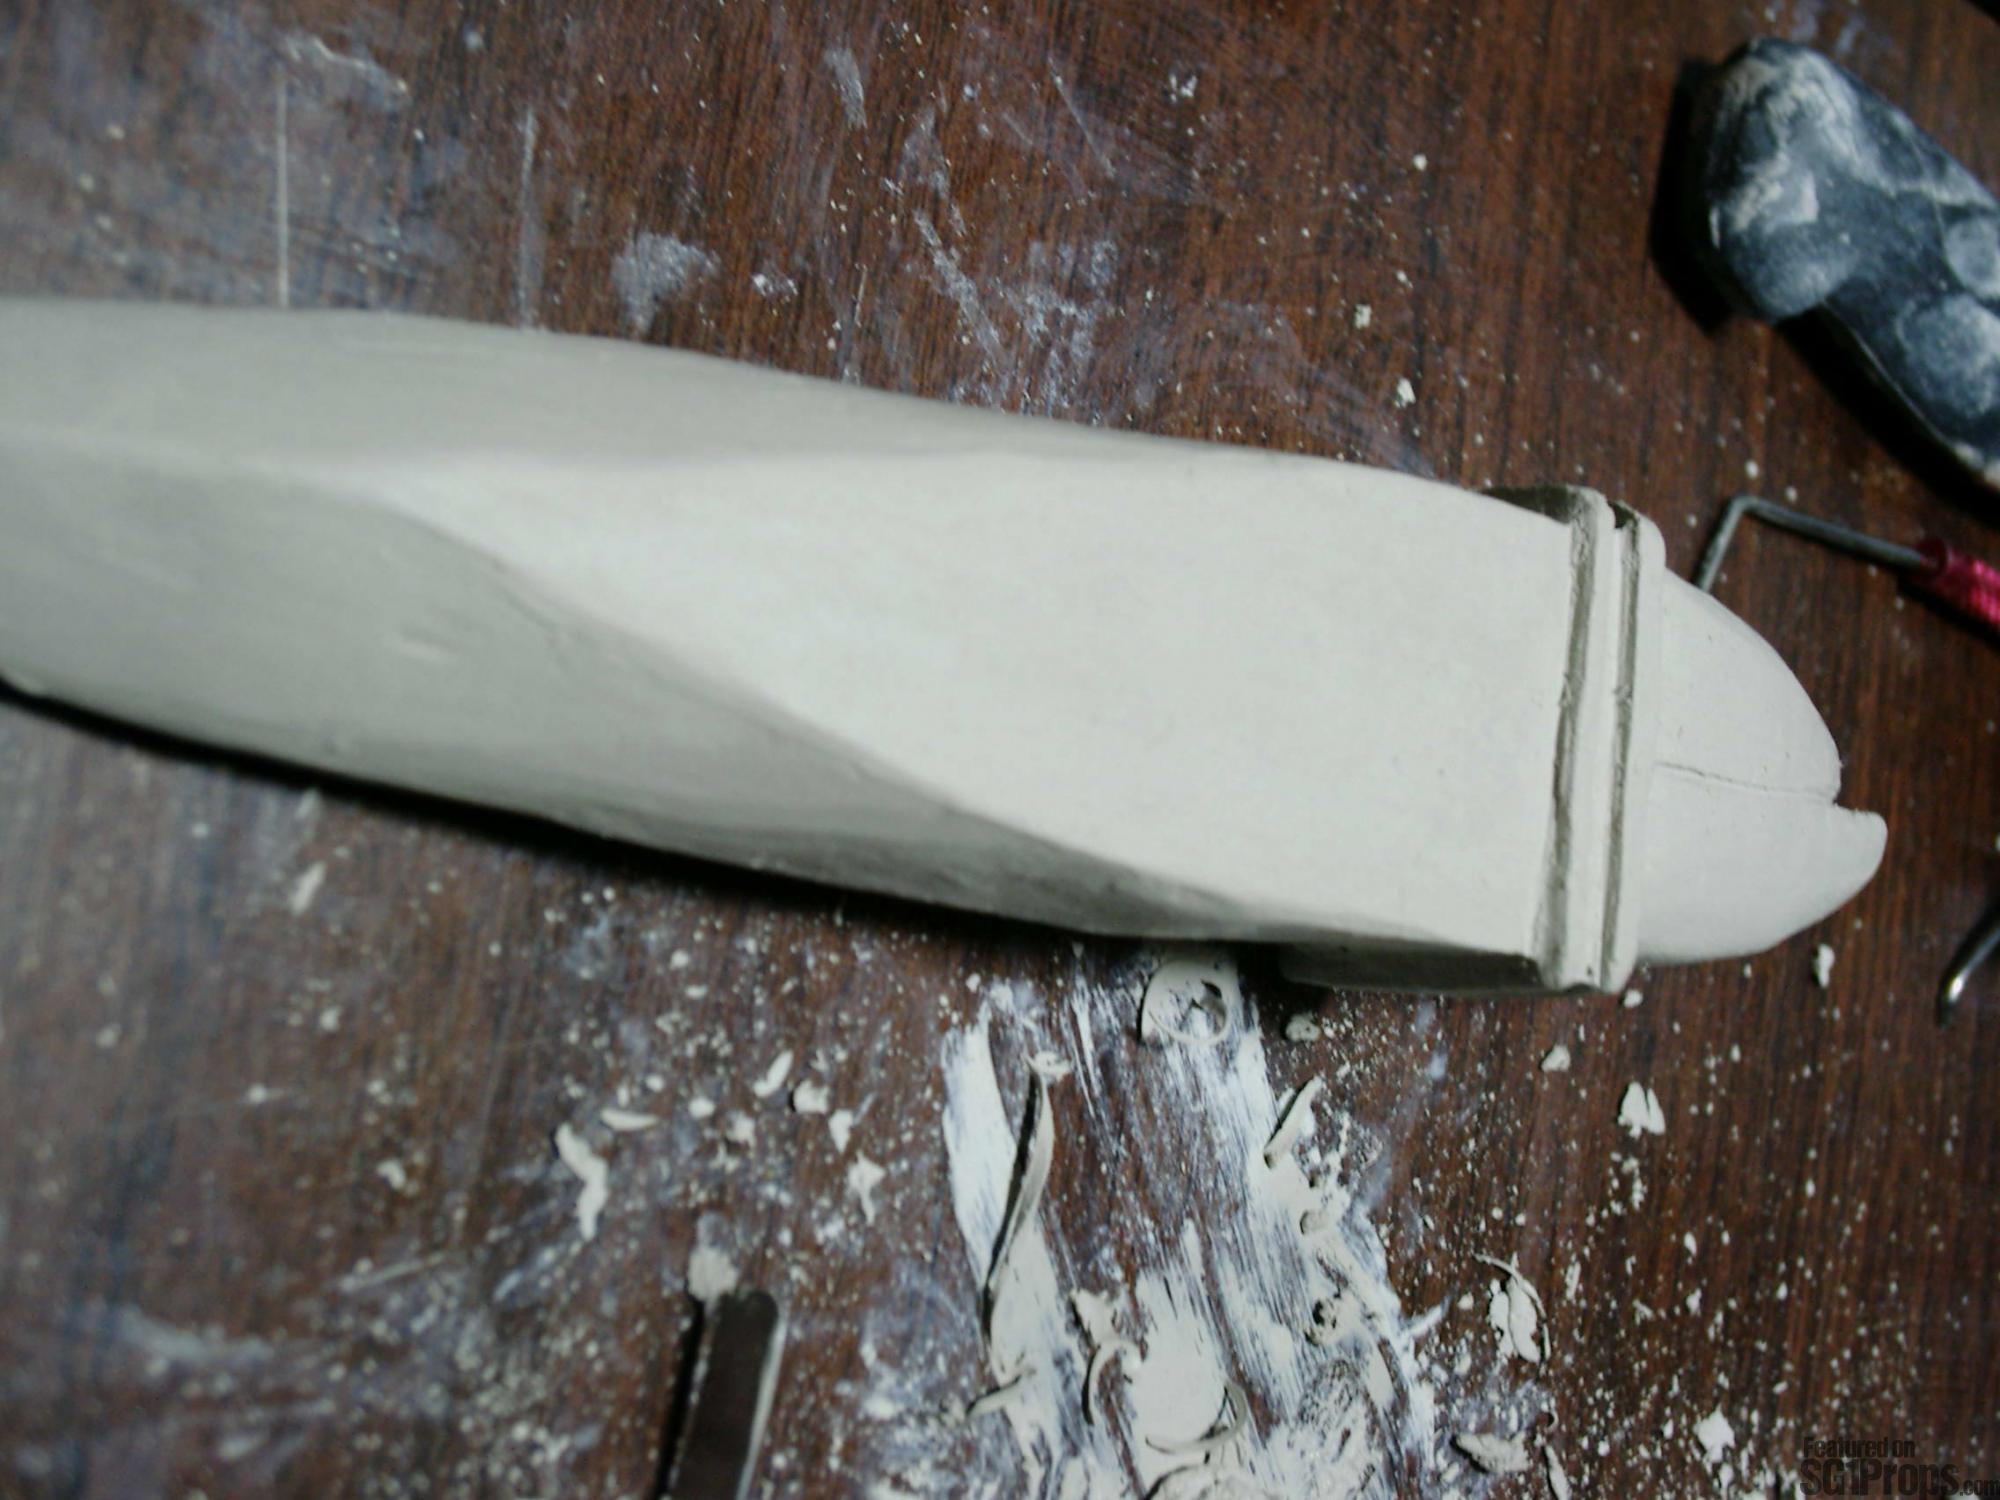
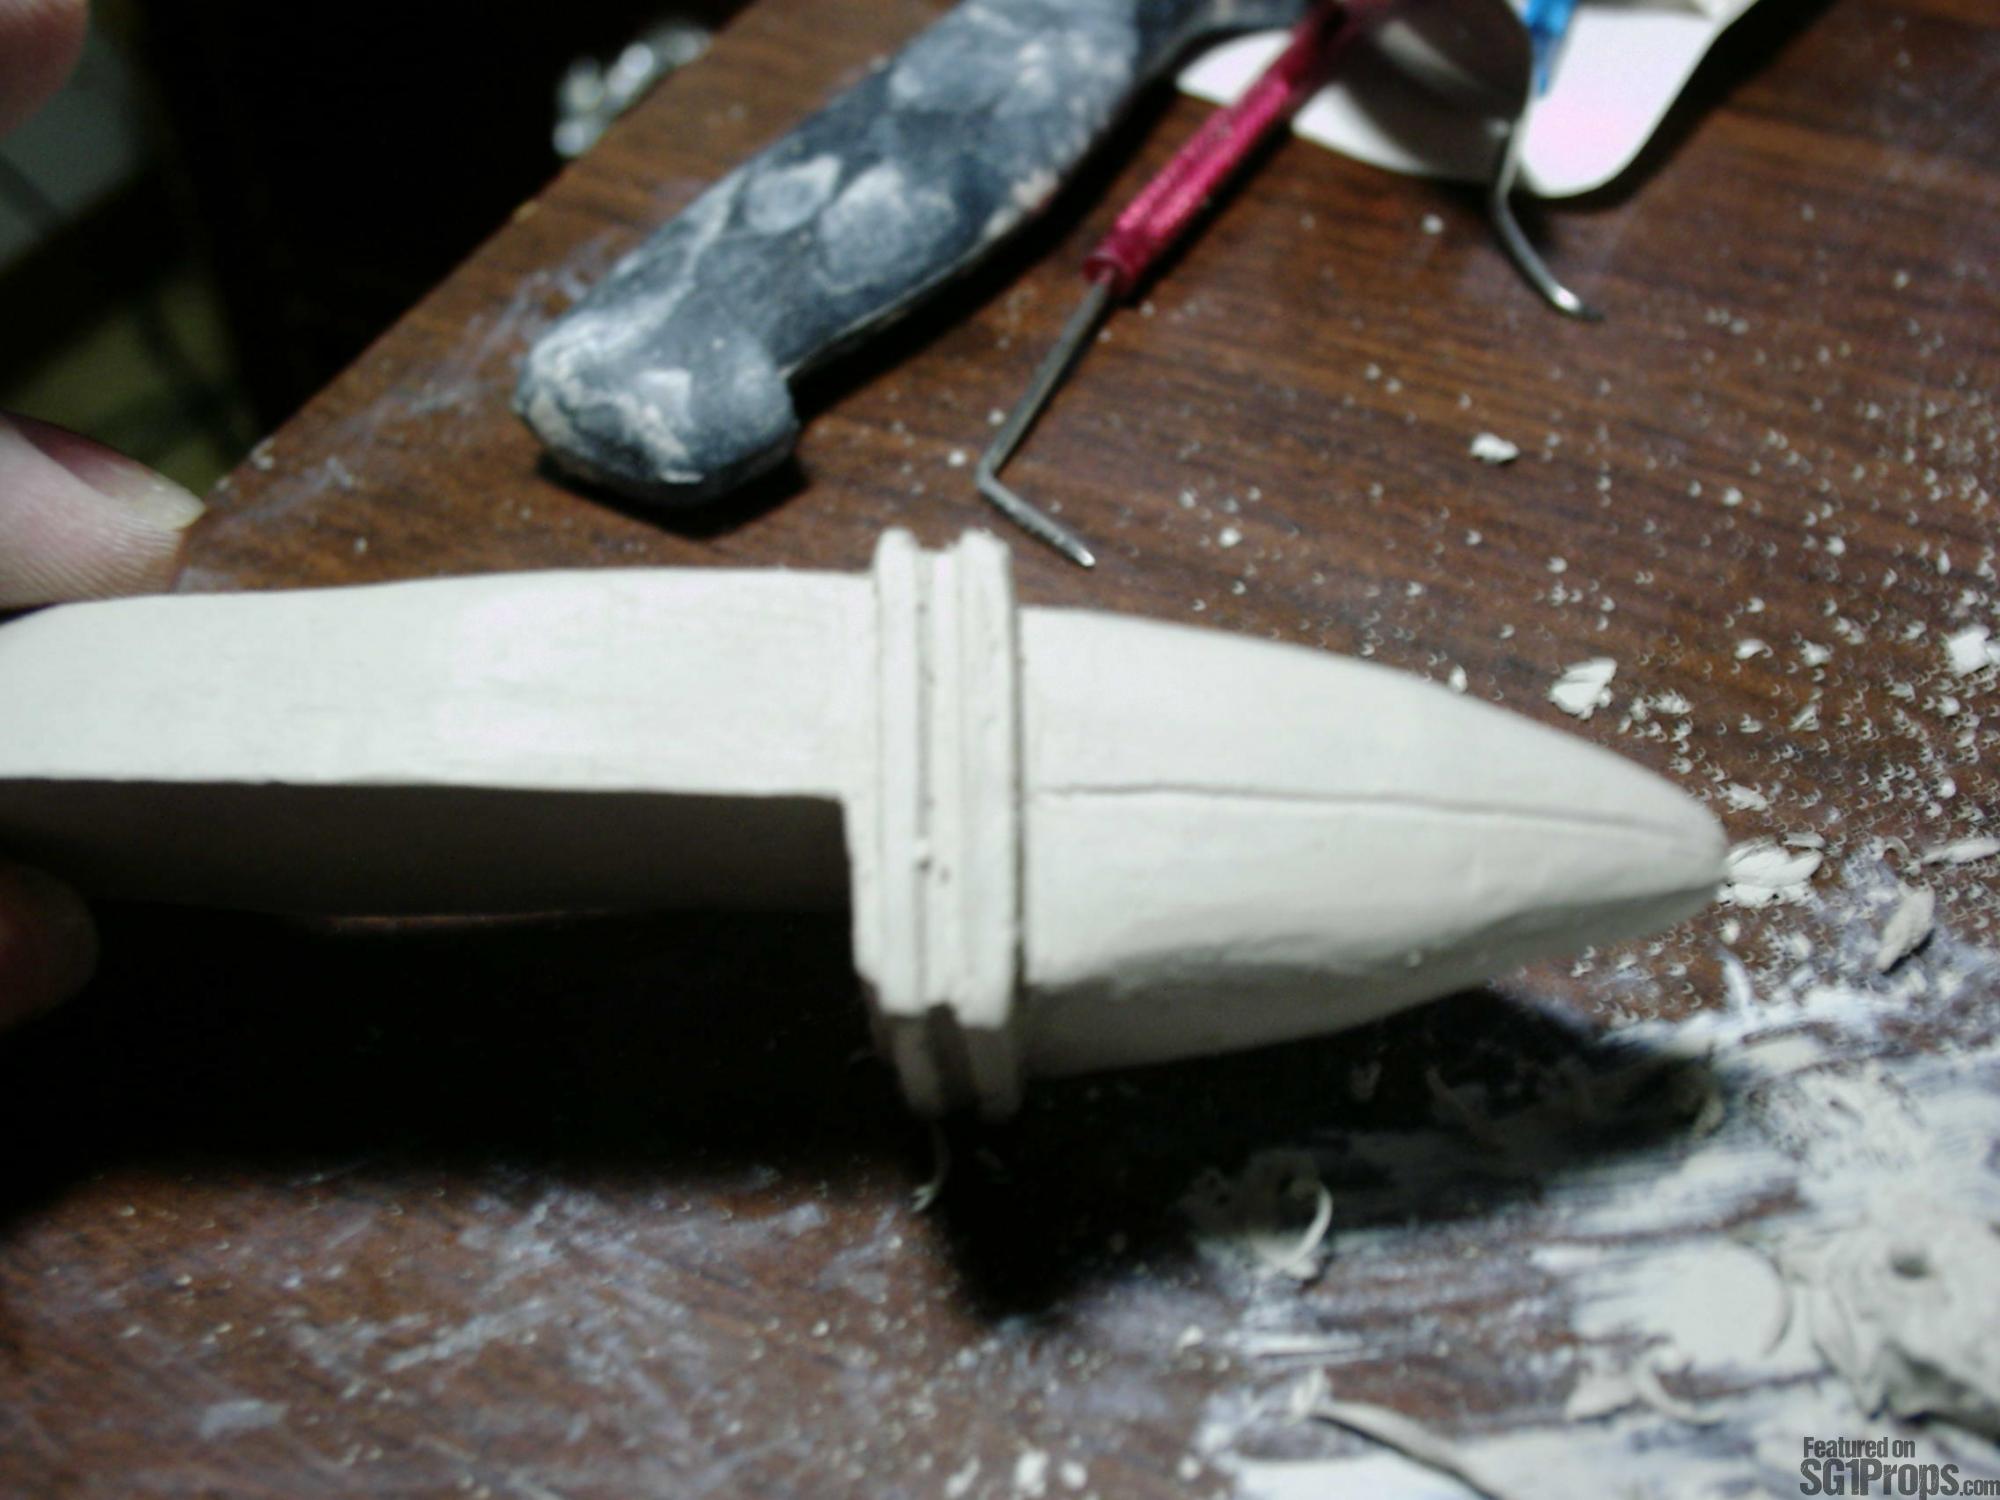
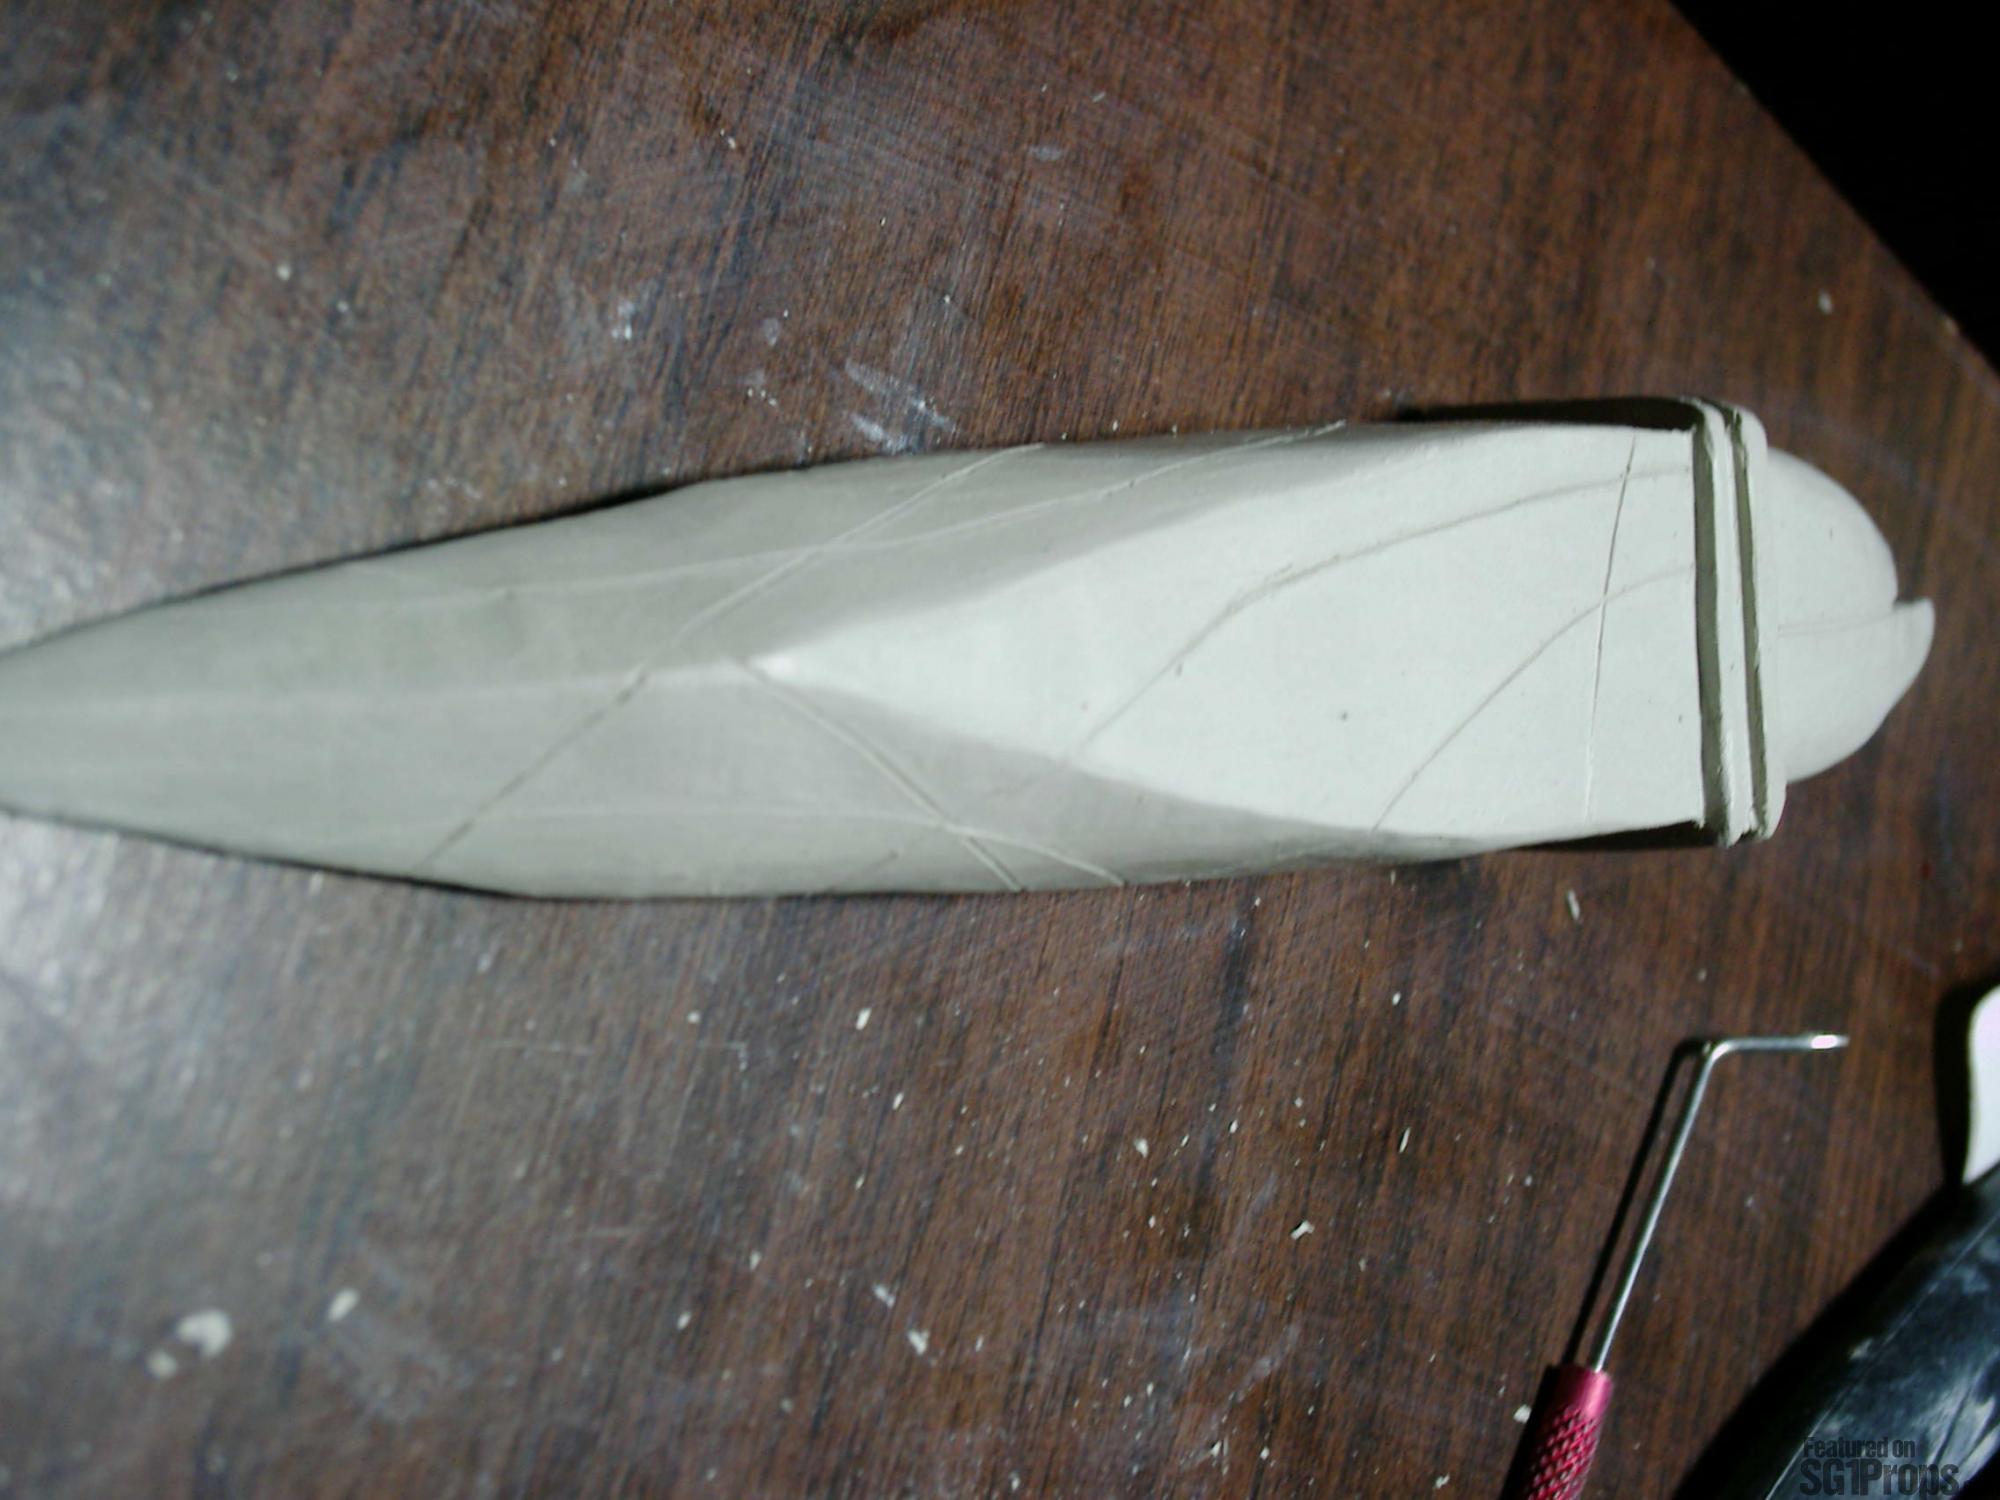
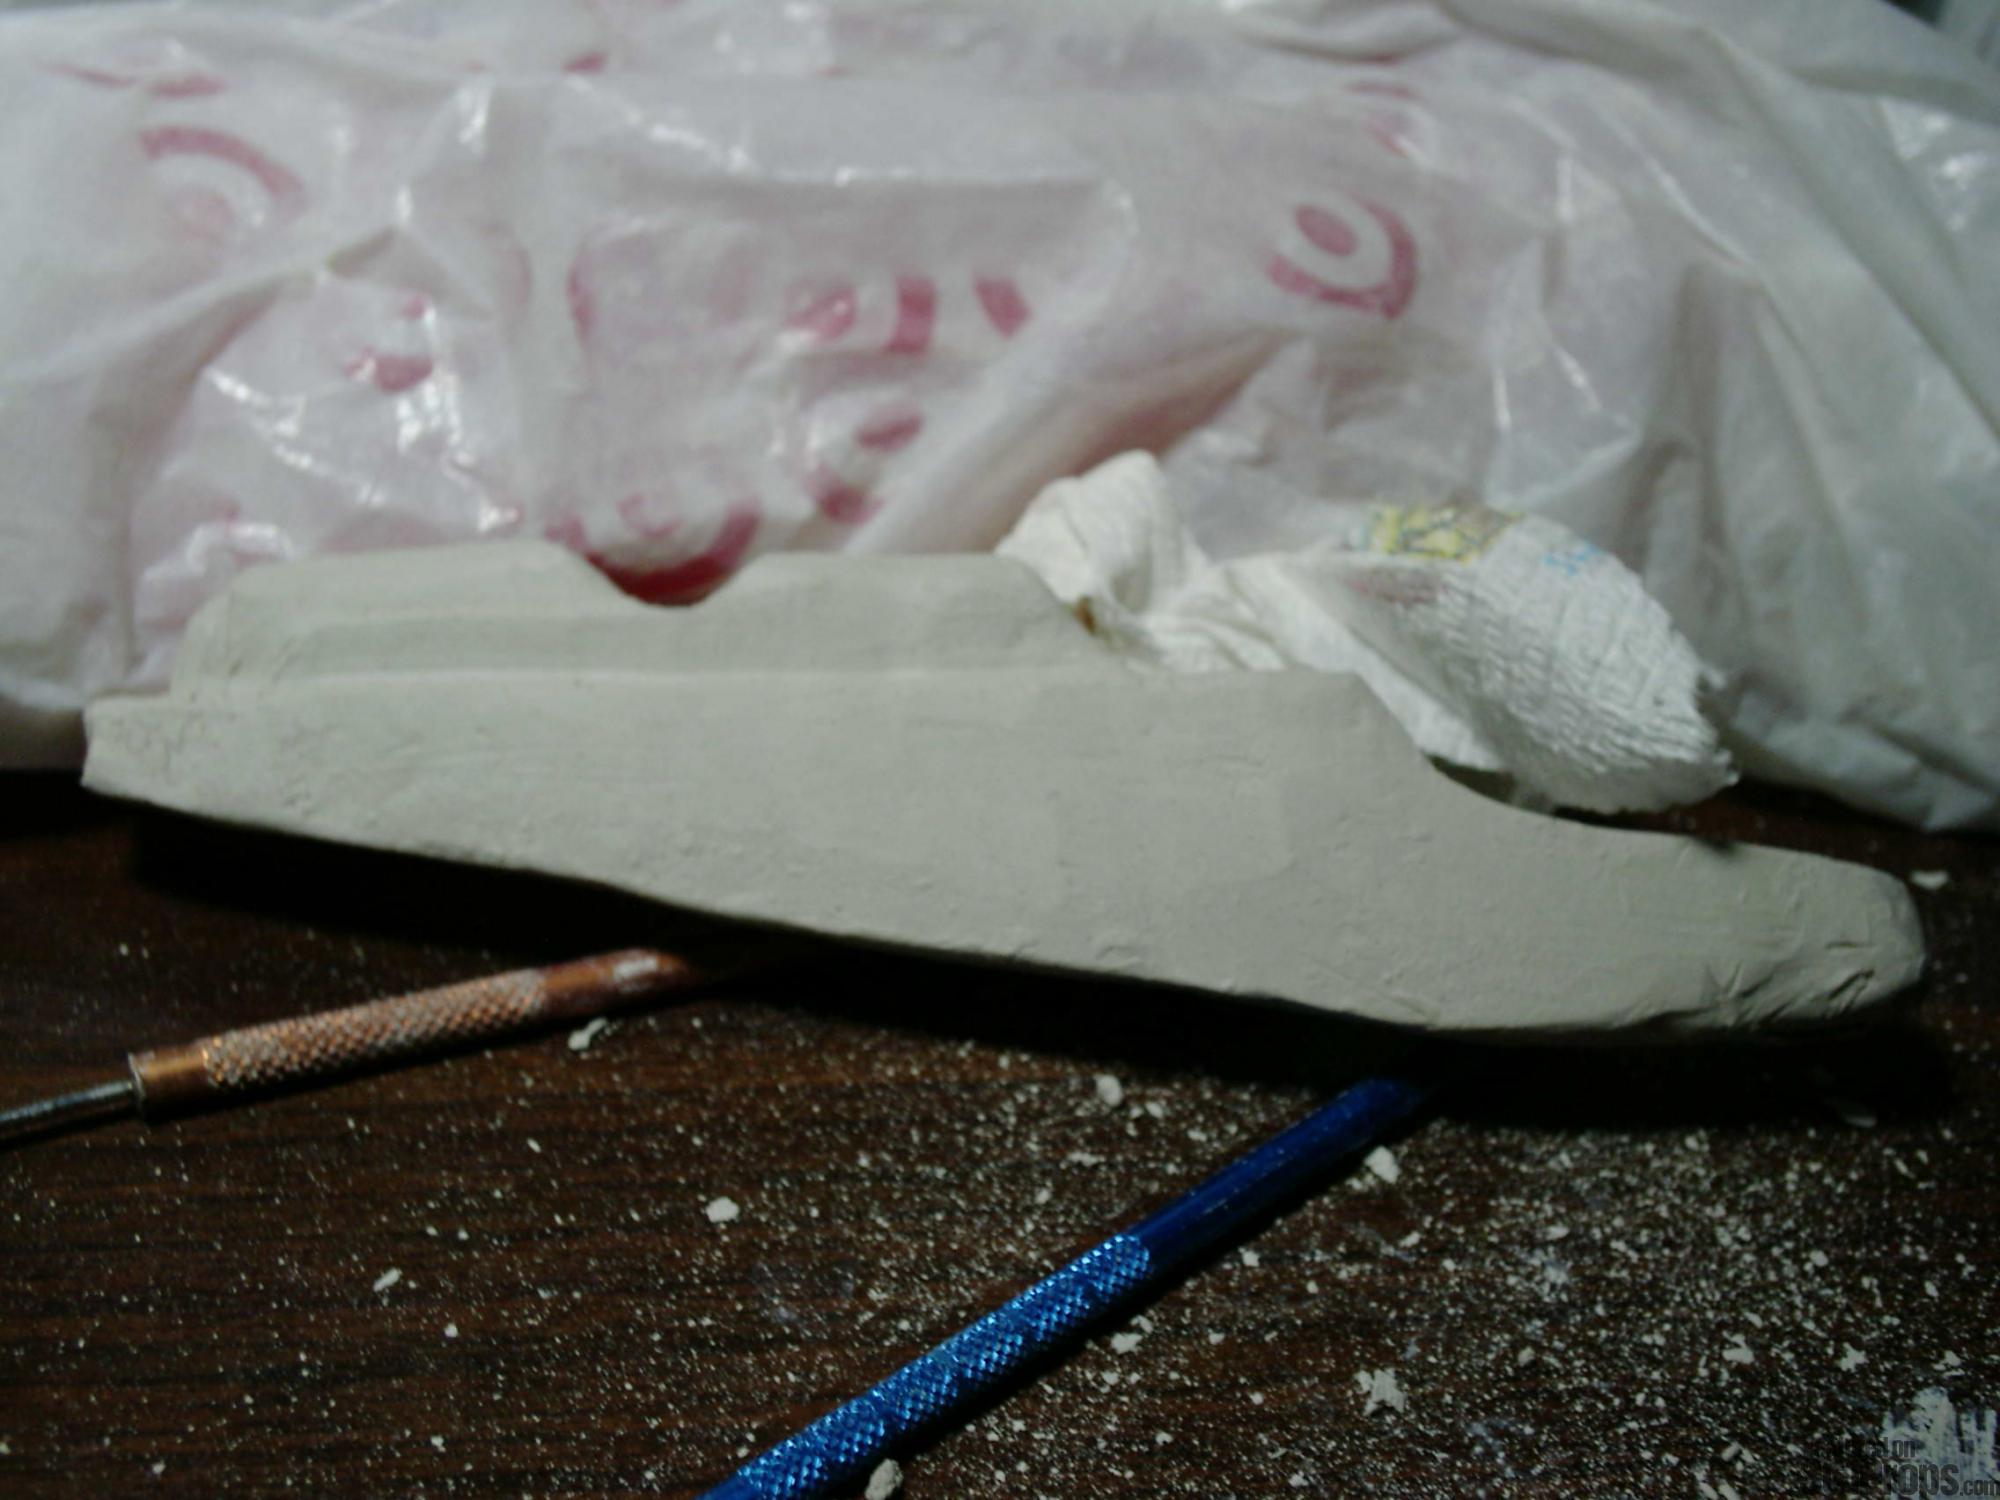
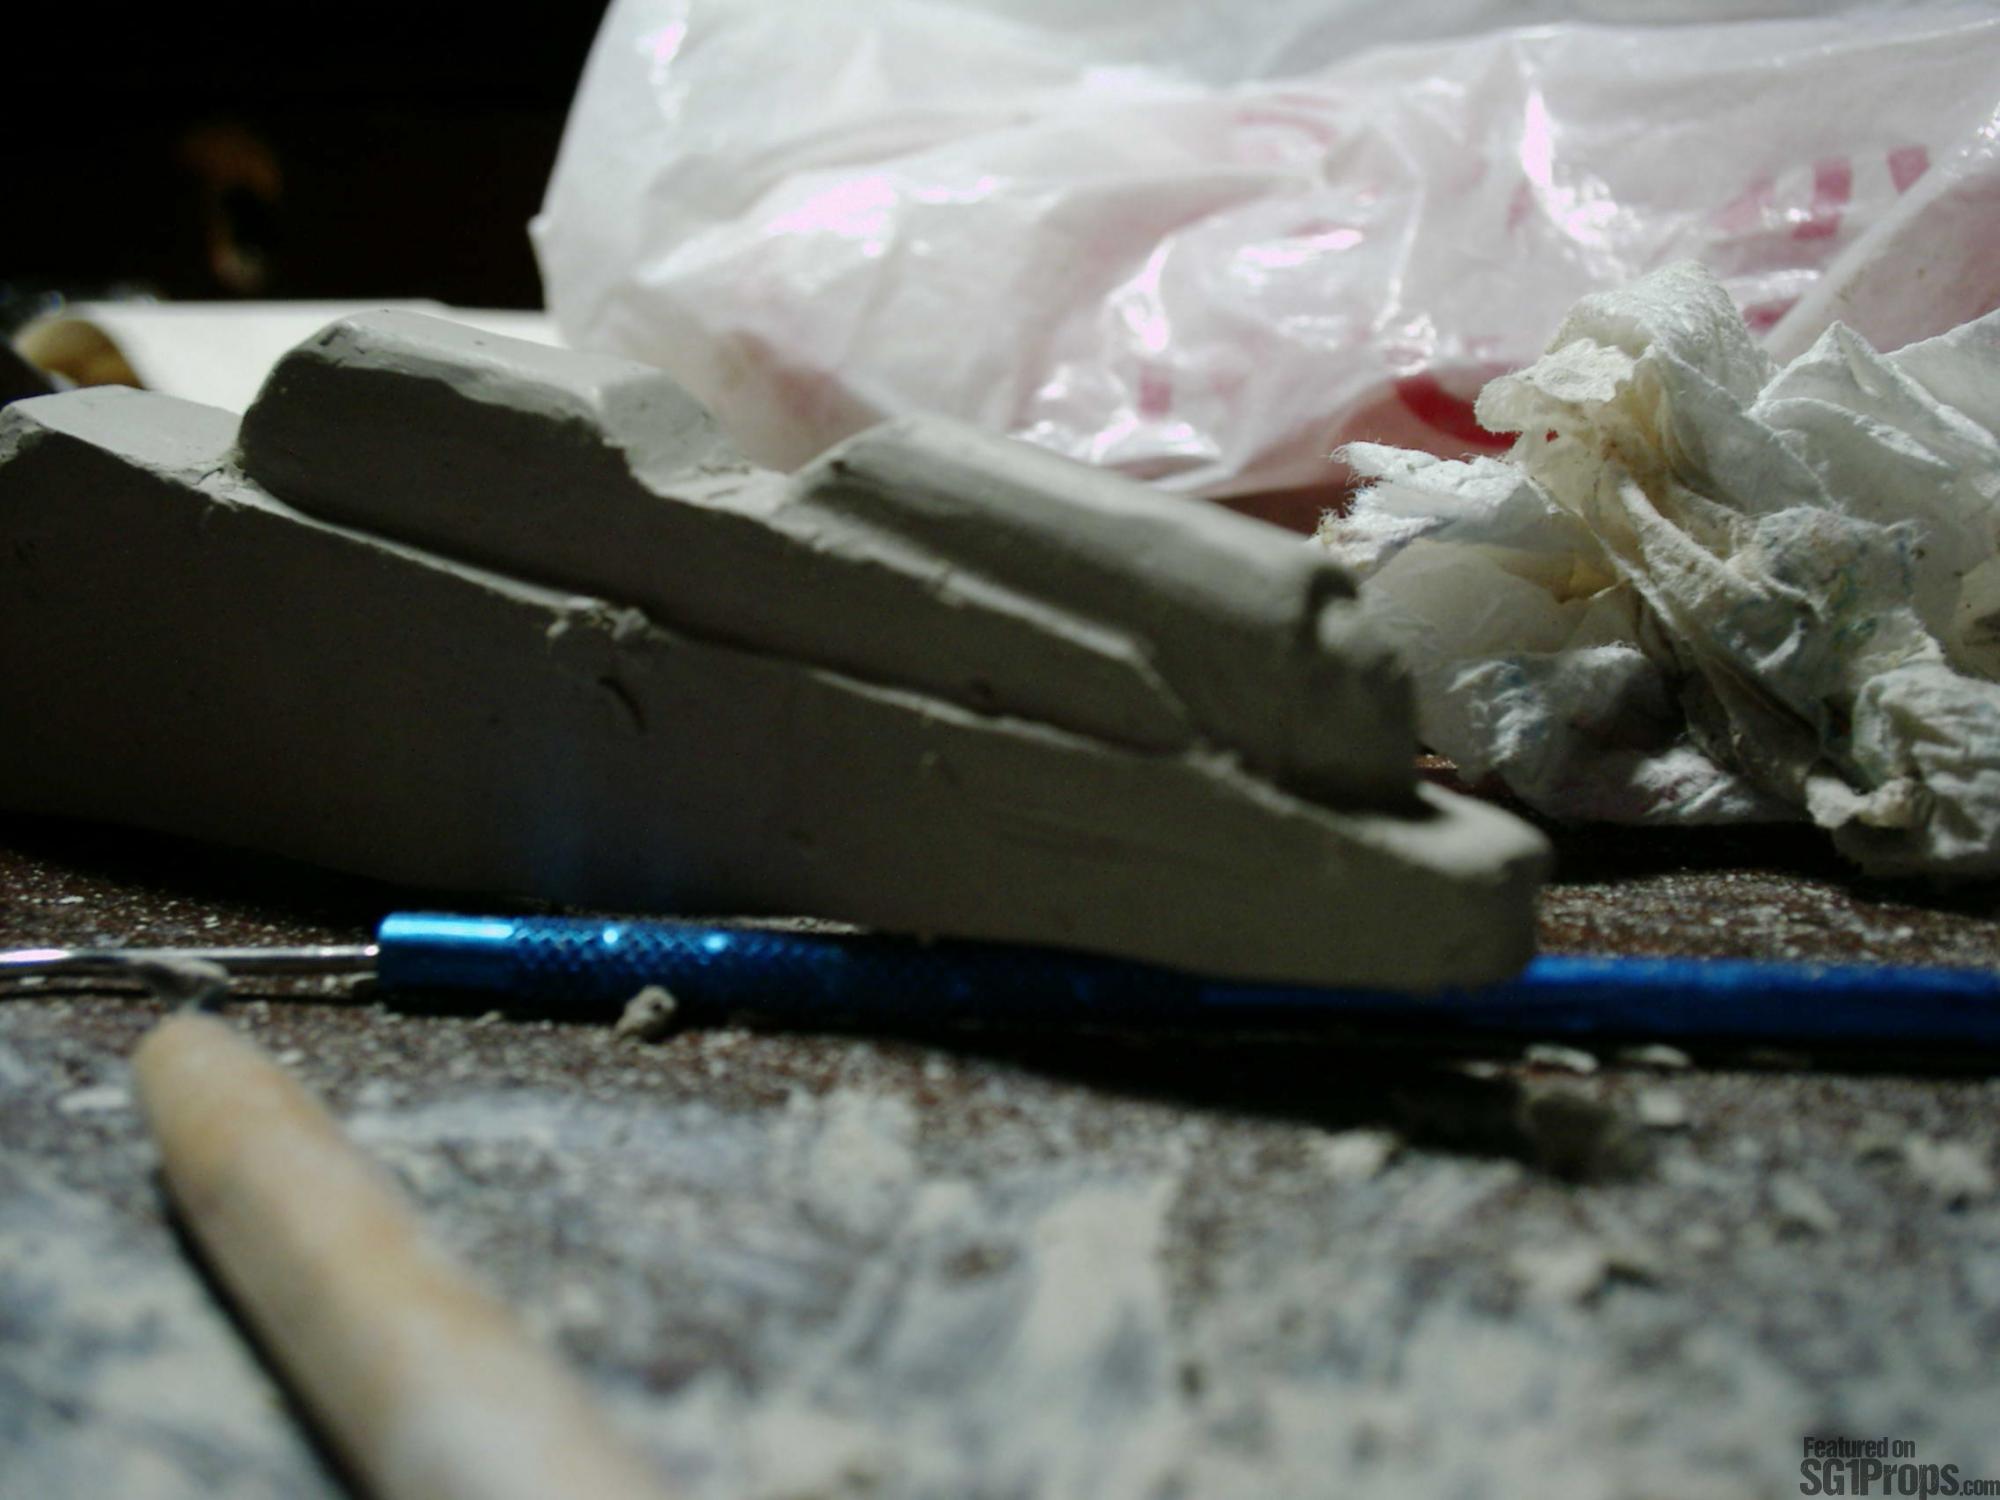
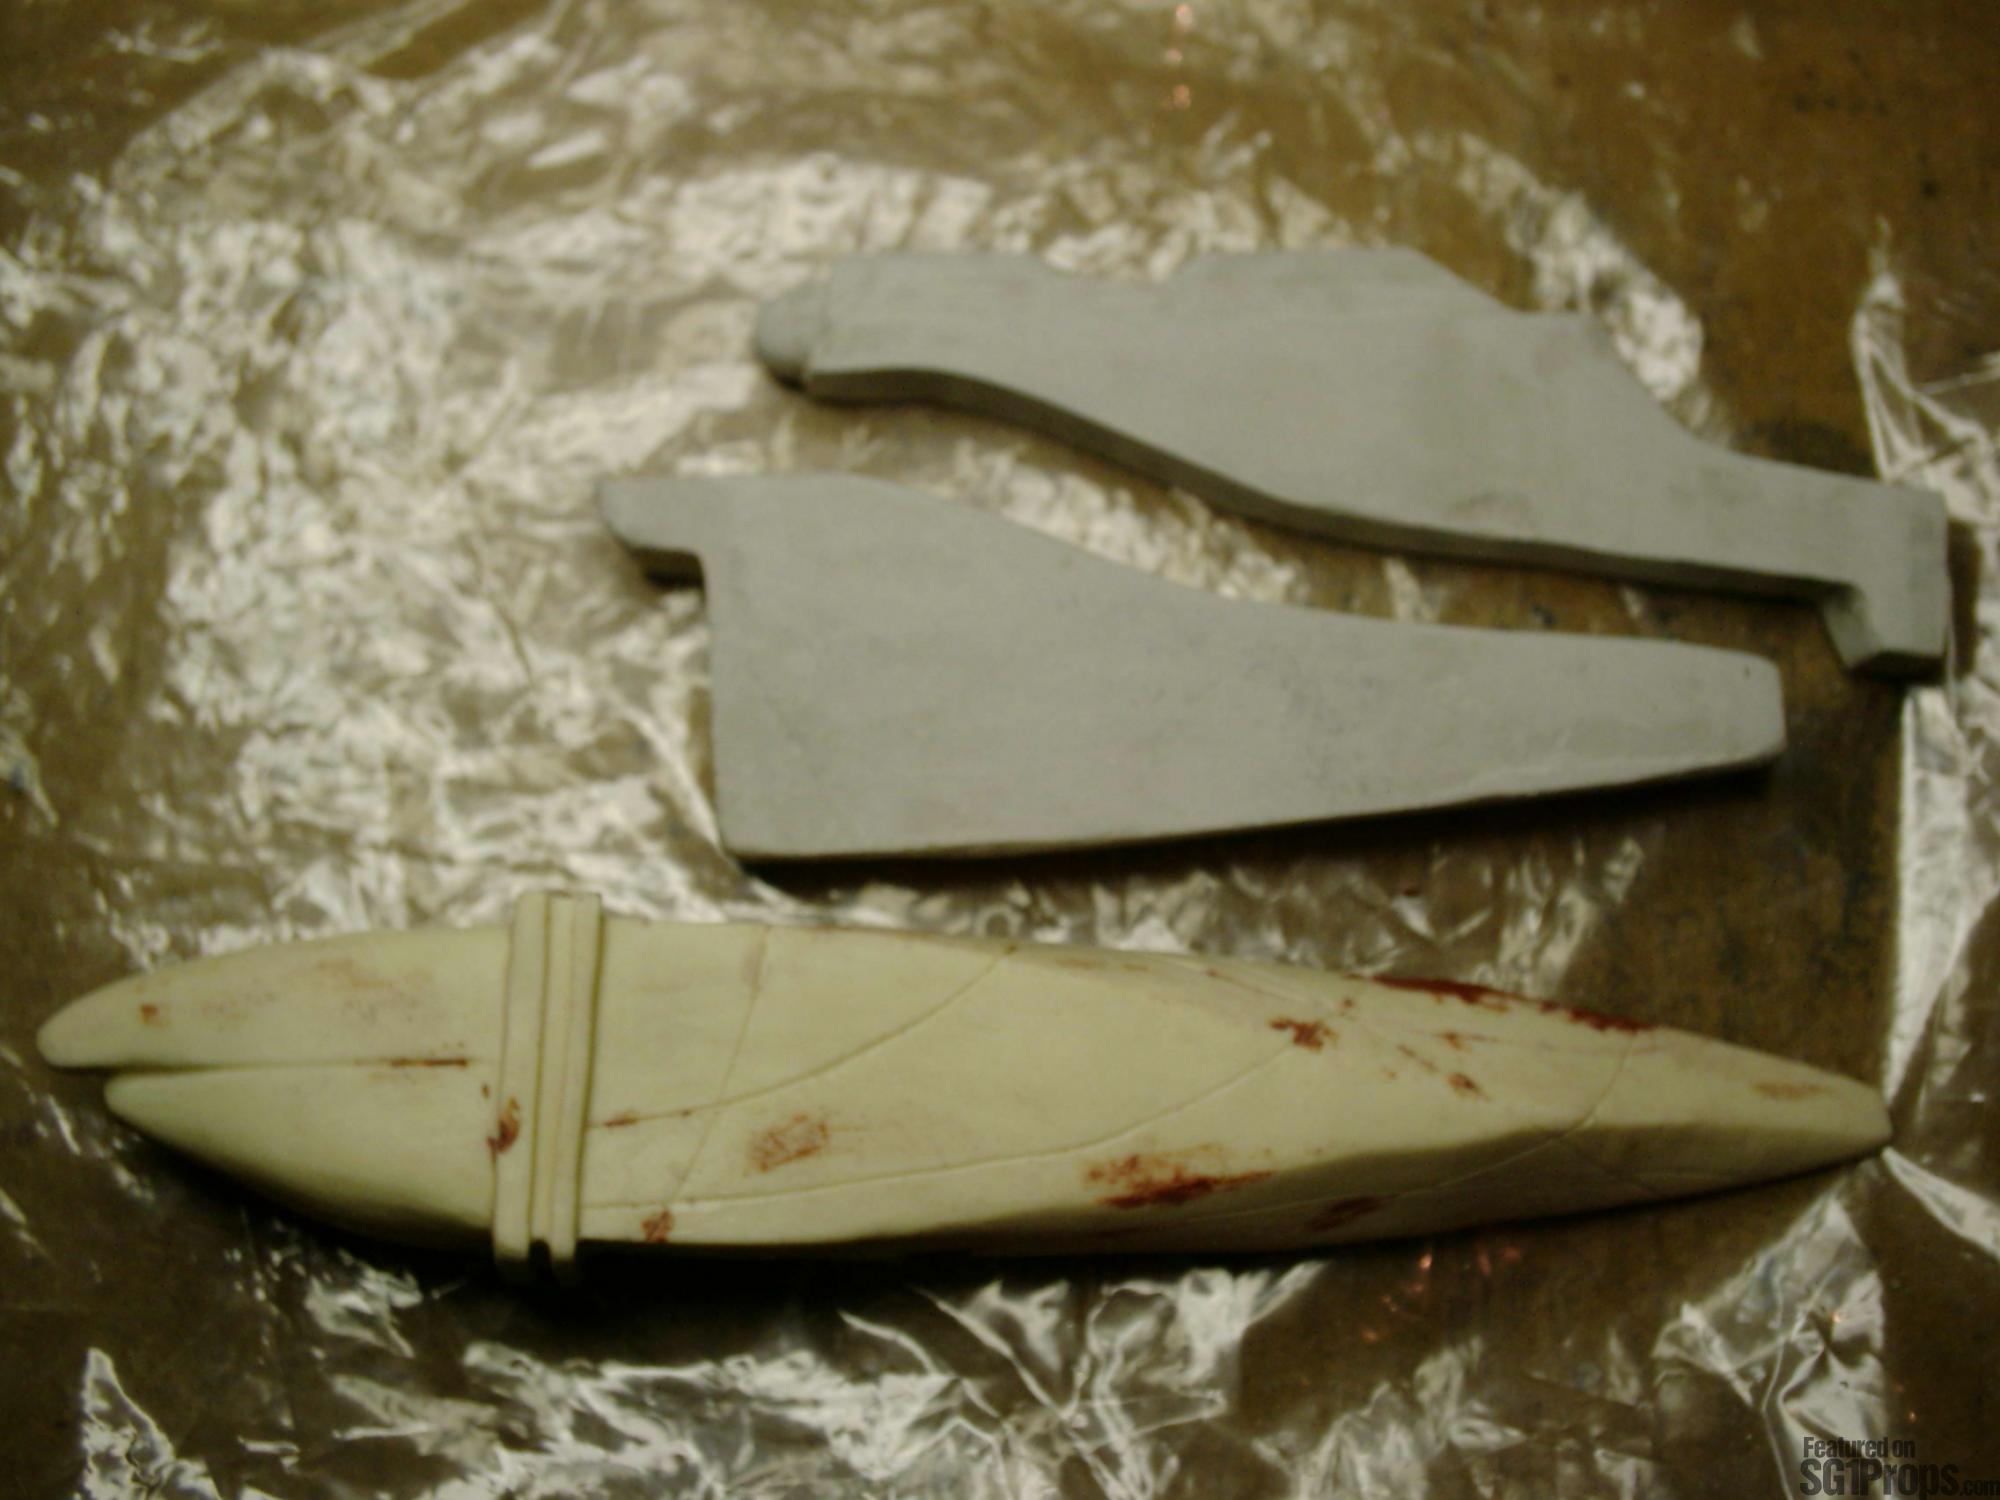
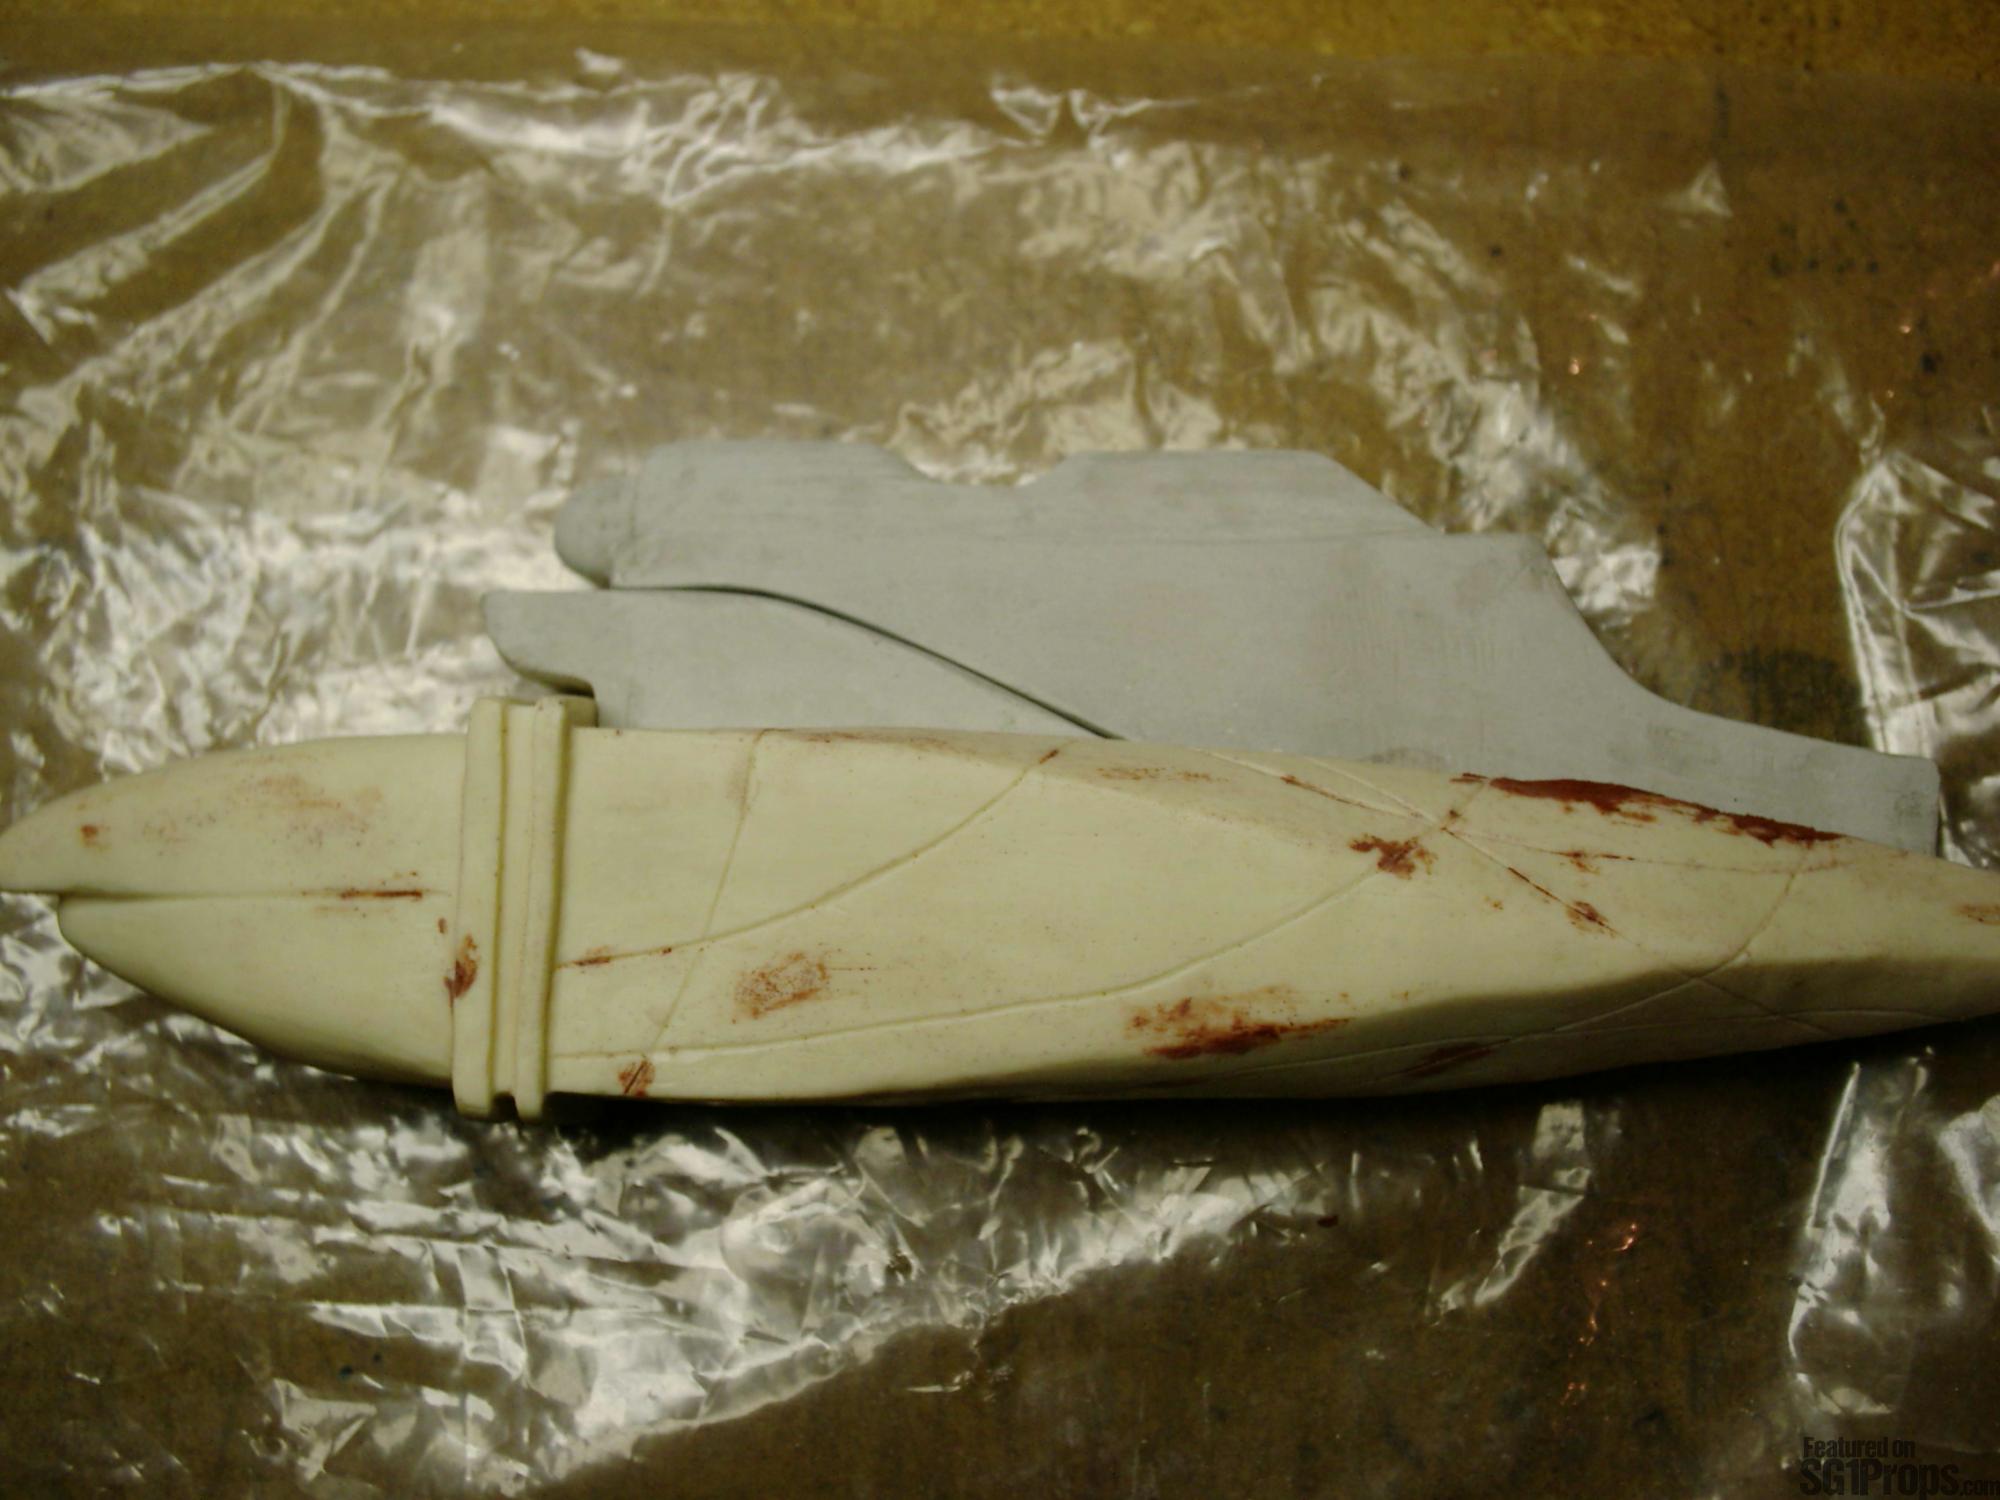
To start the project, I cleared off my desk and began sculpting the length of the weapon using a self hardening clay. After several evenings in front of the computer switching between Stargate screen caps, I had created a pretty nice sculpt of the main body. Now, when you look at this part of the prop, I know what you're thinking ... yes, you're telling yourself that it looks similar to a Goa'uld symbiote. It's actually a really well designed prop, and with the typical Goa'uld scribe lines fits in very well with the other alien weapons on the show. One has to wonder how such well thought out prop wasn't seen more often on the show.
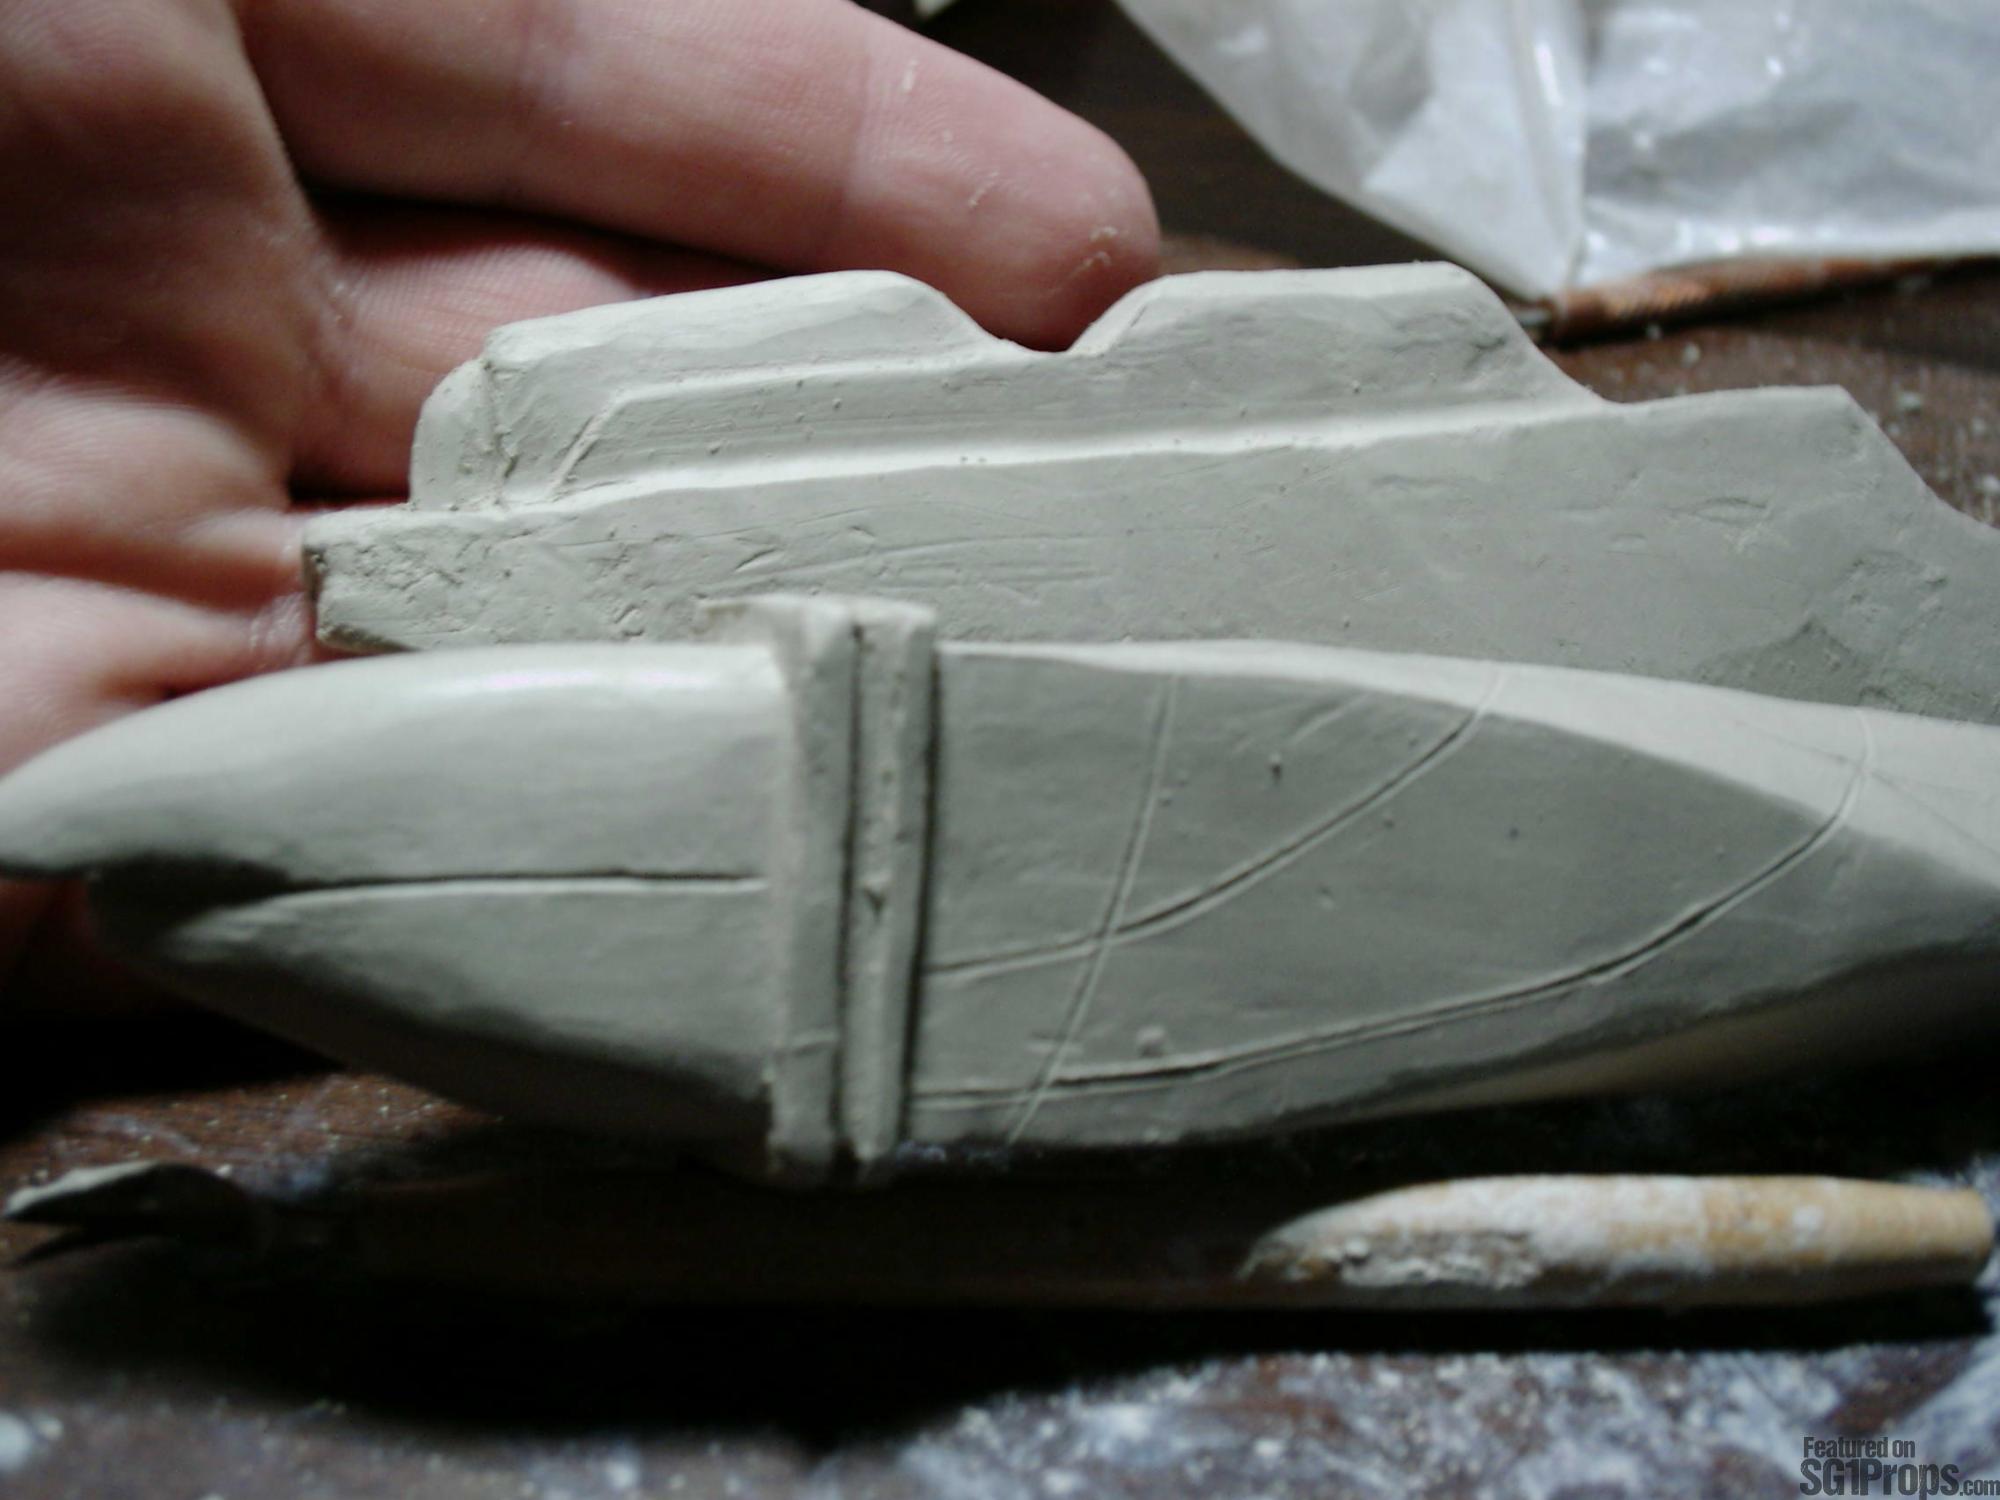
But anyway, with strictly the screen grabs as reference, I was able to match this part of the screen used prop to about 90% accuracy. With later references showing new details that I wasn't able to derive from the images I had.
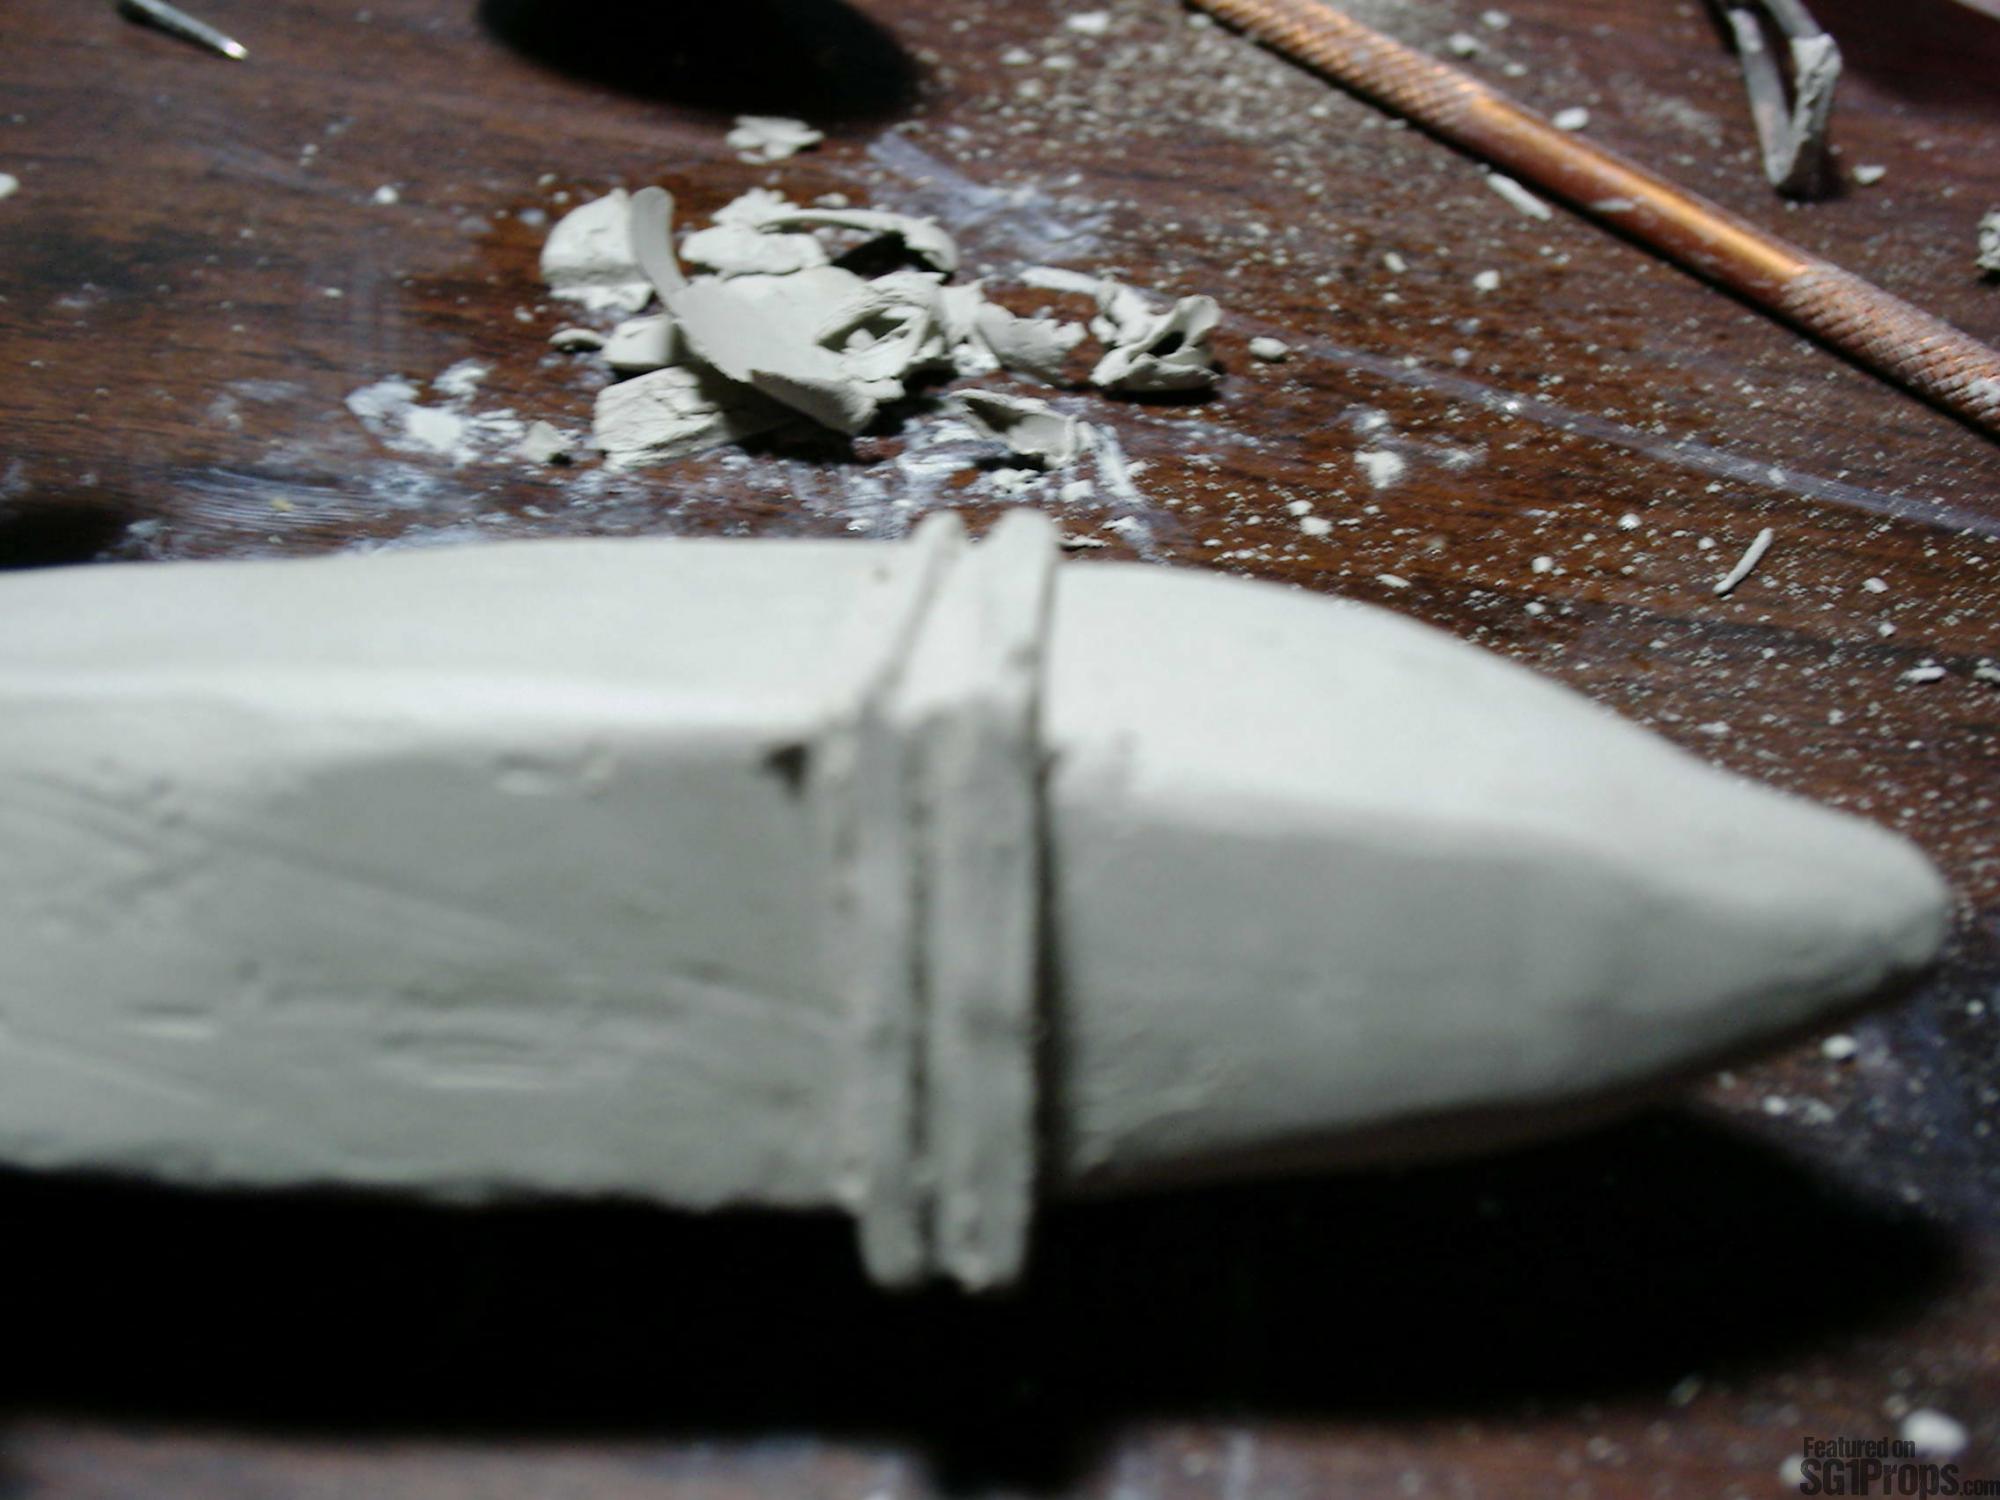
After getting the body of the prop to where it was nearly finished, I began working on the red upper crystal, and also the base on which both body pieces are mounted. The shape of the upper crystal was difficult to judge based on the images I had, so I started by shaping it to the part that I had already sculpted--after all, the two pieces do attach together.
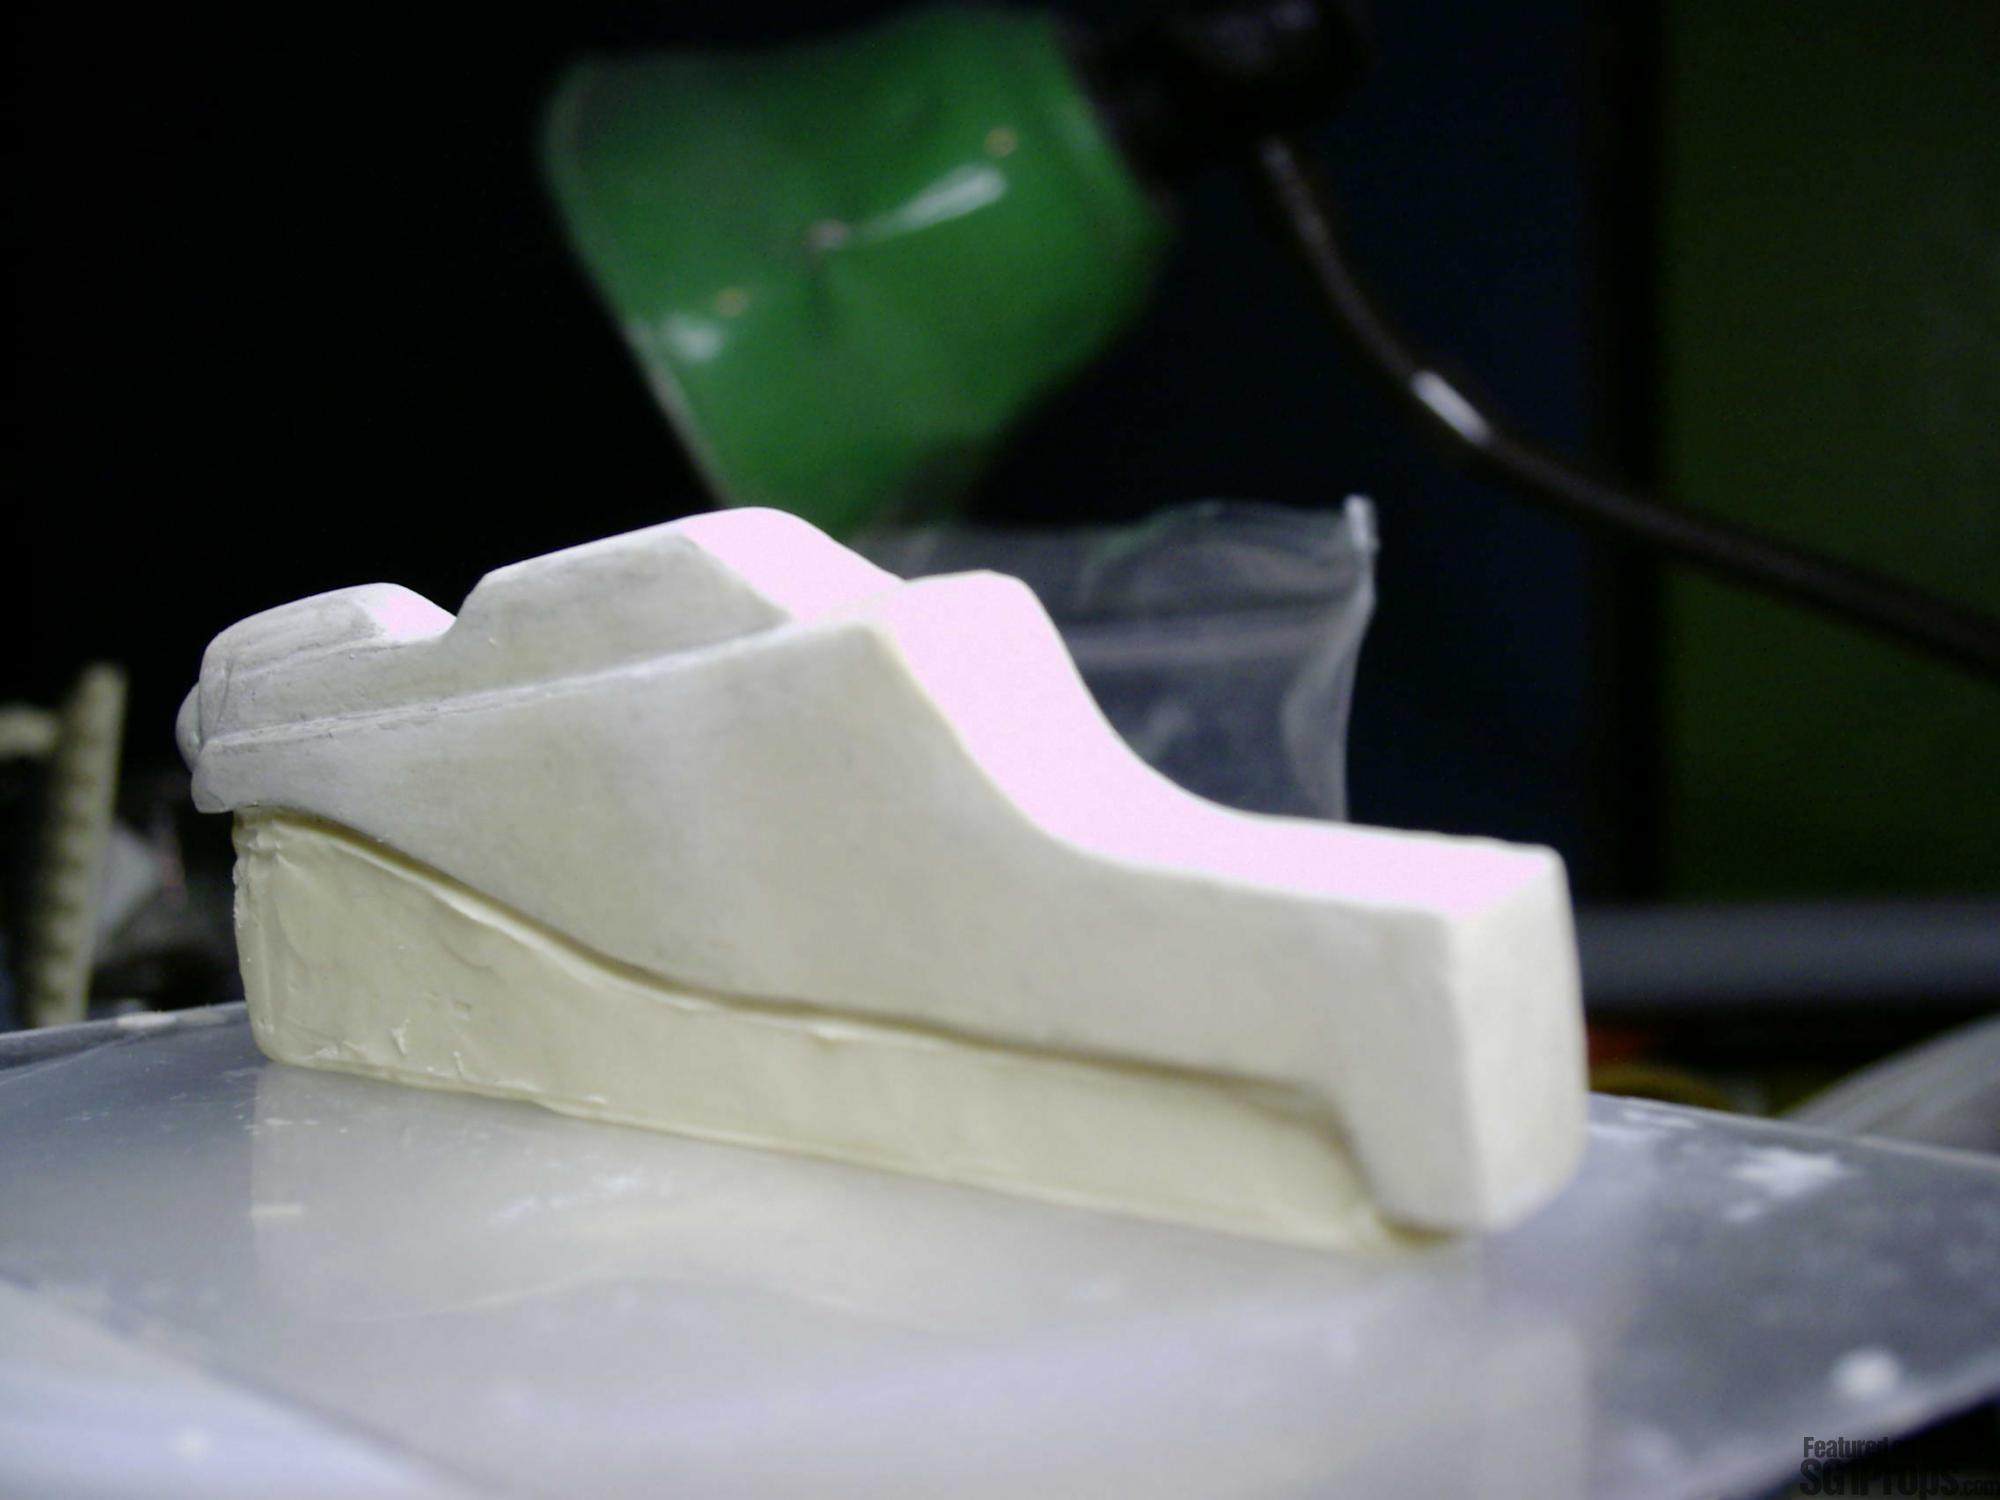
Although not relevant, I should mention just for general prop-building information that I actually threw out the first sculpt that I made. Sometimes it's difficult to judge the accuracy of a sculpt until you've put a lot of time into it, and so you shouldn't be afraid of starting over if you think you could do better. In my case, the upper crystal was too big in comparison to the body that I'd already sculpted. So I re-sculpted it slightly smaller, and was able to create a final sculpt that is very true to the original. And, after sculpting the base, I was finally ready to put all of the pieces of this prop together for test-fitting, tweaking, and re-test-fitting! Did I mention that accurately reproducing props is not for the impatient?
Once all three of the sculpts were completed it was time to make molds of each piece so that resin castings could be produced. Although this was the easy part of the process, I still managed to mess up the first mold I did for the main body piece to where it probably would only hold up for a few castings. Since I only planned to pull a few casts this was ok (and actually the mold ultimately held up really well and produced fine casts). I used a compression mold for the crystal piece to provide beautiful, bubble free castings.
Finishing Work
All of the resin casts came out pretty well. There's some minor surface finishing for the main body, but nothing that glazing putty and sandpaper doesn't take care of. The most drastic work that the other two pieces need is just being attached together.
As with any resin piece, I wet sanded and primed each piece several times to prepare for painting--which was done by airbrush.
Mounting to the P90
The final step in putting together this prop was to attach it to an FN P90. Naturally one of the SG1Props P90 replica receivers was volunteered to take on the responsibility of holding our finished prop.
Using the tech-references and screengrabs I had of the hero prop, I went about locating the rail mounting system that the prop-makers used for the show. The most important part was the highly visible nut that can be seen on screen under the prop. I ended up purchasing several airsoft scope mounts that had the identical nut, and simply using a hacksaw to cut off the scope ring.
The finished prop
And after going through the process my replica of the Kull Warrior disrupter was ready to kick some super soldier butt! Or at least make a cool addition to a Stargate SG-1 costume if you don't have a Goa'uld problem in your backyard!
Photos


Print | Share | Comment