When casting into a mold it can be useful to rotate the mold while the resin cures. This technique is known as rotational casting, or rotocasting. Turning a mold allows the resin to cure in layers from the outside of the mold inward. Casting with this method can make for bubble free surfaces, and hollow parts. Certain molds will benefit from this method more than others, including molds of large items where there can be a significant savings in both resin cost and weight.
Rotocasting is very easy to do by hand. Simply add resin to your mold and turn it by hand until the resin cures. After the resin starts to gel, the cure profile will began to create thicker walls inside of the mold. If you are casting with a fast curing resin then this might only take a few minutes, and is usually not a problem. On the other hand, if you are casting with a resin which takes 20-30 minutes to cure then rotocasting can be a time-consuming and physically stressful process. This is where we automate the process!
Rotocasting Machine
So, how can you automate the process of rotocasting? It's a simple concept really: Use a slow turning motor in order to operate a mechanism which holds and rotates your mold. Advanced machines can turn your mold on both axis, and rely on multiple frames turning simultaneously. In this tutorial we will look at a simple machine which turns on a single axis.
Build The Machine
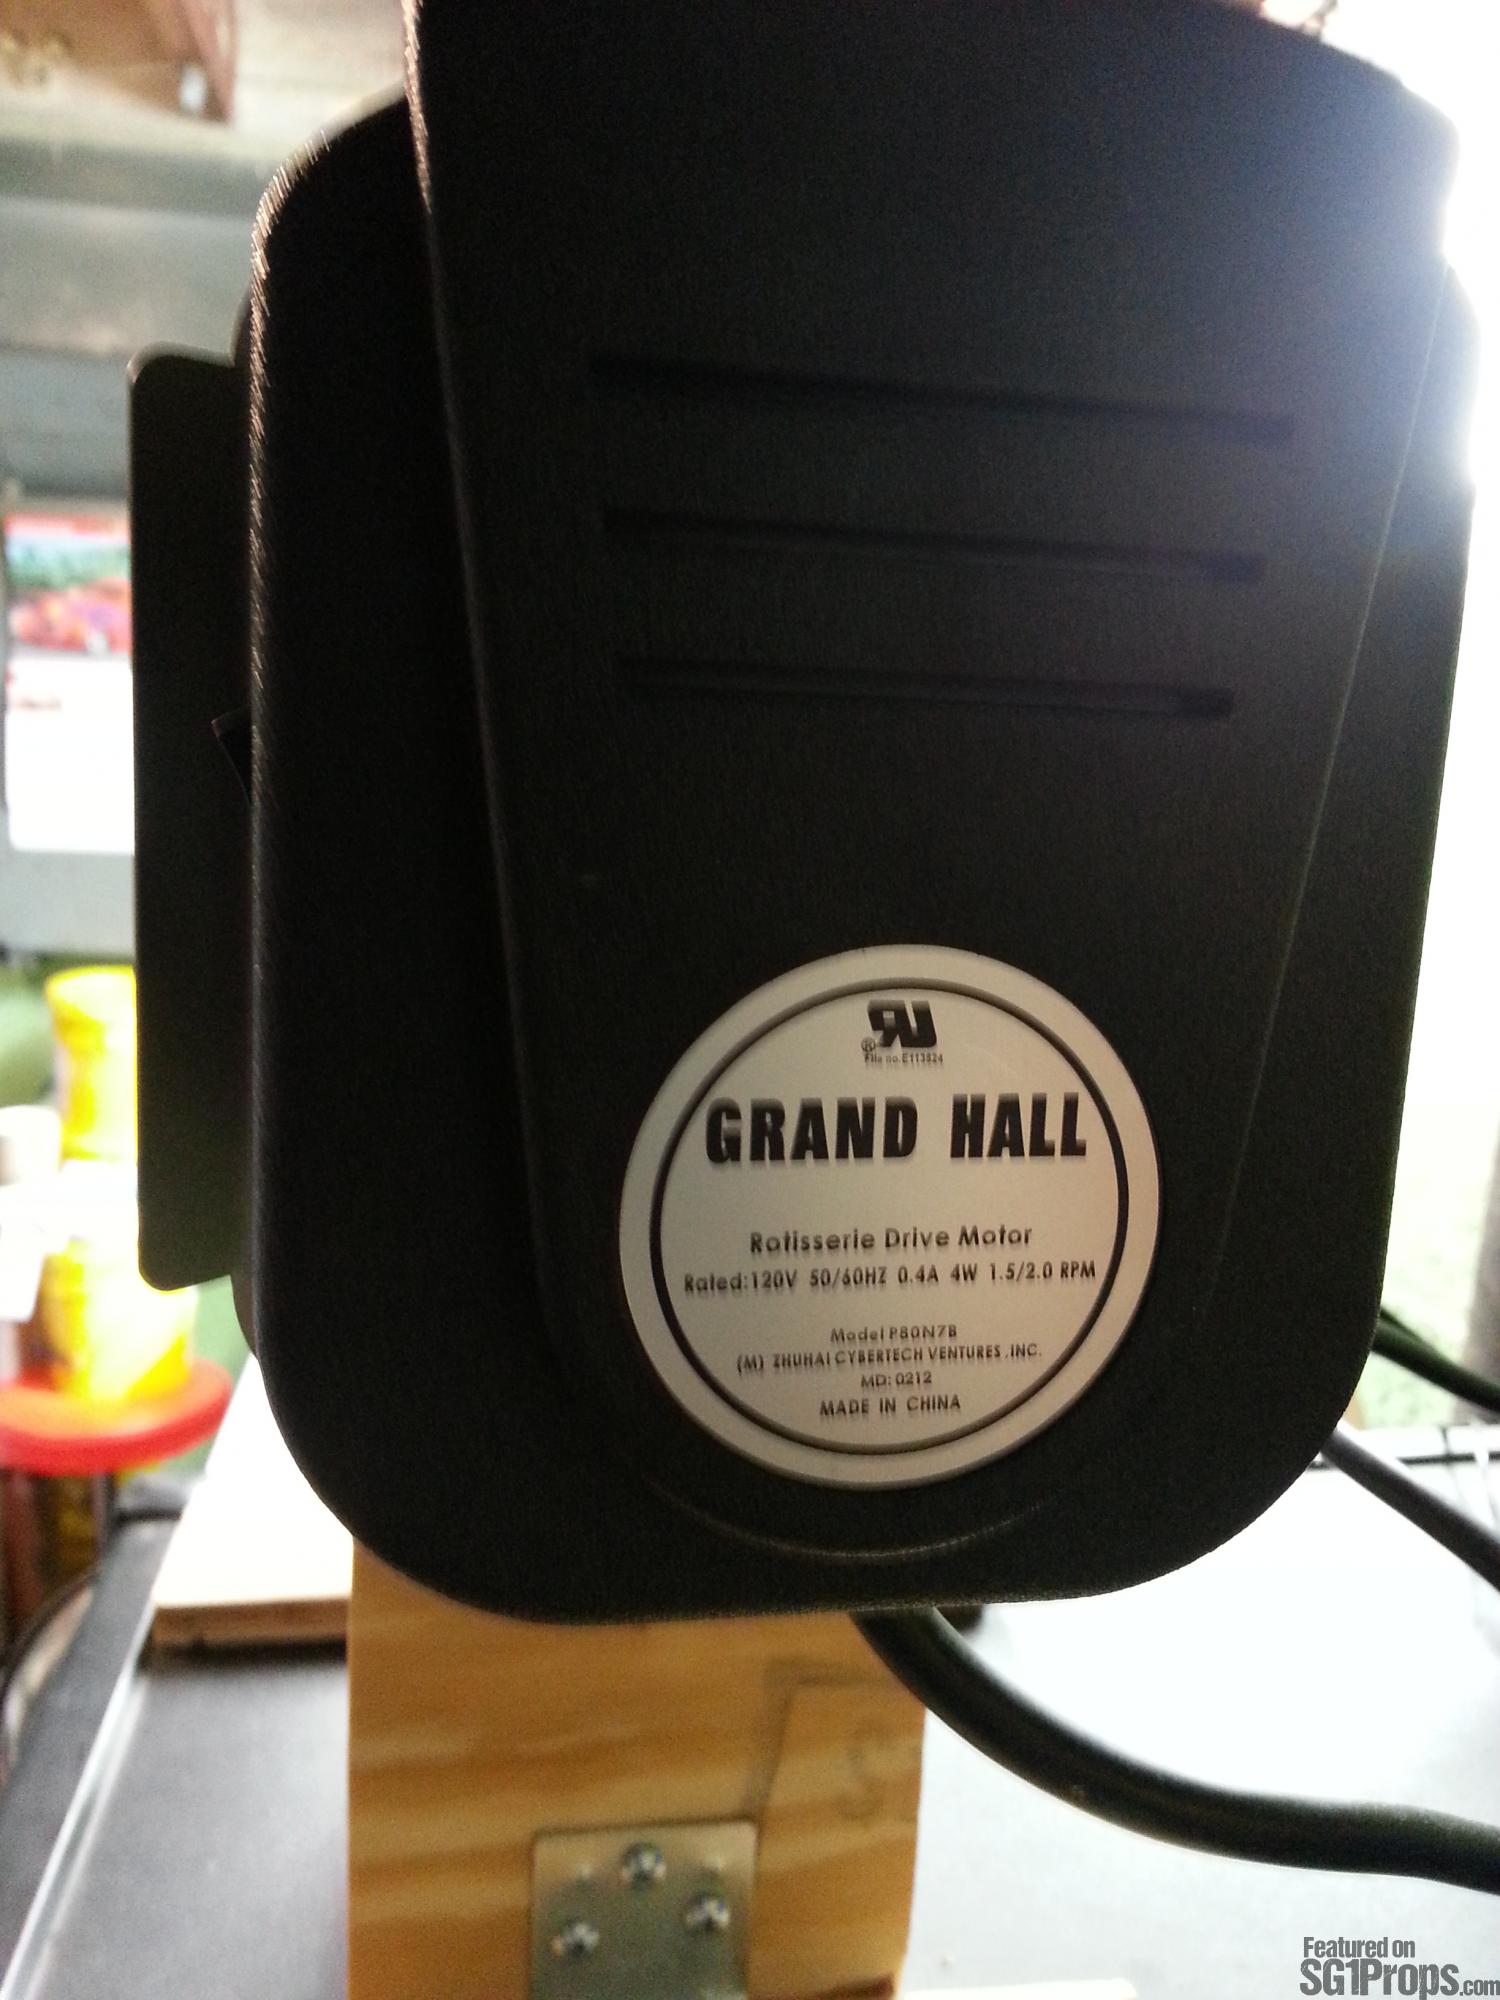
Using a rotisserie grill motor is a great way to start this project. Rotisserie grill motors can be found cheap on the second-hand market, and often come with included AC power cords and power switches. Since the motor is plug-and-play no electrical experience is needed. Occasionally you can find a motor which includes mounting accessories. The unit that I demonstrate in this tutorial included a stainless steel bracket for mounting the motor.
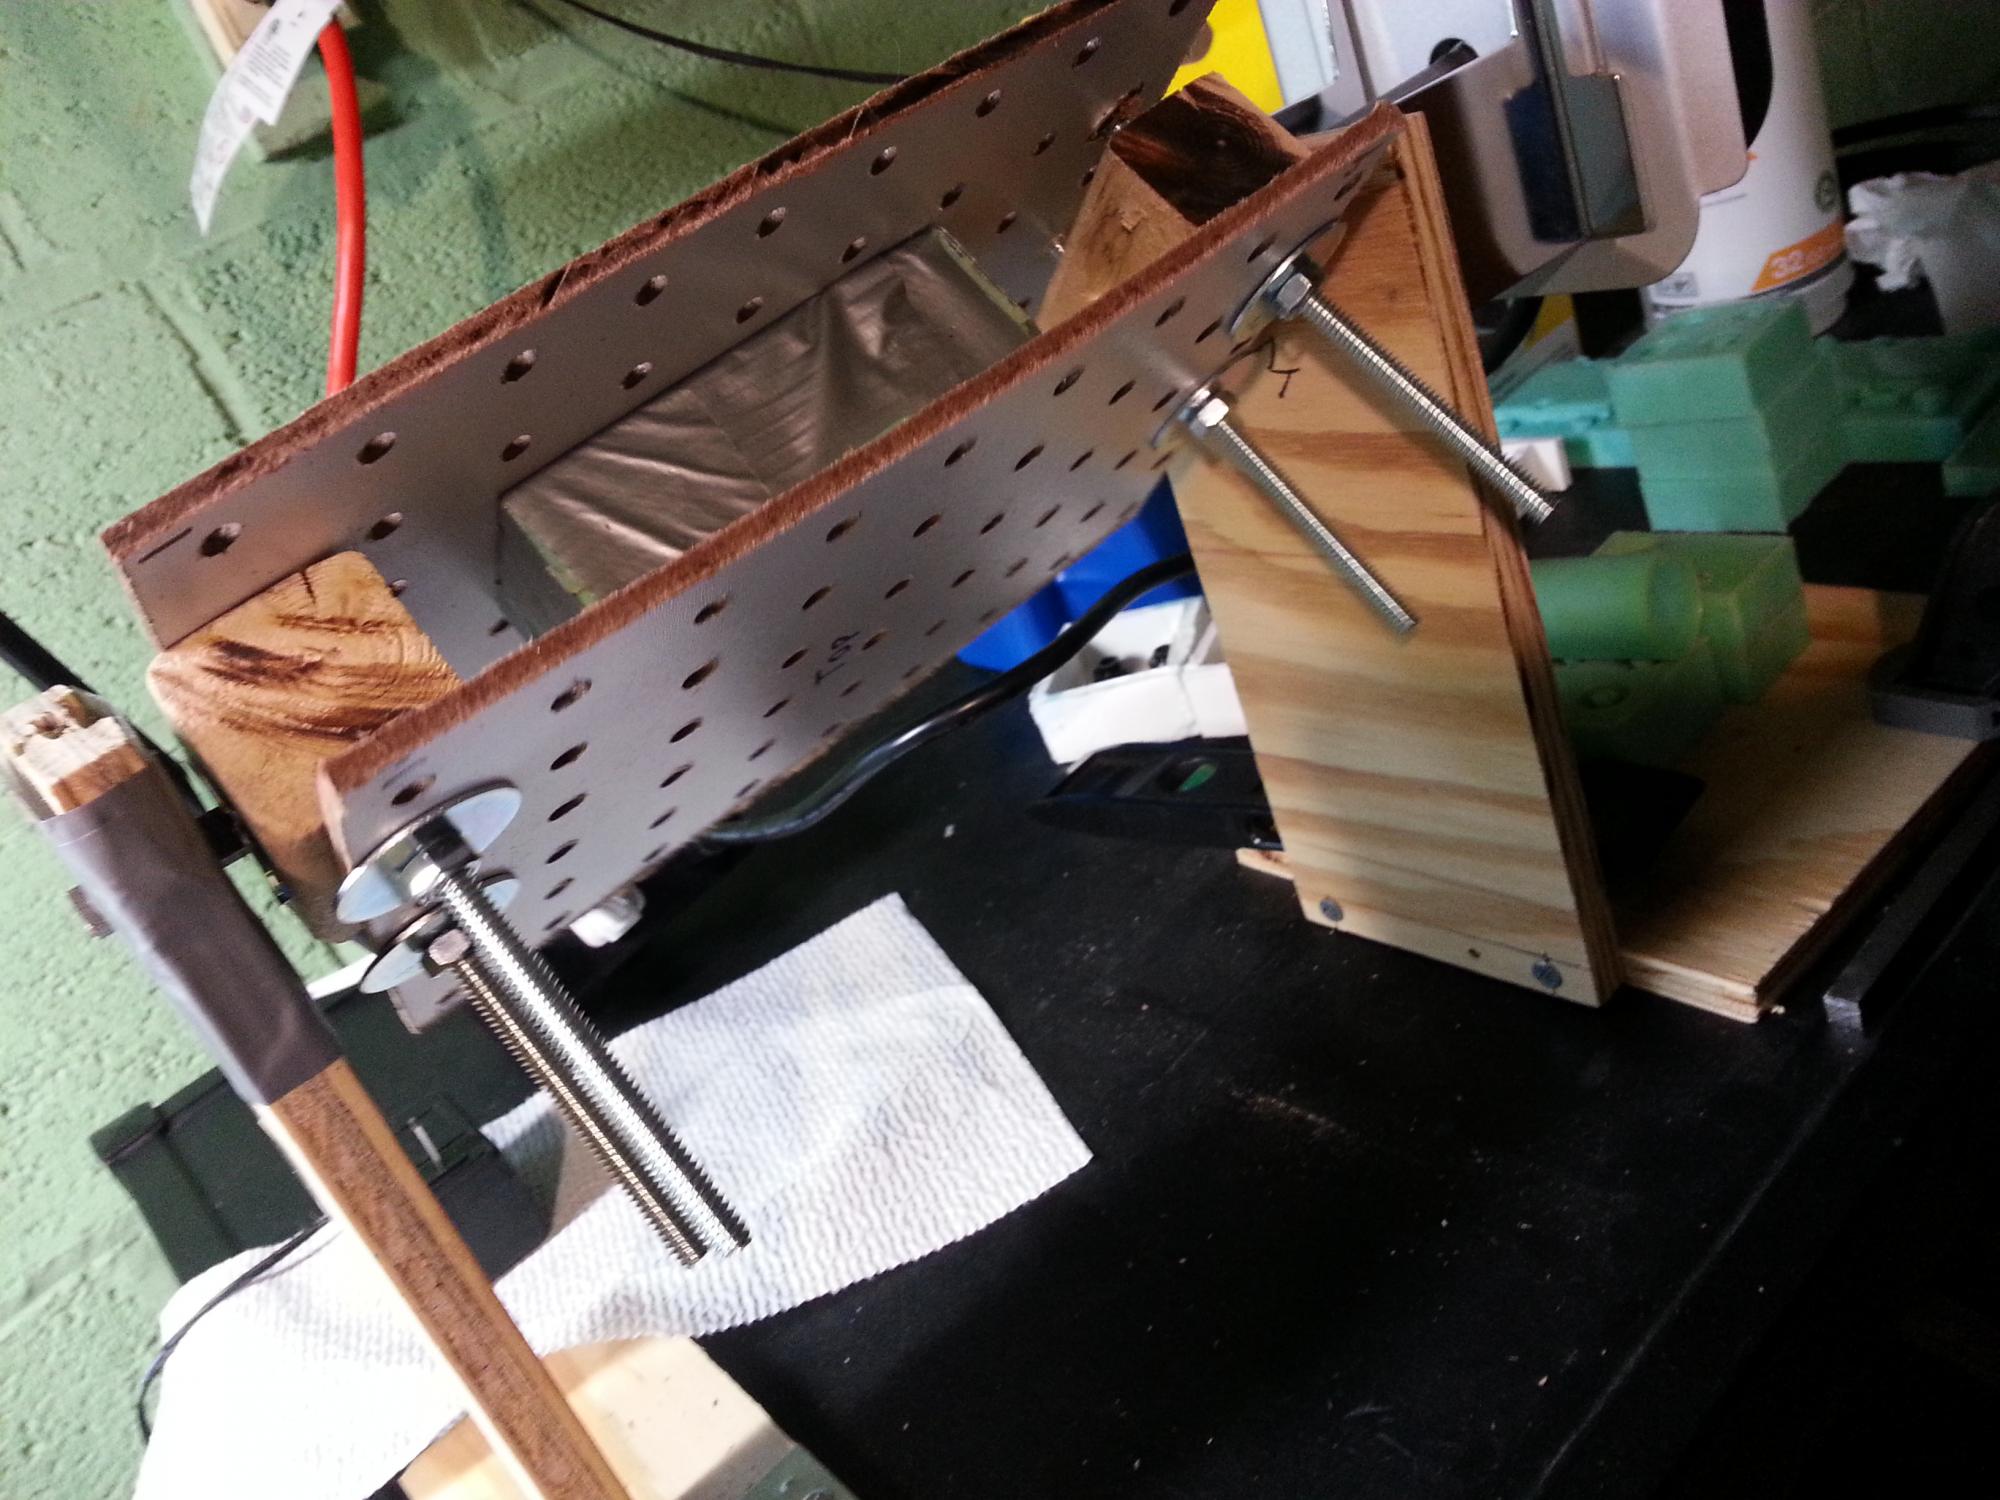
You will need to mount the motor on a piece of wood or other structure, and then create an opposing structure which can hold the mold from the other end (identical to the operation of a rotisserie grill). I used four pieces of scrap wood to make the two structures. Each structure was assembled into the shape of an "L" so that it could stand upright. The height of each stand is identical, and is tall enough to accommodate the largest mold that I plan to rotate on this machine. Making the "L" shaped stands was accomplished using steel L brackets.
On one "L" I cut a "U" shape notch into the top of the structure, and mounted the rotisserie motor on the side. This allows the shaft from the motor to sit ontop of the "U" shaped notch. Optionally of a notch you could drill a hole for the shaft instead. The other structure simply needs to hold up the other end of the mold. On my machine I made a custom bearing which is mounted inside of a hole cut into the wooden stand. Each end of the machine is then clamped onto a table. The distance between each end depends entirely on the length of your mold. By using two stands your machine can be adjusted to accommodate molds of different lengths.
Most rotisserie grill motors have a square receptacle for driving the shaft/axle. On my particular motor this receptacle measured 5/16" square, and perfectly holds 5/16" Spring Steel Standard Key Stock (available online from McMaster-Carr or other material distributors). Using a Dremel tool with a cut off wheel I cut a length of key stock to extend from the motor a few inches (just long enough to stick out passed the wooden stand). At this point you need a way to attach the key stock to your mold.
Mount The Mold Box
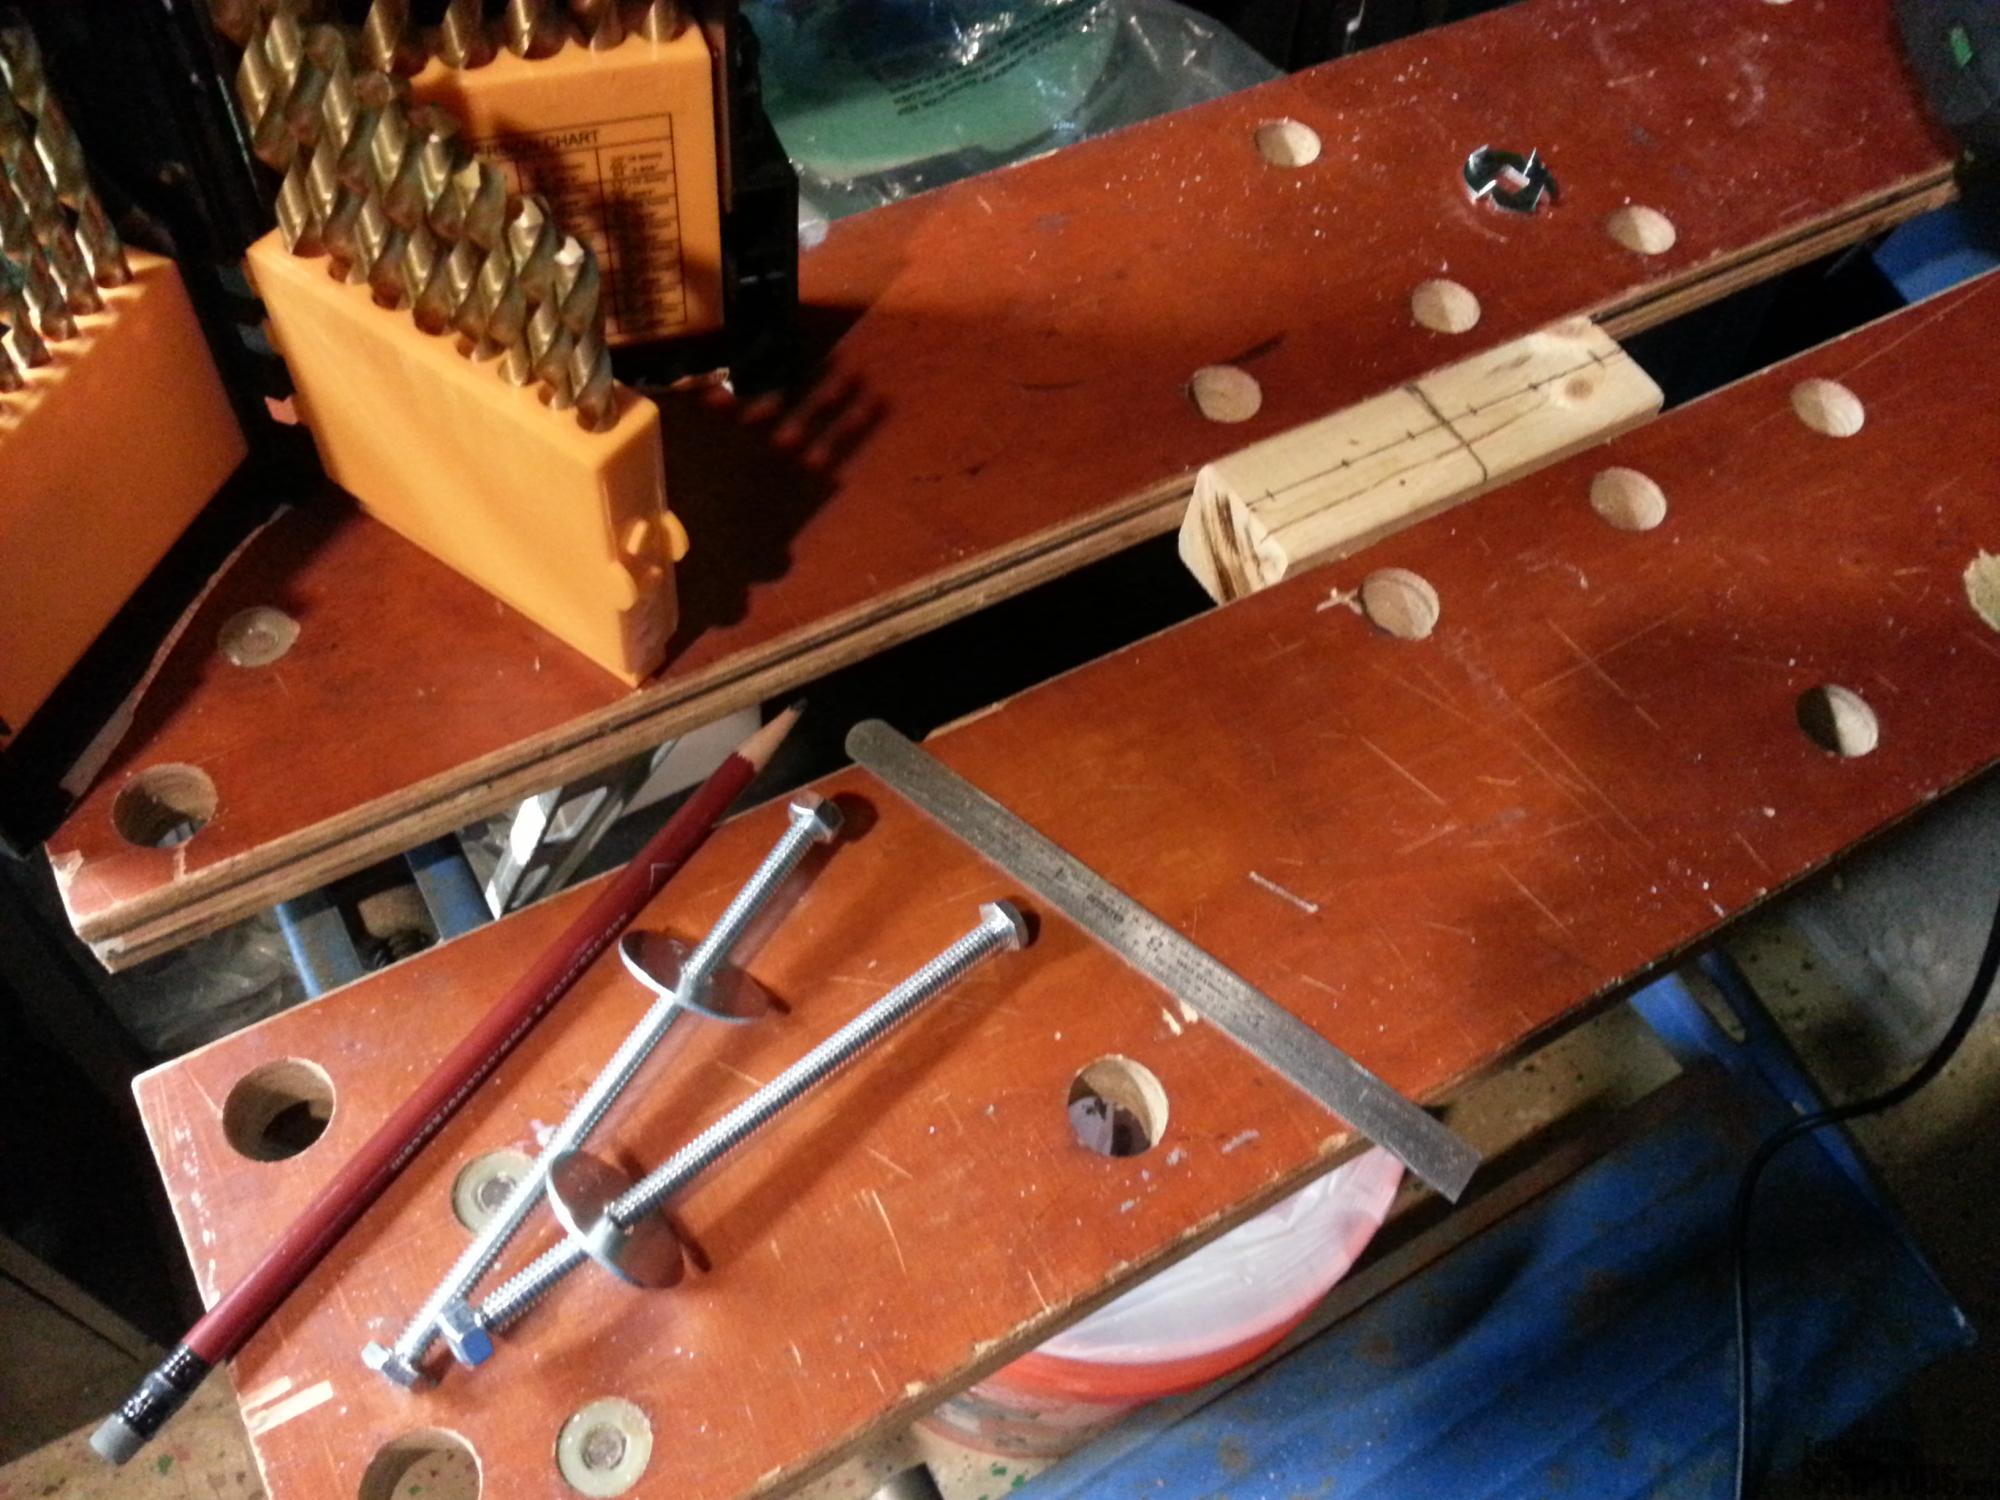
If your mold has a wooden mold box then you can easily mount the mold onto your rotocasting machine by using Steel Square-Neck Bolt Washers in the same size as your key stock (available online from McMaster-Carr). I picked up a package of 10 washers so that I could permanently attach them to multiple mold boxes. Using your preferred mounting method, attach a washer to each side of your mold. You could use epoxy to mount the washer. The washers that I purchased included steel prongs capable of digging into the wood and holding the washer securely. If you use these, your washer will flush mount to the mold, and the key stock will not be able to slide through the washer! So, before flush-mounting the washer to your mold box you should first drill a hole for the key stock to stick into after it slides through the washer. With this in mind you might need to first build up the side of your mold box with an additional piece of wood.
On the other side of your mold you will attach another square-neck bolt washer. Both ends of the mold box now have a a bracket (square-neck bold washer) capable of holding the steel key stock. The key stock itself is attached on the motor-end and the other end of the machine, with your mold box suspended in the middle.
Build an Adjustable Shelf
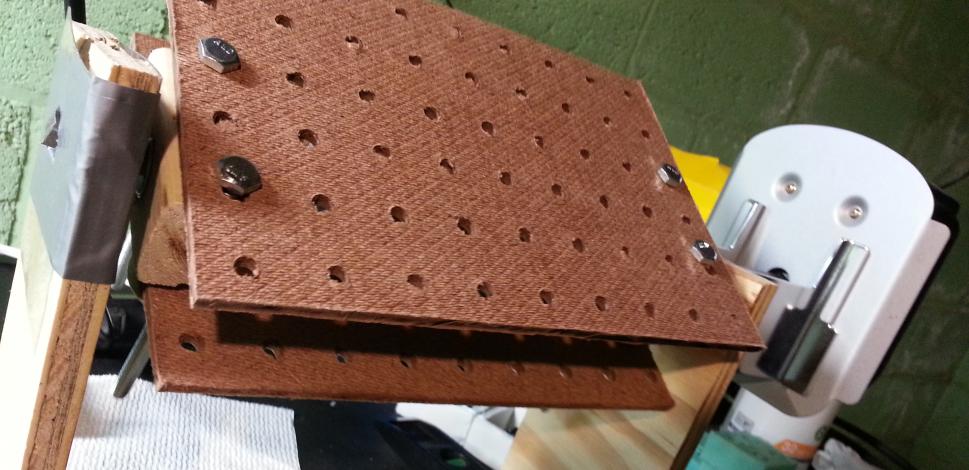
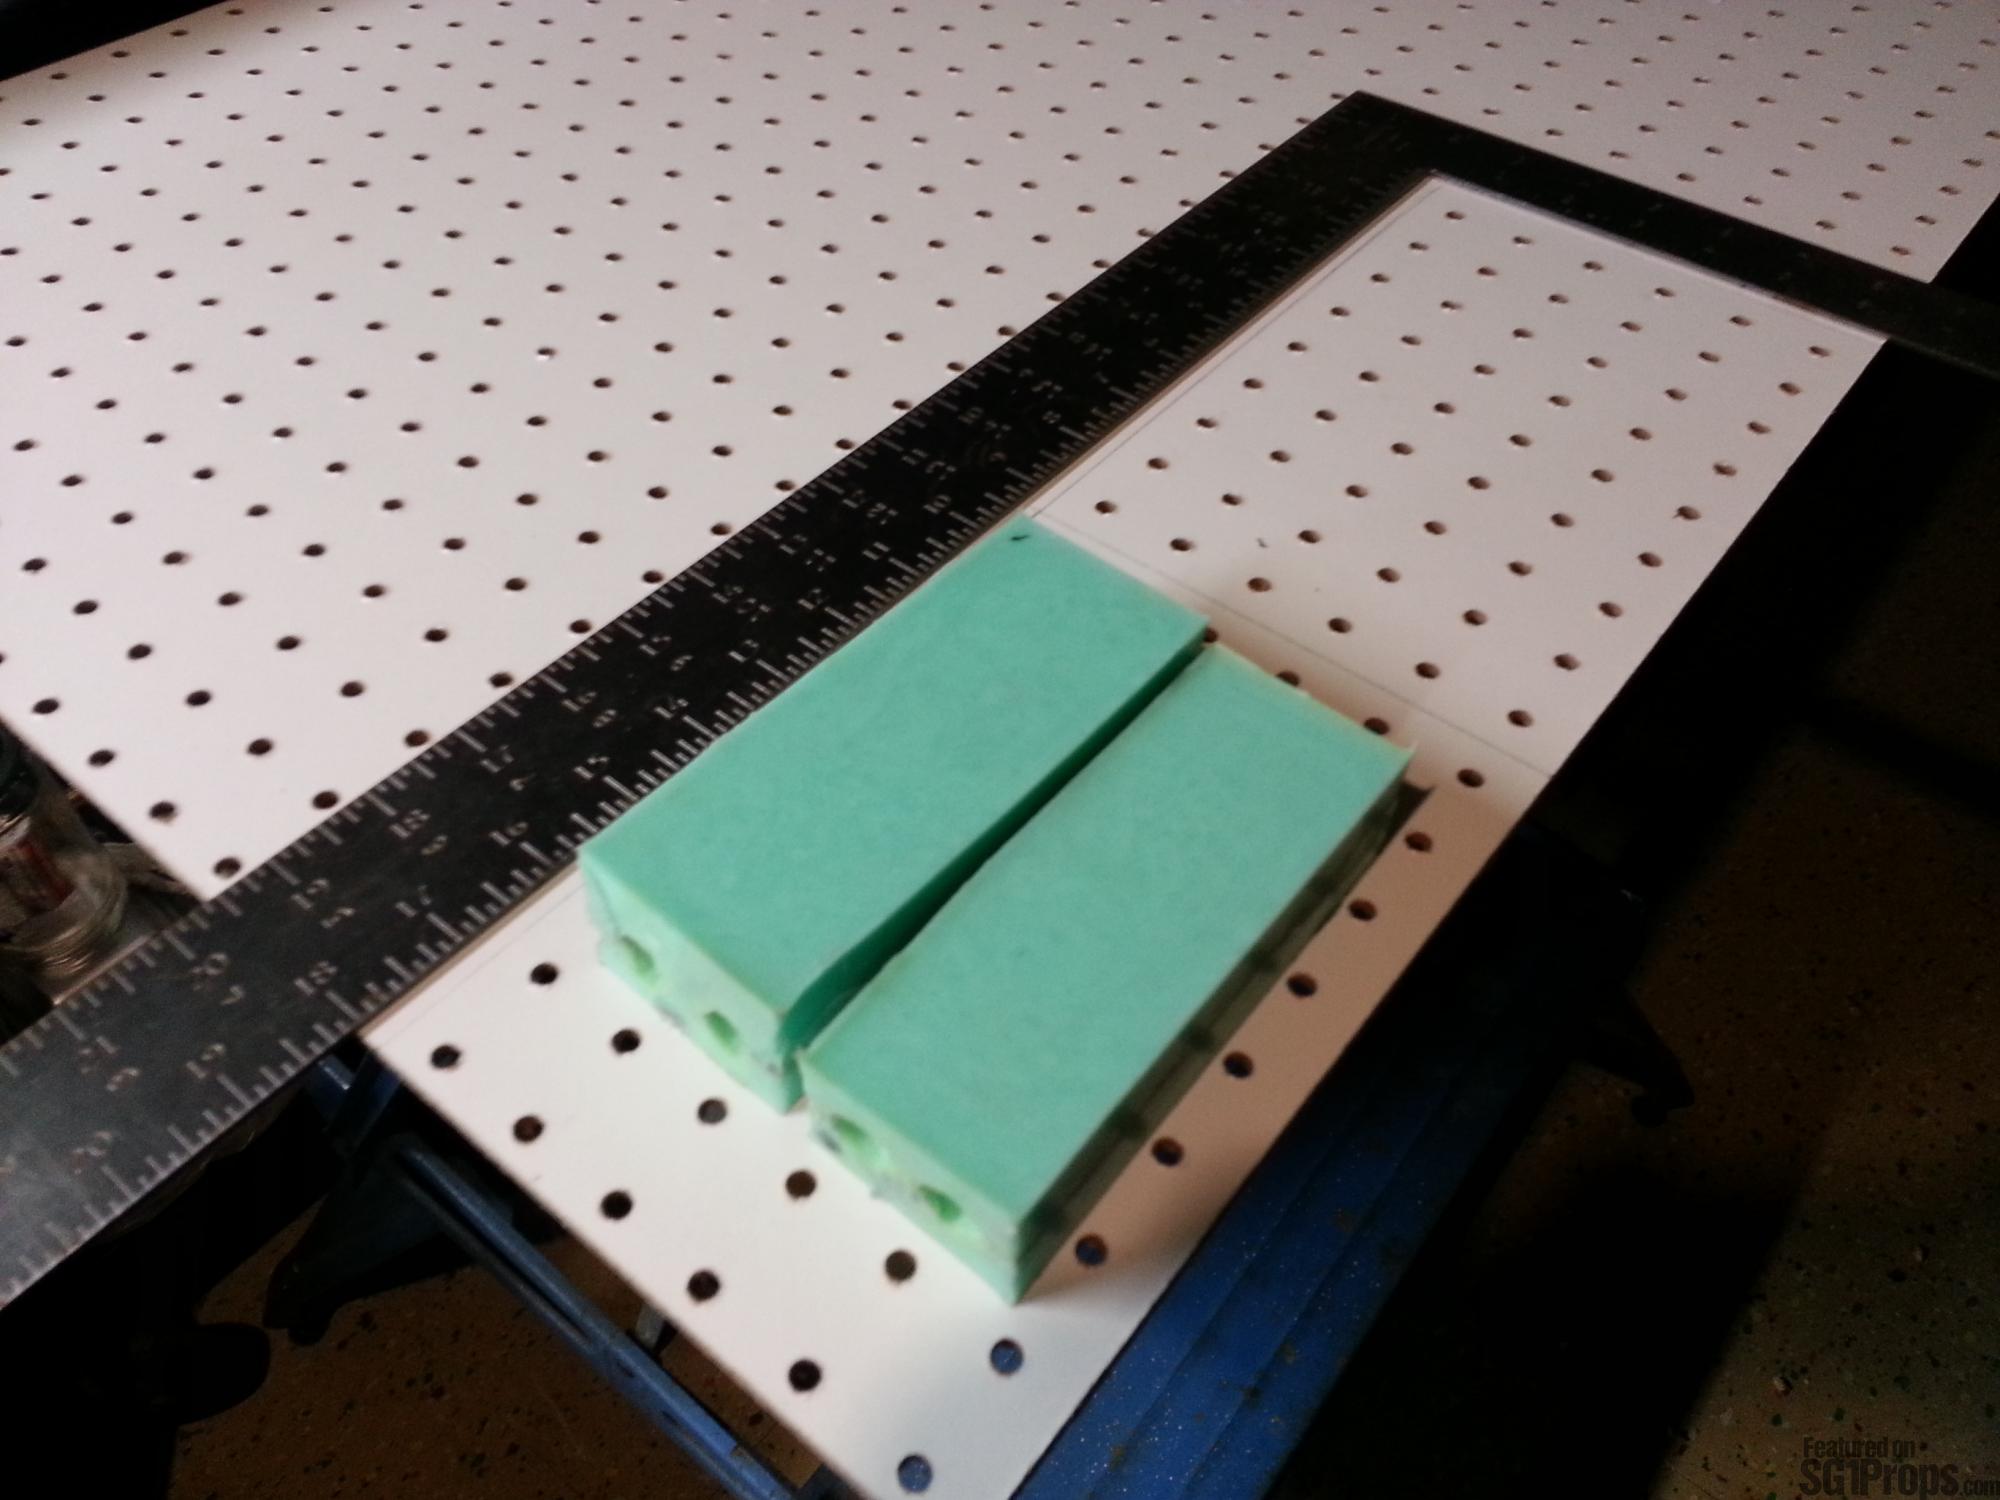
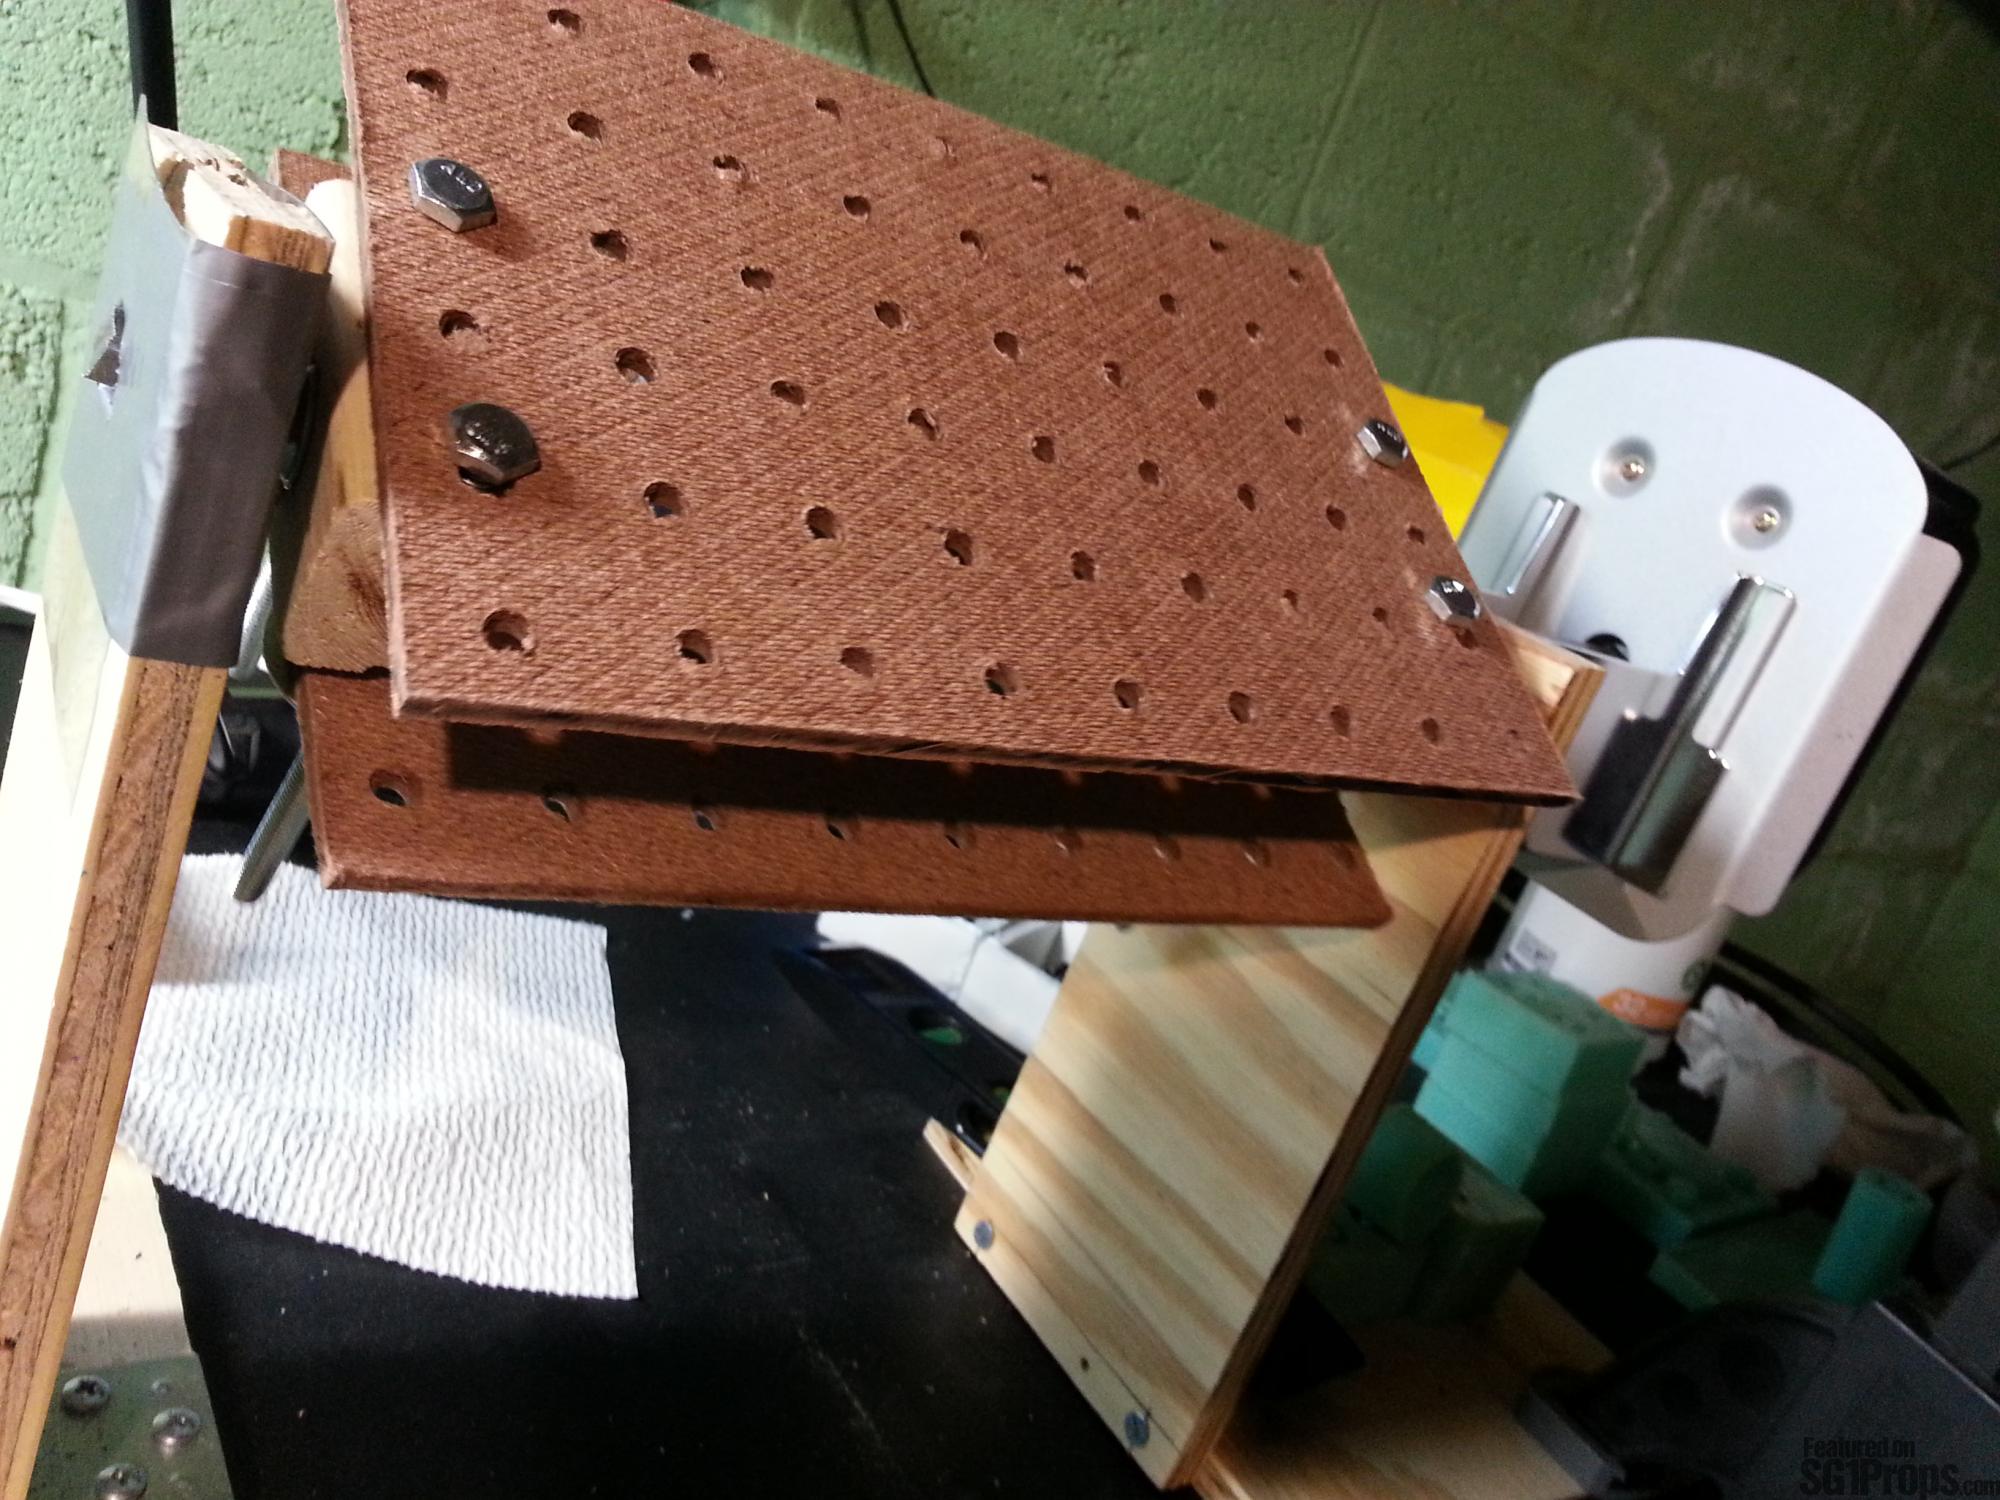
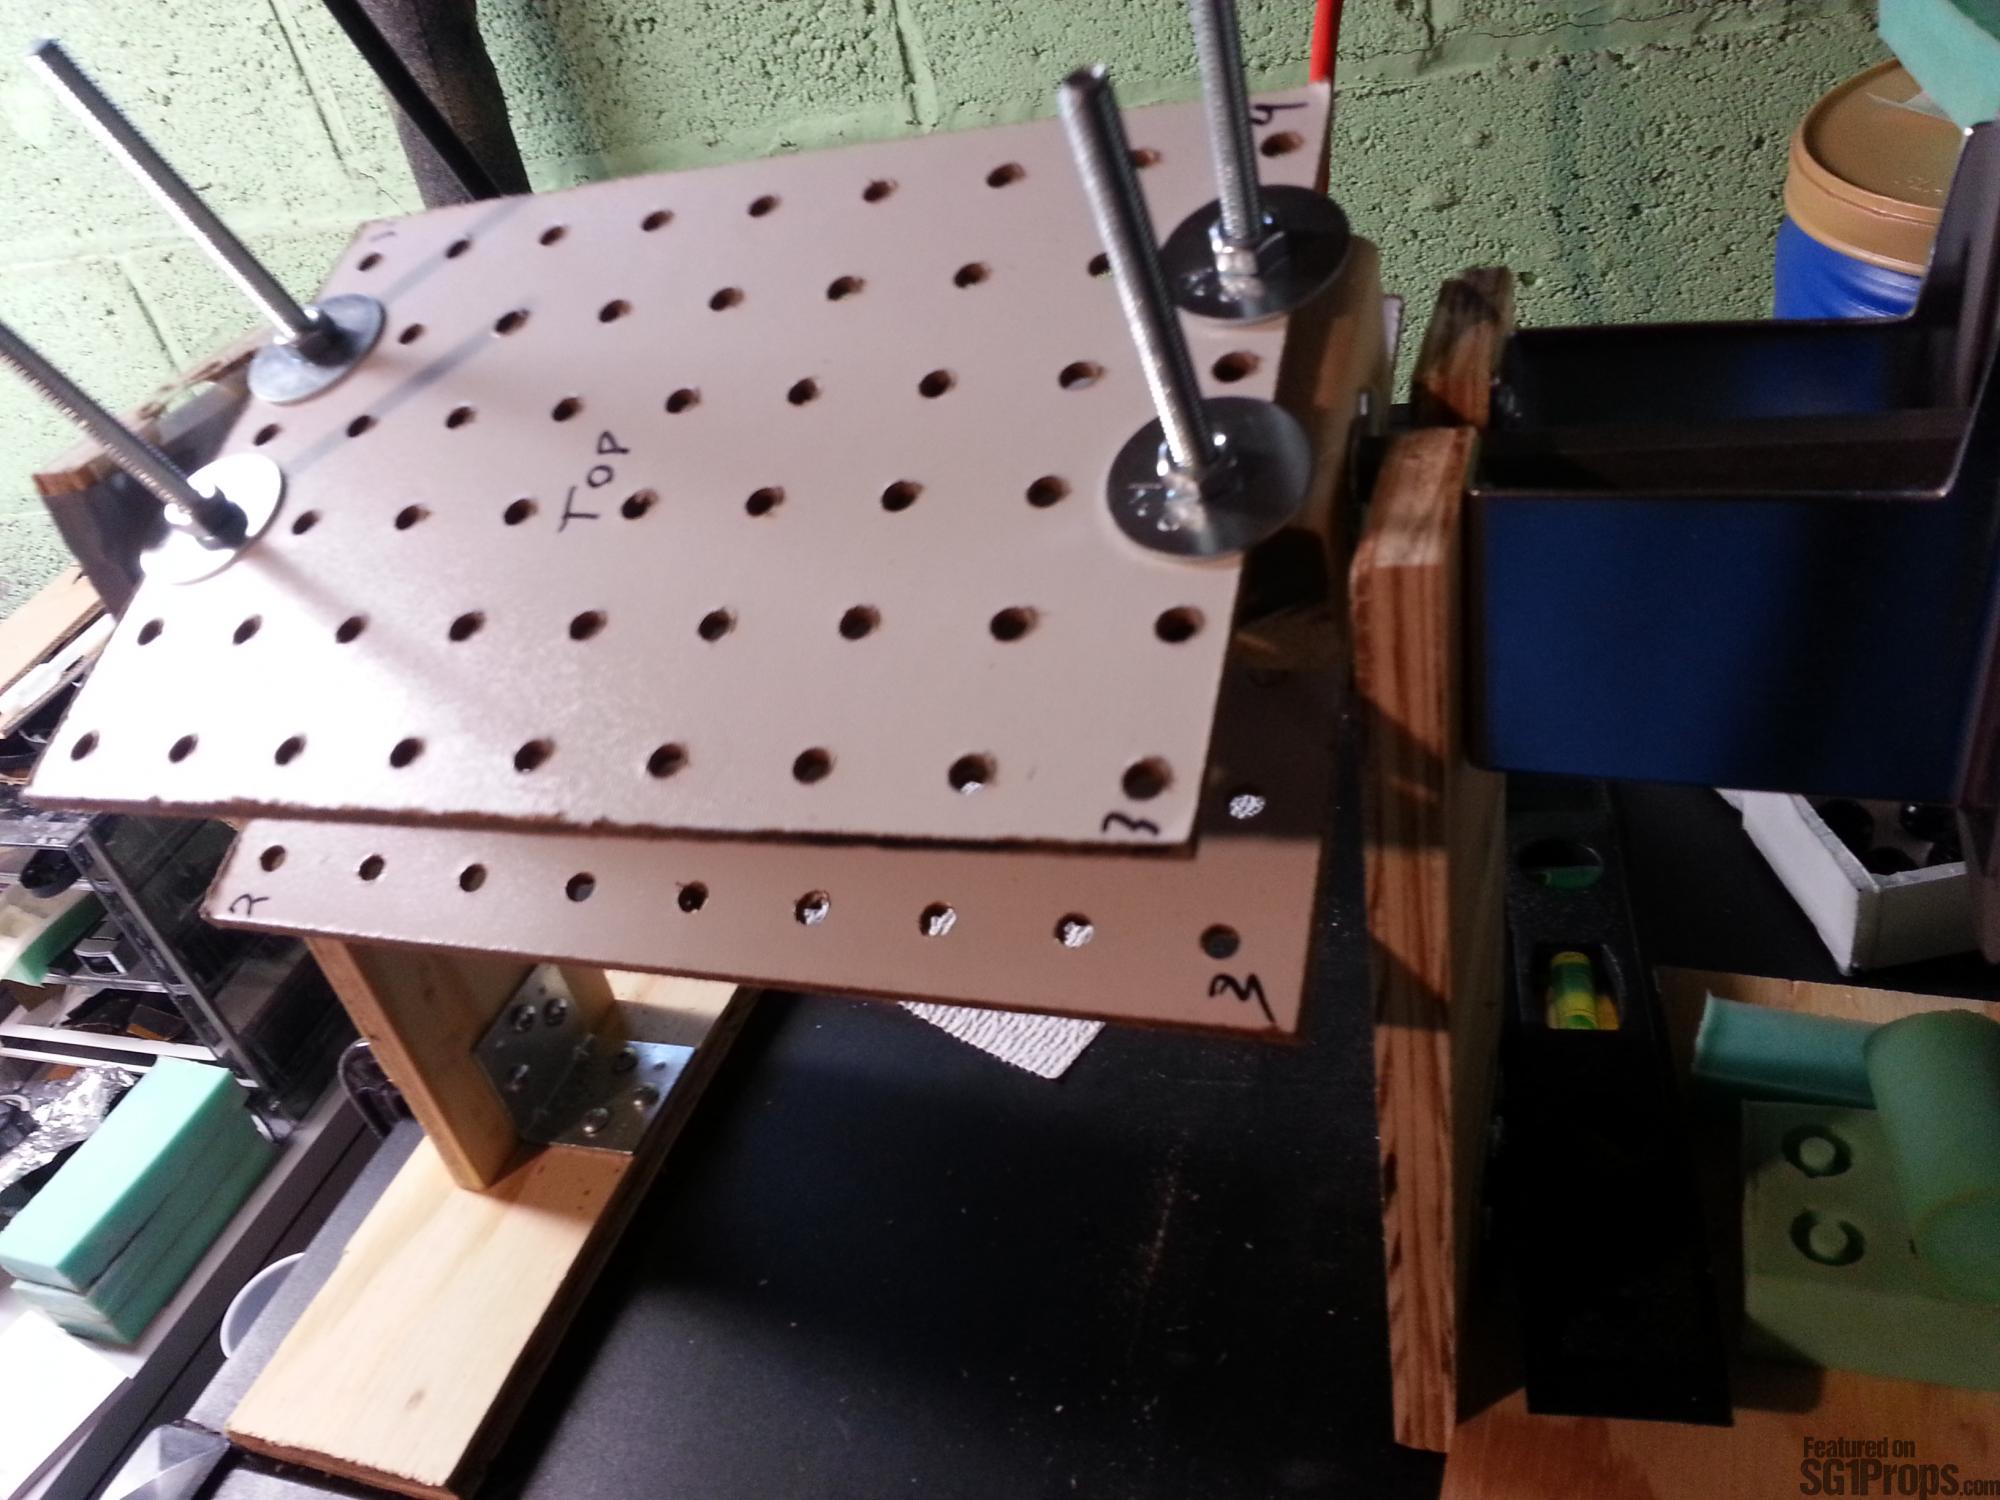
If you are rotocasting many different sized molds, and if you don't have mold boxes, then you can hold the molds in place by building an adjustable shelf from two pieces of wood with your mold in the middle. On my setup I cut two pieces of pegboard, and use 4 steel bolts to secure the two boards over my mold. Pegboard hole sizes can vary, but on my boards the holes are 1/8", and so bolts of that size fit through the holes snugly.
In order to mount the adjustable mold carrier, it is necessary to have something to attach the square-neck bolt washers onto. I used some offcuts of a 2x2 for holding the washers AND the retainer bolts. One gets inserted between the pegboard on each end, directly in the center of the board (in order to maintain a center of balance on the machine). The first step is to drill two holes in the wood which match up to holes on the pegboard. Lining up the holes is easy; just put the wood inbetween the pegboard and mark the position of each hole. Once those two holes are drilled you now need to mount the square-neck bolt washer. First, drill a hole in the center of the wood large enough for the key stock to fit into. Then mount the washer directly over the hole.
Material List
Rotisserie Grill Motor
Metal Key Stock
Steel Square-Neck Bolt Washers
Wood and Wood Screws
Two L Brackets
Optional Materials
These additional materials can be used for creating an adjustable shelf which can hold molds of multiple different sizes.
Pegboard or Other Thin Board
Long bolts (longer than your mold)
Bolts
Washers
Safety Equipment
Be sure to wear safety equipment when cutting the materials to build your rotocasting machine.
Safety glasses with polycarbonate lenses.
Face mask to cover your mouth and nose.
Photos
Print | Share | Comment