
For your buck
This is a great modification for getting even more fun out of your prop P90. Also, you can now use the SG1Props kit on your Tokyo Marui! Finally a cost effective way to convert your Tri-Rail P90 into a P90 Standard to be screen accurate to Stargate, yet still able to function on the airsoft field!
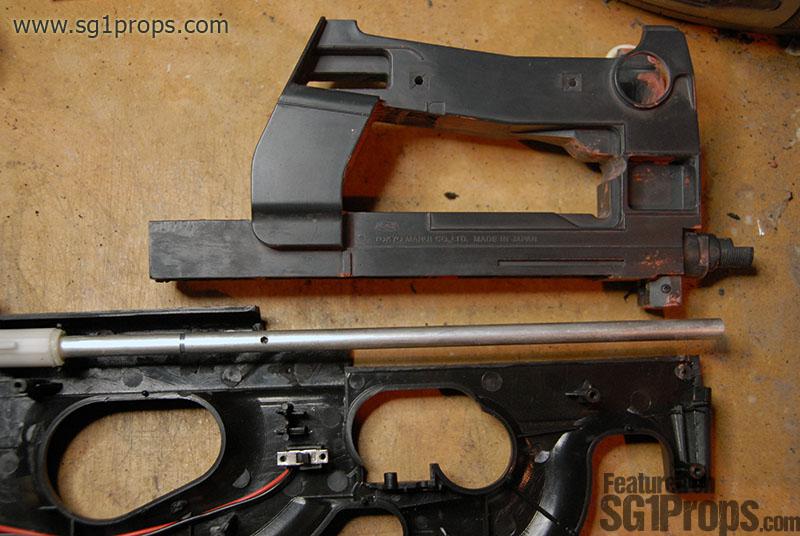
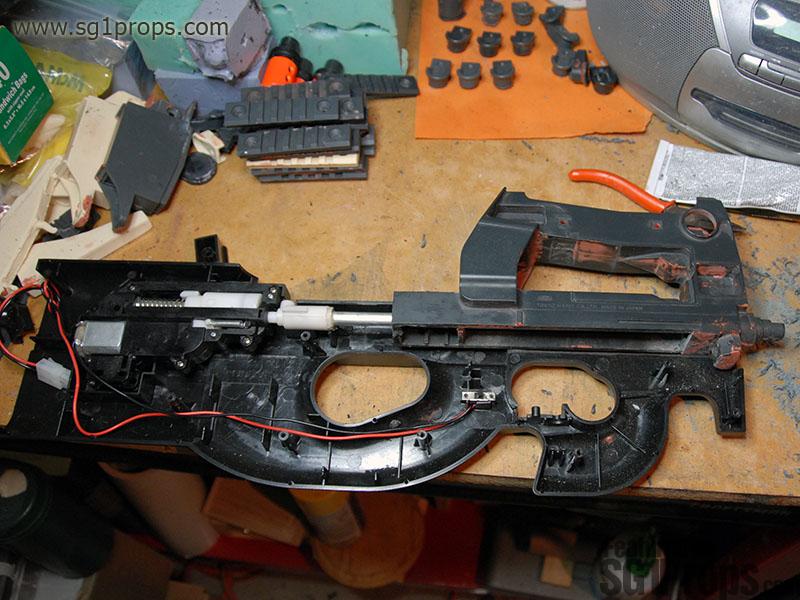
All that you need to do in order to use the replacement P90 receiver with a working airsoft gun is to pass the barrel through the hollow underside. You will need to drill holes through three parts of the receiver.
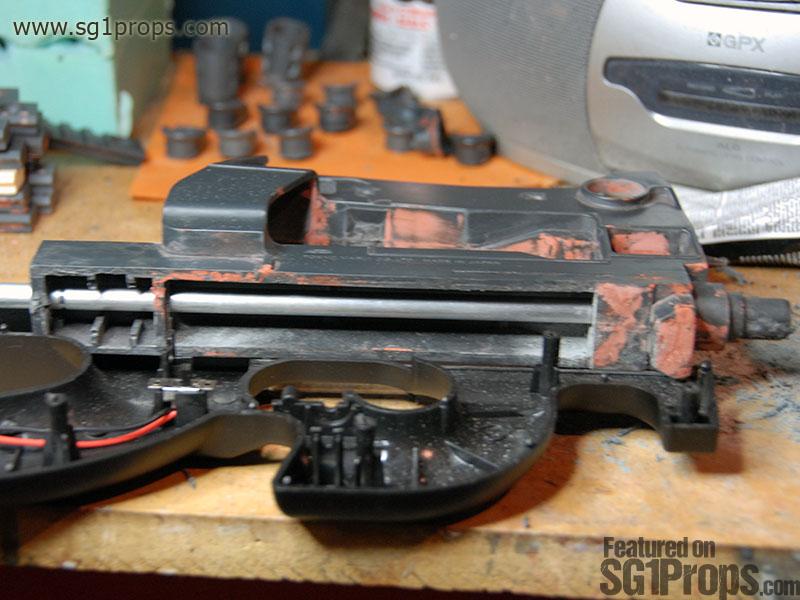
- Through the center of the lower rear of the receiver
- Into the receiver, through a resin wall
- Through the lower front of the receiver, and out the threaded flash hider mount
The final size of each hole should be at least as large as the diameter of the barrel, but to reduce the risk of cracking the receiver you should step through multiple drill bit sizes. Start with a small drill bit for the pilot hole (in the exact center of where you will be drilling the hole), and then step through about two more intermediate bit sizes before ending with the final size hole.
Flash Hider
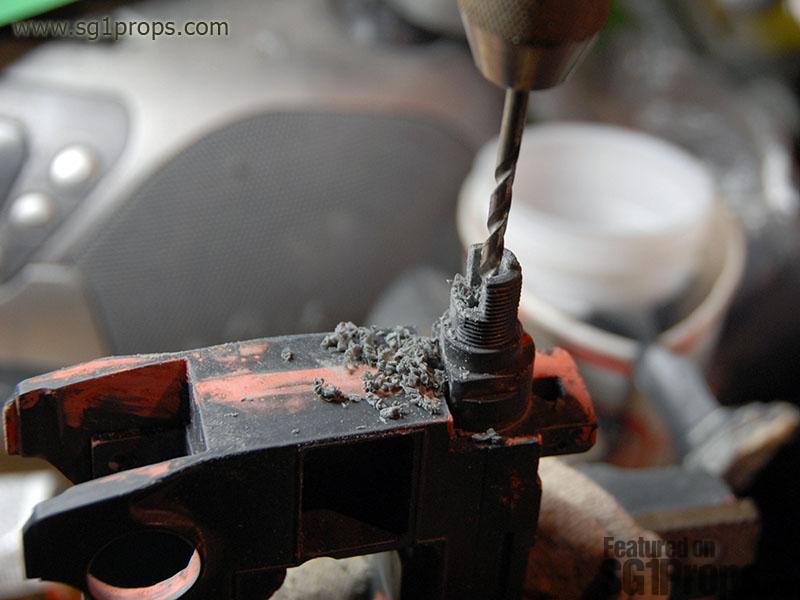
Making the holes through the rear of the receiver is fairly simple, but drilling through the threaded flash hider mount is more tricky. Since the mount is shaped somewhat like a half-circle it's very difficult to drill through. So you need to do one of two things:
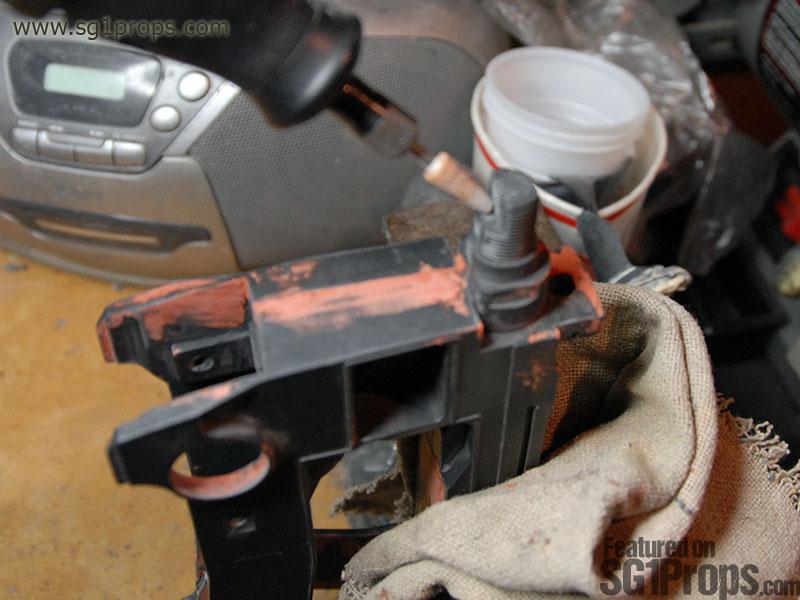
- Bore out the flash hider mount with a rotary tool so that a drill bit can fit inside
- Use a longer length drill bit (i.e. 12 inch) to drill through the flash hider from the rear of the receiver
I use the former method, and simply use a grinding bit on my Dremel rotary tool to bore out the half-circle flash hider mount, and then finish off the job by drilling through with a hand drill. But you must be careful not to crack the flash hider mount, because the resin is thinner in this spot. So, what I did was used the hand drill to make a hole in the flash hider mount big enough for a BB to fit through, but not the barrel itself (because the barrel doesn't actually go this far when installed). After that I used my Dremel to bore out the rear side of this hole (from inside the receiver).
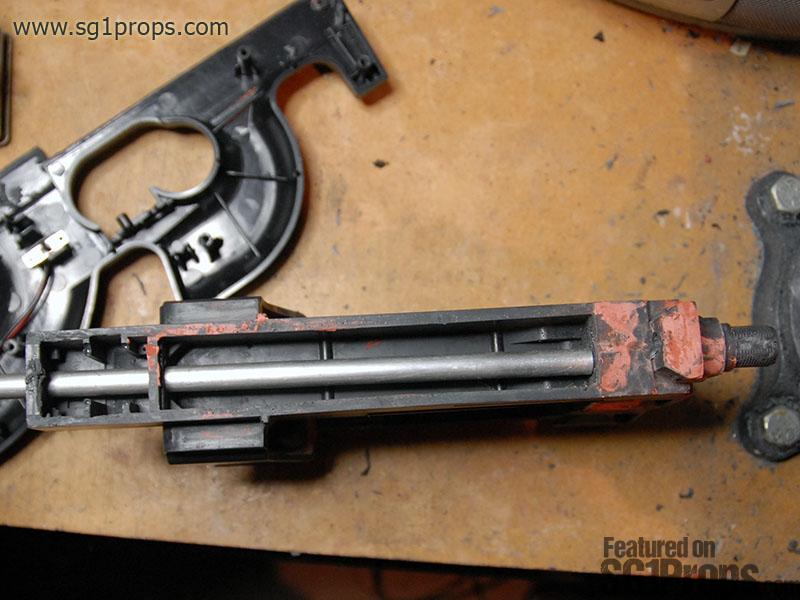
The ideal way to drill through the front of the receiver would be to bore through the flash hider mount with a rotary tool, use a regular length drill bit to drill a pilot hole straight through into the hollow part of the receiver, and then use a long drill bit to go through the two holes on the rear of the receiver and into the pilot hole up front. Again, keep in mind that the airsoft barrel does NOT need to stick out through the flash hider, so you only need to drill a large hole to the rear of the flash hider mount. After this point you only need to drill a hole large enough for a 6mm BB to fit through.
Tokyo Marui users
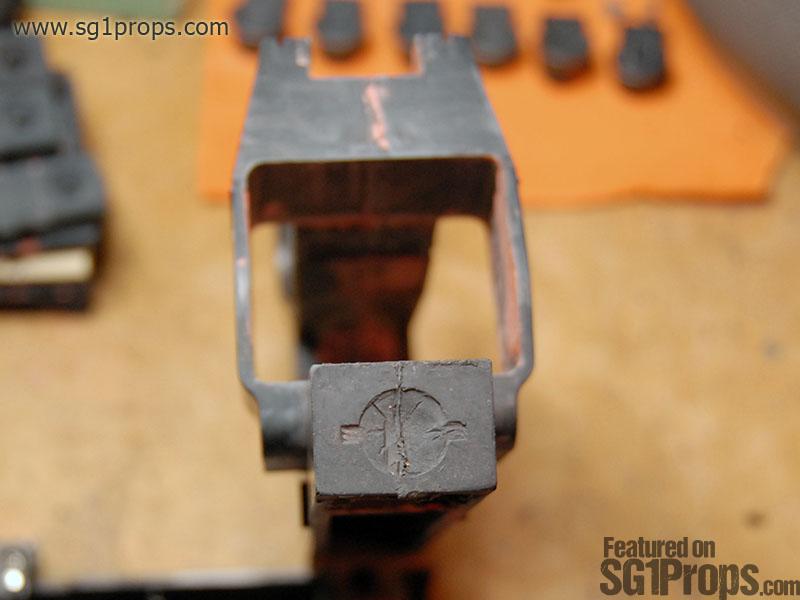
To fit a TM gun you will need to cut out a small rectangle shaped area on the back of the receiver so that the disconnect button can hold the upper and lower (body) receivers together. This can be simply done, and if you have another Tokyo Marui receiver on hand (i.e. your original Tri-Rail) then you can use that as a guide.
All done now
That's all that's required to put some more life into your Stargate P90 prop. Now you can go off to battle the Goa'uld, Ori, Wraith ... or perhaps just terrorize some soda cans.
Join our worldwide community of Stargate prop collectors and cosplay enthusiasts!
What you'll need
LPEG P90/D90 airsoft gun (CYMA/Well/V8) with internal airsoft components
Hand drill with several sized drill bits (extra long bits are extremely helpful)
Rotary tool (such as the Dremel) is helpful if using standard length drill bits
SG1Props.com recommends the use of proper eye protection and respirator/dust mask equipment whenever working on props.
Eye protection
Lenses should be made from polycarbonate to protect from flying debris.
Respirator
Should completely cover your mouth and nose, and fit the form of your face. A mask with interchangeable P100 particulate filters is recommended for this project.
Project Goal
This tutorial will explain how to modify the newest model SG1Props P90 upper receiver kit for use on a functioning airsoft gun.
NOTE
These instructions were written for making the receiver work with an LPEG P90 airsoft gun, but they are also relevant for those who own a Tokyo Marui airsoft gun.
Photos


Print | Share | Comment