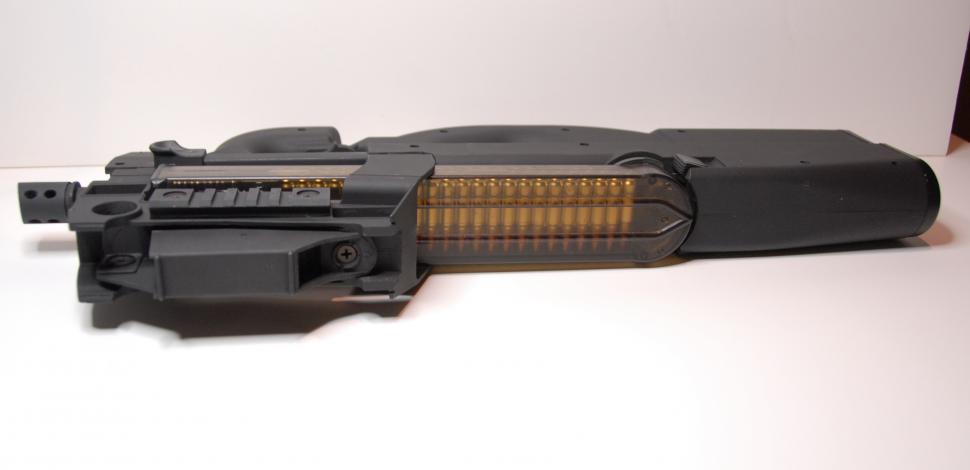
Loading up with the TM mag
Modifying the LPEG P90 so that it can use a Tokyo Marui magazine is simple, and adds a lot of authenticity to your Stargate costume/prop. There are really two ways to do this: you could modify the magazine to fit the gun, or modify the gun so that the magazine will fit. This tutorial will cover the later method because it doesn't destroy the magazine, and in theory the LPEG will still work correctly. The only step that you must take first is to remove the magazine release (there are instructions for that here).
There are two parts that prevent the TM mag from sitting correctly on the LPEG P90. The first issue is the block at the rear of the magazine well on the P90. And secondly there is the feed guide on the TM mag.
I gotta blow somethin' up
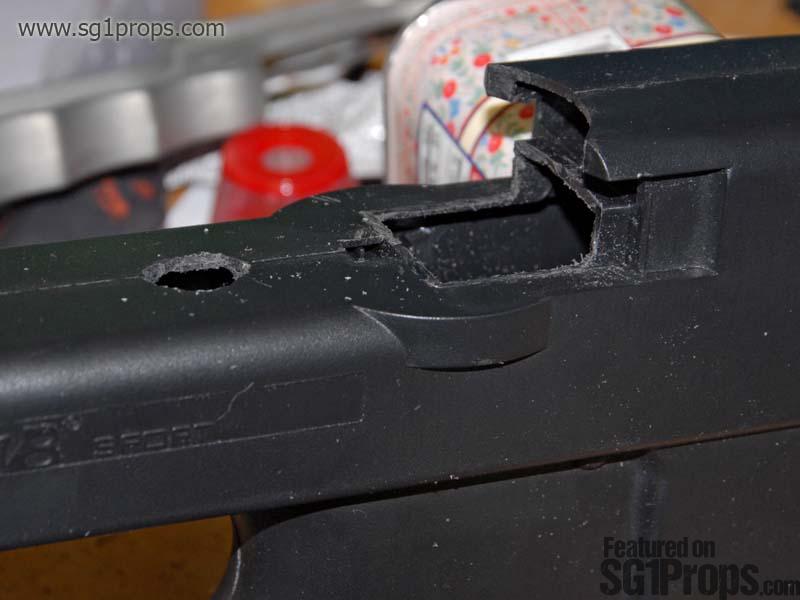
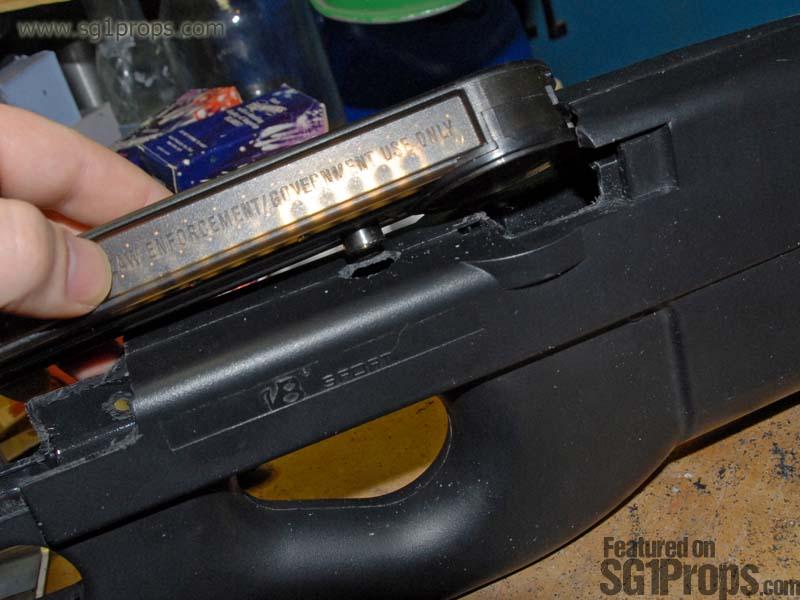
Despite what O'Neill may be telling you in your head, let's try to complete this first step without using any C4 explosives! A hacksaw and/or Dremel tool will work just fine for removing the block at the end of the mag well. I was able to take this step with the gun completely disassembled, and thus cut each half of the block with the gun split in half. This was nice because I was able to hold the hacksaw blade at an angle so that it did not rub against the P90 body as I cut (which would scuff the body of the gun!).
Either way you do it, whether the gun is disassembled or intact, I recommend that you don't try to remove the entire mag block with one cut. Instead leave a small amount of plastic where the mag block meets the body of the gun. This way you can use a metal file, sandpaper, or your Dremel tool to trim away the remaining plastic more carefully without scuffing up the gun.
As shown in the picture, you only need to cut off as much of the mag block as necessary for the TM magazine to fit. If you cut too far back towards the rear of the gun then you'll end up with visible holes in your final Stargate prop!
Make a hole
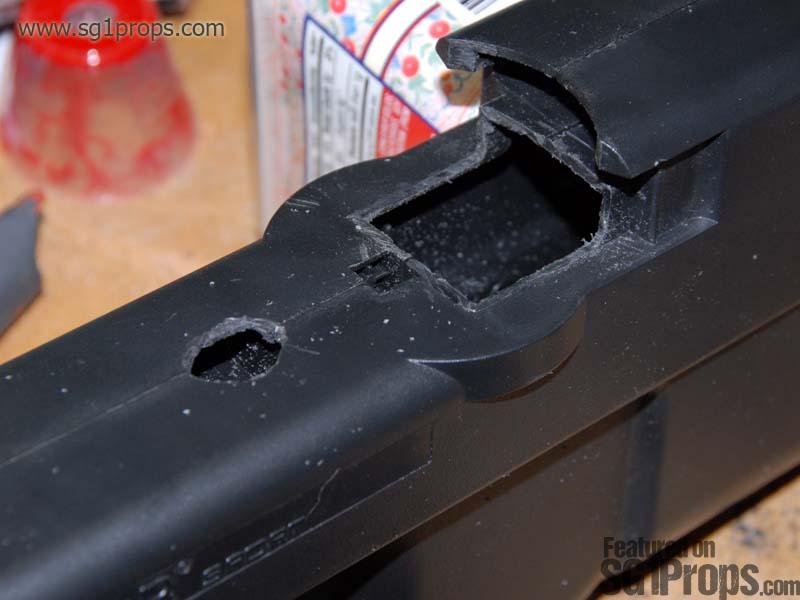
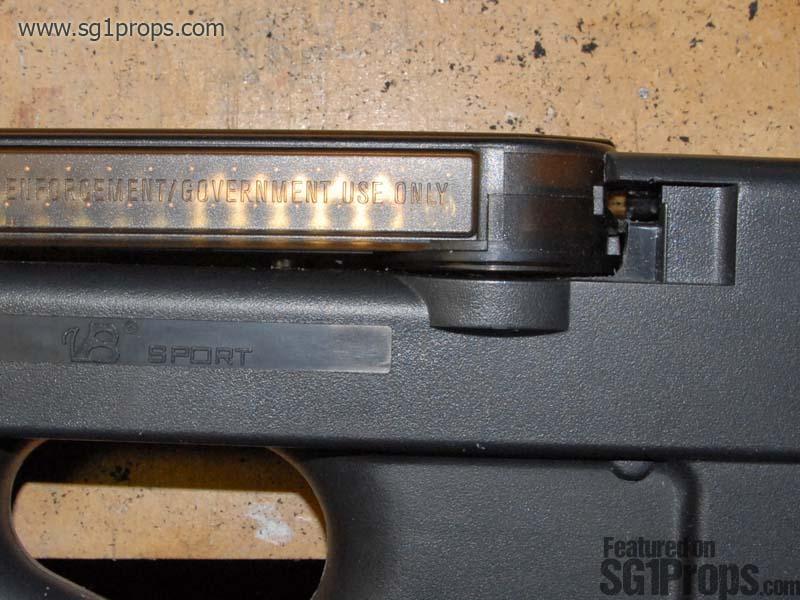
Once the magazine block has been cut off, your TM mag will fit into the magwell but won't sit flush with the body yet. This is because of the BB feed guide on the TM mag. You will need to make a small hole in the top of the P90 body for it to slide into. The first thing you'll want to do is measure where you need to cut the hole. The easiest way to do this is to insert the magazine into the P90 and use a sharp tool or a pen to mark where the BB guide rests against the body.
If you haven't disassembled the gun then you may need to use a hand drill to get you started with the hole, but otherwise a Dremel tool would work great. If all you have is a hacksaw then you can always cut out a square hole instead of round. If you drill the hole and the BB guide still won't fit in when you load the magazine, then just use a file or your Dremel to make the hole bigger until it fits.
Lock and load
Once you finish cutting out the two problem areas, and cleaning up any remaining plastic burrs, the only thing left to do is reinstall the magazine release. Now you're ready for O'Neill to make you slap the mag into your gun until you have blisters!
What you'll need
P90 LPEG shell
Rotary tool (i.e. Dremel), or
Handsaw / hacksaw
Tokyo Marui (or other brand) magazine
SG1Props.com recommends the use of proper eye protection and respirator/dust mask equipment whenever working on props.
Eye protection
Lenses should be made from polycarbonate to protect from flying debris.
Respirator
Completely cover mouth and nose, and fit the form of your face. A mask with interchangeable P100 particulate filters is recommended for this project.
Photos
Print | Share | Comment